Most homeowners dream of outdoor curtains until they check the price tags; some panels cost more than a mortgage payment.
But what if there was a way to create the same look for a patio using materials that cost less than a dinner out? No special skills are needed, and no expensive tools are required.
In just one afternoon, anyone can alter a boring outdoor space into a private retreat that looks like it belongs at a resort. Neighbors constantly ask how it’s done without breaking the bank.
The best part?
Anyone can recreate this project, even without any DIY experience.
This guide shows exactly how to make professional-looking outdoor curtains for almost nothing, step by step.
Why Choose DIY Outdoor Curtains?
DIY outdoor curtains offer dramatic cost savings, complete customization, and professional results, all achievable in under an hour per panel.
1. Massive Cost Savings
DIY outdoor curtains cost $15-$50 per panel, compared to $200-$500 for commercial options, with professional installation adding $246-$458 per curtain. This dramatic price difference makes DIY the wise choice for budget-conscious homeowners.
2. Perfect Customization
DIY allows for perfect sizing in unique spaces, custom color matching, and material selection tailored to specific climate needs. Weather-resistant DIY curtains can be treated with specialized coatings to protect against salt air, humidity, or extreme sun exposure.
3. Instant Style Modification
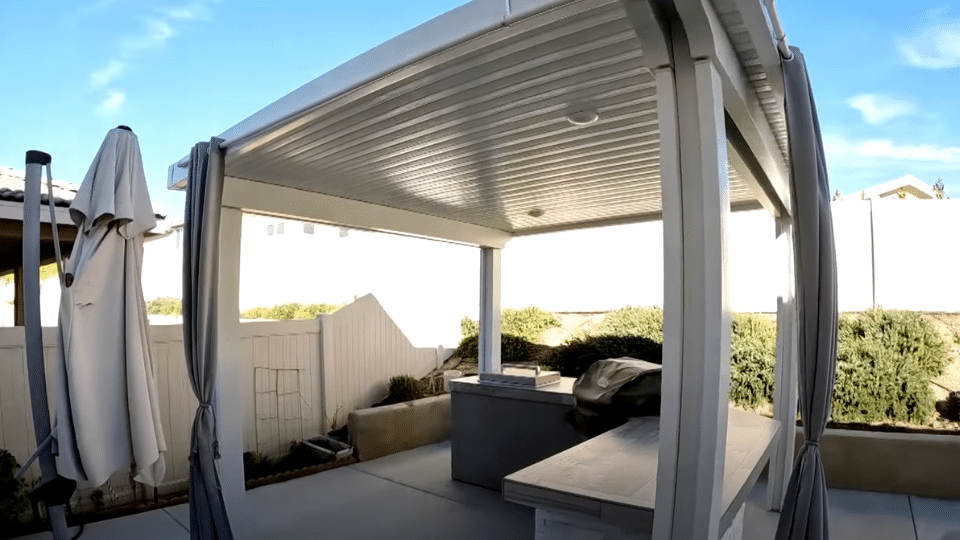
Custom outdoor curtains for patios create a resort-like ambiance while providing essential privacy and sun protection. The ability to design exactly what the space needs, from gazebo corner panels to pergola side curtains, delivers results that standard sizes cannot match.
4. Easy Installation
Most DIY outdoor curtain projects take 10-30 minutes per panel using basic tools like staple guns or clip rings. No-sew options eliminate intimidation while still producing durable, attractive installations.
5. Skill Building Benefits
Each DIY curtain project teaches valuable techniques, such as measuring, fabric treatment, and hardware installation, that can be applied to larger home improvement efforts.
The combination of massive cost savings, perfect customization, and achievable skill requirements makes DIY outdoor curtains an ideal project for creating beautiful, functional outdoor living spaces without the premium price tag.
Steps by Step DIY Outdoor Curtains
Alter your patio in seven simple steps using basic tools and materials. Each step takes just minutes to complete.
Tools Required:
| Tool | Purpose |
|---|---|
| Cut-out tool | Cut aluminum rods to the correct length and trim PVC pipe if needed |
| Tape measure | Measure curtain hanging length, bracket spacing, and ground clearance |
| Hammer | Straighten bent aluminum rods and reshape brackets after cutting |
| Screws & screwdriver | Secure the PVC rod inside the brackets to prevent sliding |
Materials Required:
| Material | Purpose |
|---|---|
| 10-foot, 1-inch PVC pipe with end caps | Serves as the main curtain rod that spans the patio width |
| 2 aluminum rods | Create custom brackets that hook onto the patio cover beams |
| 2 outdoor curtains (108″ x 52″) | Block sunlight during breakfast, lunch, and dinner hours |
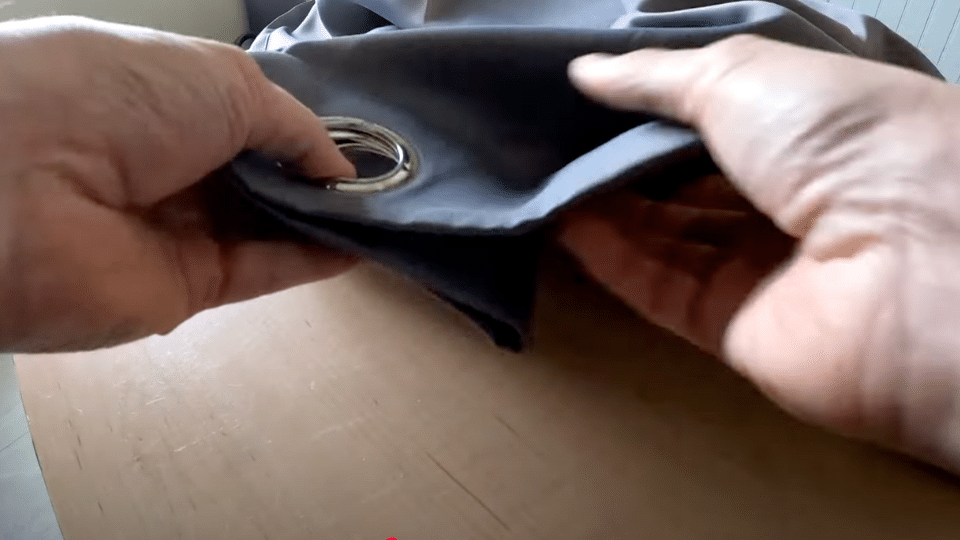
| Curtain rings | Allow curtains to slide smoothly along the PVC rod |
| Tie-backs | Secure curtains in an open position and prevent wind damage |
| End caps for PVC pipe | Give the rod a finished, professional appearance |
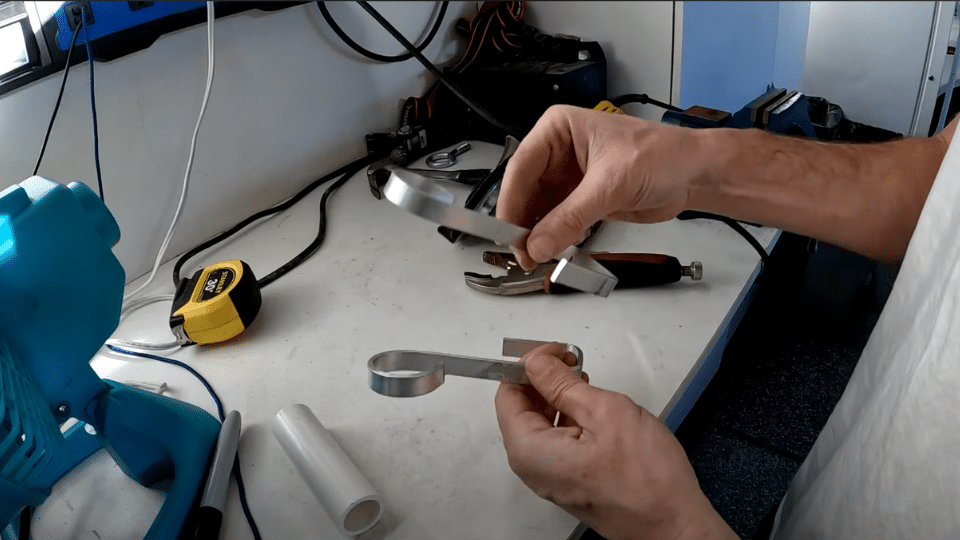
Step 1: Cut and Prepare the Aluminum Rods
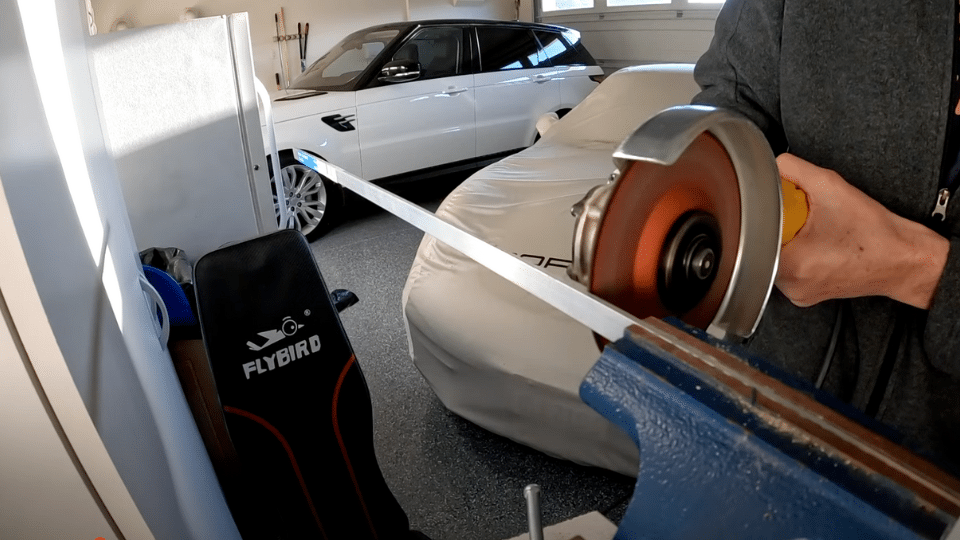
Cut two aluminum rods to size using a cut-out tool. These soft metal rods will become your curtain brackets. The aluminum is easy to work with and won’t rust, though it may corrode over time. Consider painting them white for extra protection against weather damage.
Common Mistake to Avoid: Don’t rush the cutting process. Measure twice and cut once to avoid wasting materials.
Step 2: Bend the First Hook Shape
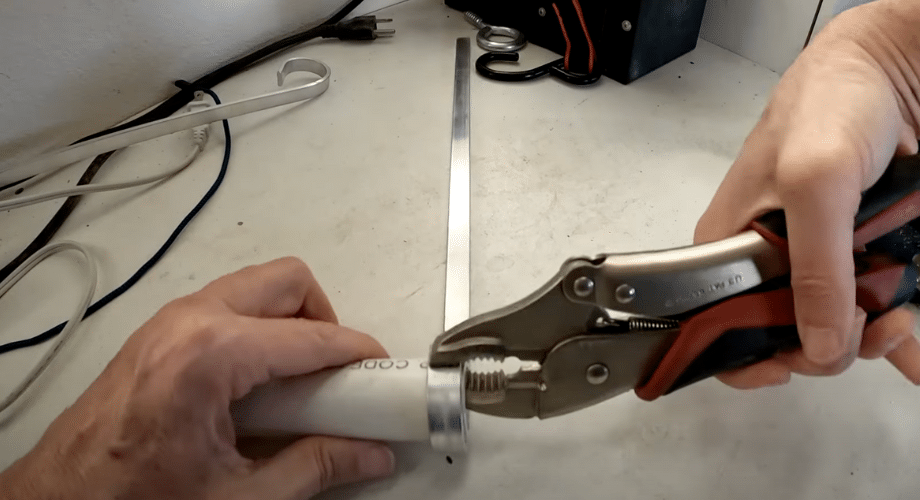
Create the leading hook by bending one end of each aluminum rod around the PVC pipe. This doesn’t require much strength, since aluminum is a soft metal. Ensure both hooks are bent to the same angle to ensure your curtain rod hangs evenly.
Common Mistake to Avoid: Don’t bend the hooks too tight around the pipe, or you won’t be able to remove the rod later for maintenance.
Step 3: Form the L-Shaped Mounting Bracket
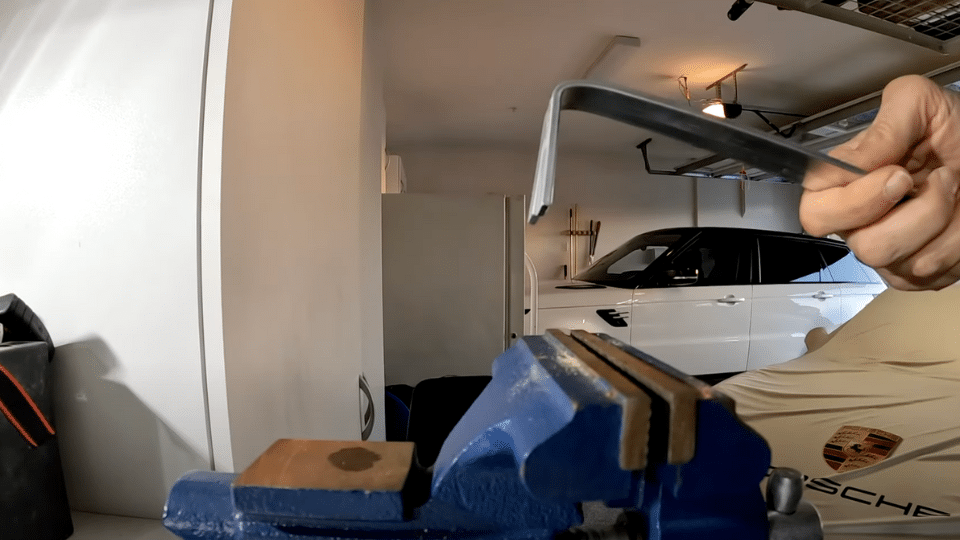
Mark where you need the second bend, then create an L-shape by bending the aluminum rod at a 90-degree angle. This L-shape will hook onto your patio cover beam. Work on both brackets simultaneously to ensure they remain identical.
Common Mistake to Avoid: Don’t make the L-bend too short, or the bracket won’t have enough grip on the beam to stay secure.
Step 4: Measure Curtain Length Before Final Assembly
Place one bracket and measure the distance from the rod to where your curtains will hang. The transcript shows curtains marked as 108″ actually hung at 106″ from the rod. Allow for about a 2-inch difference between the stated length and the actual hanging length.
Common Mistake to Avoid: Don’t assume curtain measurements are exact. Always test-fit before making final bracket adjustments.
Step 5: Adjust Hook Length for Ground Clearance
Based on your curtain measurement, you may need to shorten the hooks to prevent the curtains from dragging on the ground. Straighten the bent aluminum, cut off the excess length, and then re-bend it to the original hook shape. Aim for about 1 inch clearance from the ground.
Common Mistake to Avoid: Don’t make hooks too short, leaving curtains floating high above the ground, which looks unfinished and reduces sun protection.
Step 6: Account for Sloped Surfaces
If your patio has a slope for water drainage, make one hook slightly shorter than the other. This keeps your curtains hanging evenly to the ground on both sides, rather than following the slope angle.
Common Mistake to Avoid: Don’t make both hooks identical if your surface isn’t level. This will result in uneven curtain lengths.
Step 7: Install and Test the System
Hang both brackets, slide the PVC pipe through the curtain rings, and place the pipe in the hooks. Add screws to the inside of the brackets to prevent the rod from sliding around. Test that the curtains can still move freely along the rod.
Common Mistake to Avoid: Don’t place the rod too close to the overhead beam. Leave enough space so the curtains can slide easily without bunching up against the ceiling structure.
Video Tutorial
I would like to acknowledge How2ToGo for the insightful video, which served as a key reference in compiling this guide.
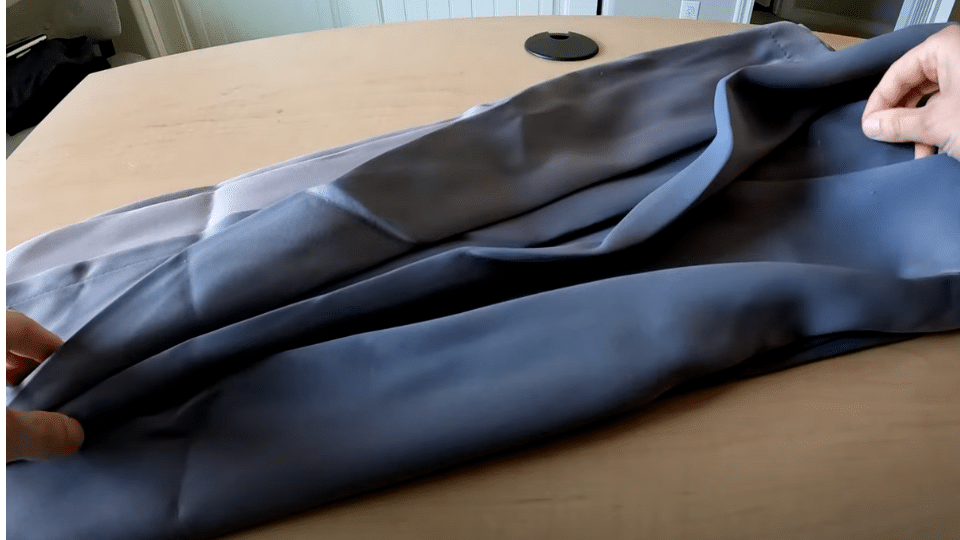
Best Fabric Types for Outdoor Curtains
Not all fabrics are created equal when it comes to outdoor curtains; choosing the right material can make the difference between a one-season fix and a long-lasting upgrade.
| Fabric Type | Weather Resistance | Look & Feel | Best For |
|---|---|---|---|
| Sunbrella |
★★★★★ |
Smooth, premium, vibrant colors | High-end patios, full-sun areas |
| Polyester | ★★★★☆ | Lightweight, versatile finishes | Budget setups, covered patios |
| Canvas | ★★★☆☆ | Heavy, rustic, natural | Farmhouse looks, shaded patios |
| Olefin (Polypropylene) | ★★★★★ | Textured, colorfast, soft but strong | All-weather spaces, eco-conscious choices |
| Acrylic-Coated Polyester | ★★★★☆ | Crisp and structured | Rain-prone climates, pergolas |
| Burlap (Outdoor-Treated) | ★★☆☆☆ | Rustic, breathable, organic texture | Occasional decor, boho themes |
| Mesh/Sheer Outdoor Fabric | ★★★☆☆ | Airy, breathable, modern | Privacy screens with airflow, minimal look |
Choose your fabric based on exposure to the elements, desired style, and how often you’ll use the space. For long-lasting results, go with Sunbrella or Olefin.
If you’re going for a cozy vibe or short-term setup, options like canvas or treated burlap will do the trick.
Conclusion
Creating beautiful outdoor curtains doesn’t have to drain your wallet or require professional skills. This simple project demonstrates that, with basic materials and an afternoon of work, any homeowner can achieve a resort-style look for a fraction of the cost of a commercial project.
The satisfaction of completing this project goes beyond just saving money. Each time you relax in your newly private outdoor space, you’ll feel proud knowing you created something both functional and beautiful with your own hands.
Ready to alter your patio? Start by gathering your materials this weekend and giving your outdoor space the upgrade it deserves. Your neighbors will be asking for your secret, and you’ll have the confidence to tackle even bigger DIY projects.
What outdoor space will you change next?
Frequently Asked Questions
What Is a Cool Alternative to Curtains?
Bamboo screens, outdoor shutters, sail shades, and retractable awnings offer stylish alternatives. Plant walls and pergola vines create natural privacy without the need for traditional fabric curtains.
What Are Dummy Curtains?
Dummy curtains are decorative panels that don’t open or close. They’re fixed in place purely for style, often used beside functional curtains for a fuller look.
What Are People Replacing Vertical Blinds With?
Homeowners are choosing plantation shutters, roller shades, panel track blinds, and sliding barn doors. These options offer better style and easier maintenance than old vertical blinds.