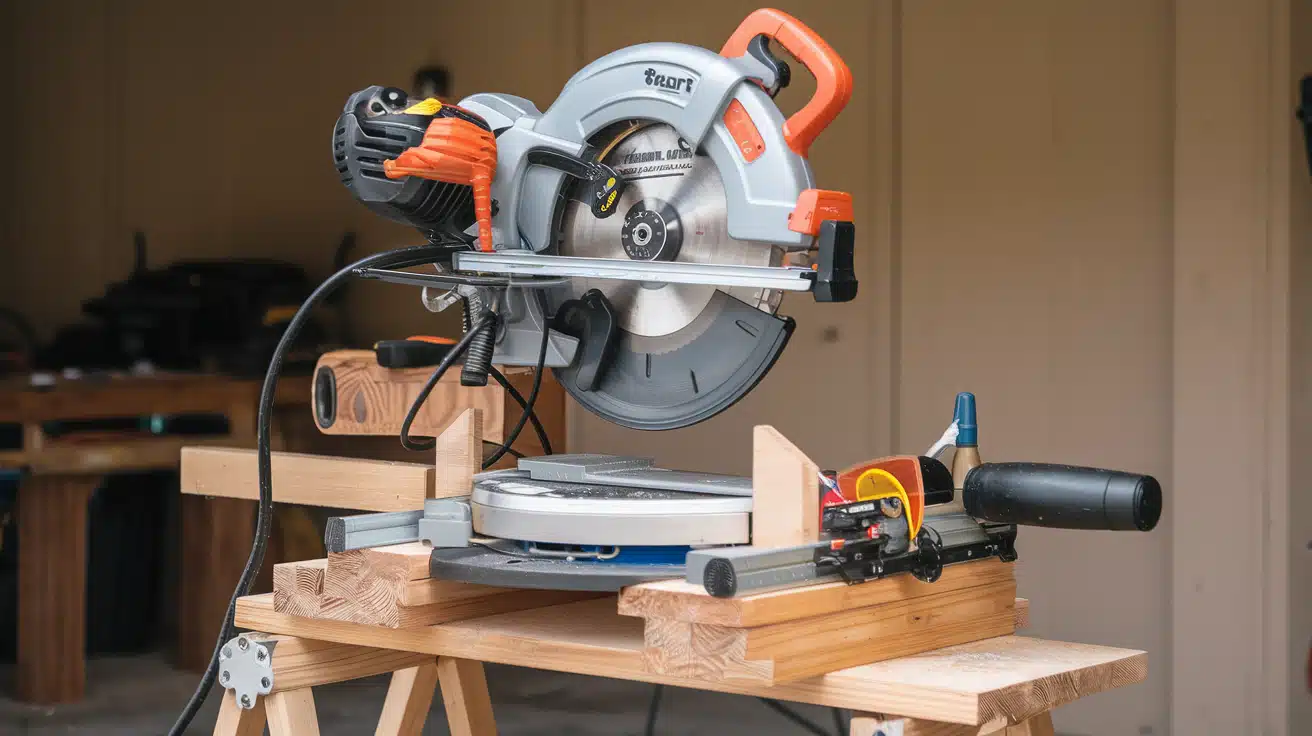

Are you tired of balancing your miter saw on wobbly sawhorses or cramped workbenches that make every cut feel like a wrestling match? I’ve been there, and it’s frustrating when you’re trying to make precise cuts but your setup is working against you.
But here’s the thing: you don’t need to spend hundreds on a commercial stand when you can build a better one yourself.
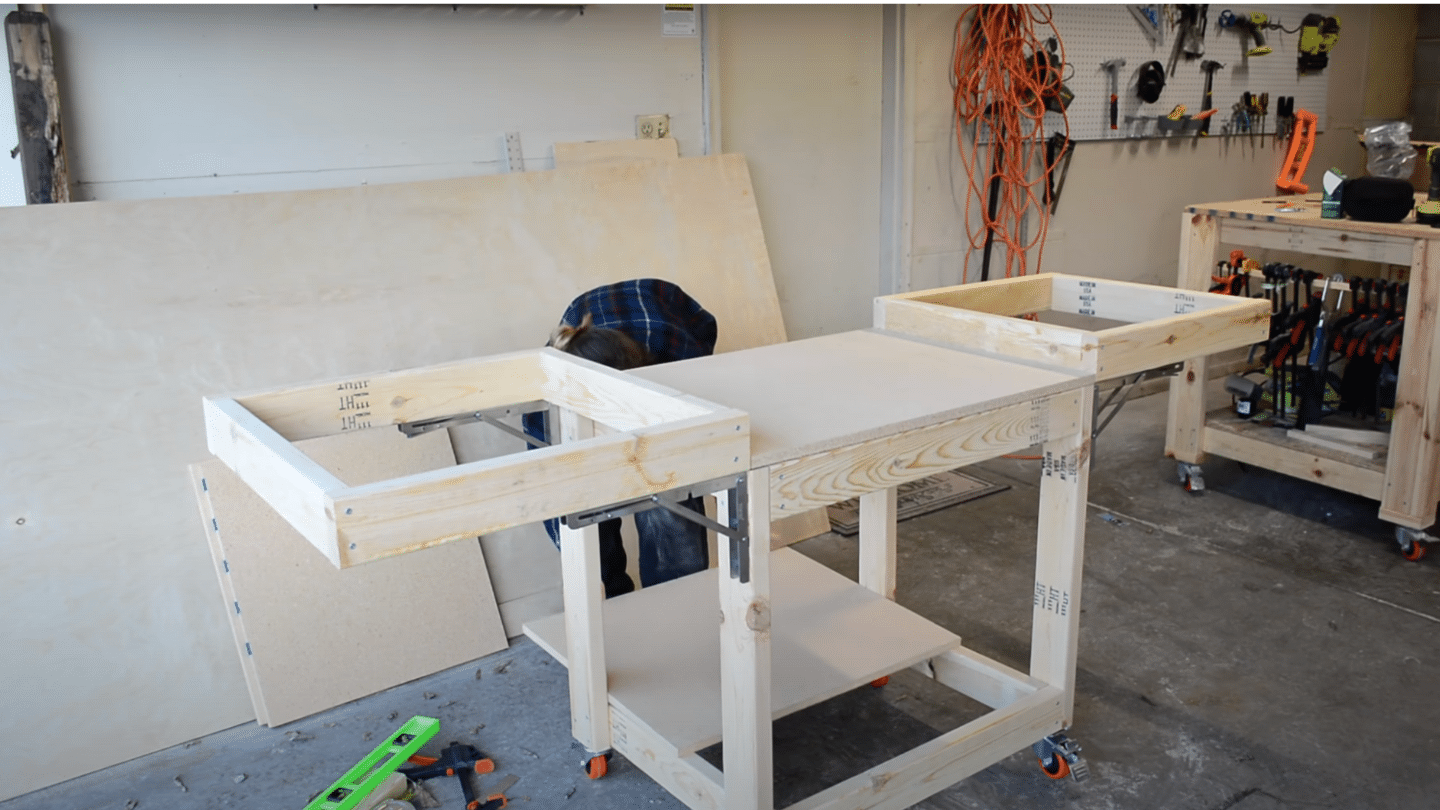
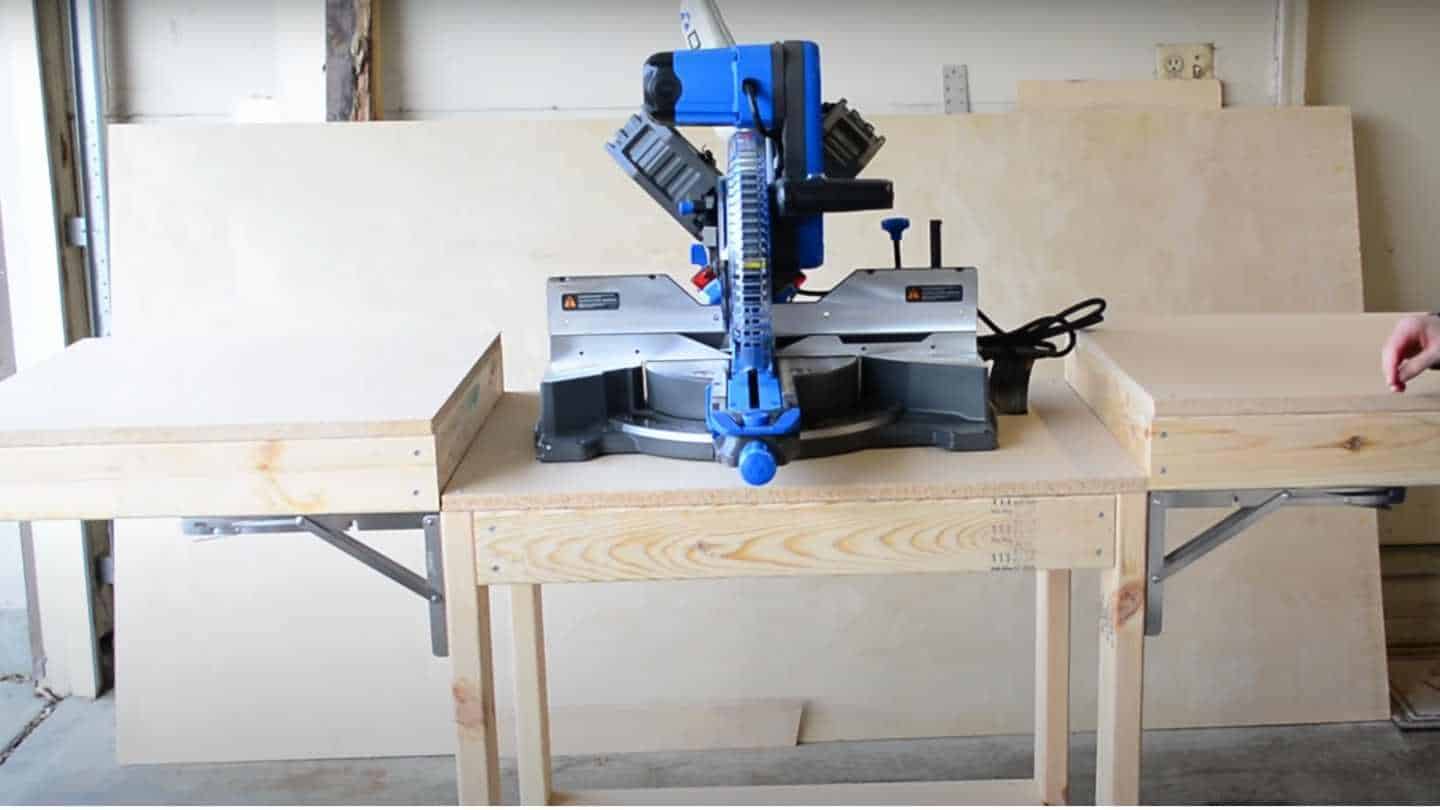
I’m talking about a collapsible, mobile miter saw stand that provides rock-solid stability, saves space, and costs a fraction of what store-bought options do.
In this guide, I’ll walk you through building your DIY miter saw stand using simple materials, such as 2x4s and particleboard. You’ll get step-by-step instructions, pro tips, and everything you need to create a workshop setup that makes your woodworking easier.
What Is a DIY Miter Saw Stand?
A DIY miter saw stand is a custom-built workstation that holds and supports your miter saw during cutting operations. Unlike store-bought stands, you build this yourself using wood, metal, or PVC materials.
This homemade solution lets you create the perfect size and features for your workspace while saving money compared to commercial options.
What makes it special
- Cost-effective solution – Build for much less than commercial stands, often saving 50-70% on costs.
- Custom sizing – The Design fits your exact workspace and saw model perfectly.
- Personal features – Add storage compartments, extensions, or wheels based on your workshop requirements.
- Sturdy construction – Use quality materials for long-lasting support and stability.
This homemade stand offers several advantages over factory-made options. You control the height, width, and features that matter most to your projects. Many builders incorporate fold-down wings to support long boards, built-in storage for tools, and mobility features such as casters.
The construction process typically involves creating a stable base frame, mounting platform, and any additional features you want. Popular materials include 2×4 lumber for frames, plywood for surfaces, and metal hardware for connections.
With basic tools and some planning, you can create a professional-quality stand that serves your workshop needs for years while staying within budget.
Step-By-Step Guide to Build a Miter Saw Stand
Building a miter saw stand requires cutting lumber to size, assembling frames, attaching legs and folding brackets, then adding casters and tabletops.
Tools Required:
| Tool | Purpose |
|---|---|
| Circular Saw | Cut lumber and particleboard to size |
| Drill/Driver | Drive screws and attach brackets |
| Speed Square | Check frame corners for square |
| Measuring Tape | Mark cut lines and bracket positions |
| Pencil | Mark cutting and drilling points |
| 6-inch Driver Bit | Access tight spaces for bracket screws |
Materials Required:
| Material | Purpose |
|---|---|
| 2×4 Lumber | Build a frame structure |
| 3/4″ Particle Board | Create tabletop surfaces |
| 2.5″ Screws | Attach frame joints and legs |
| 1.25″ Screws | Secure folding brackets |
| 12″ Folding Brackets | Enable the wing collapse feature |
| Small Washers | Prevent screw pullthrough |
| Locking Casters | Provide mobility and stability |
| Corner Screws | Secure the tabletops to the frames |
Step 1: Cut All Materials to Size
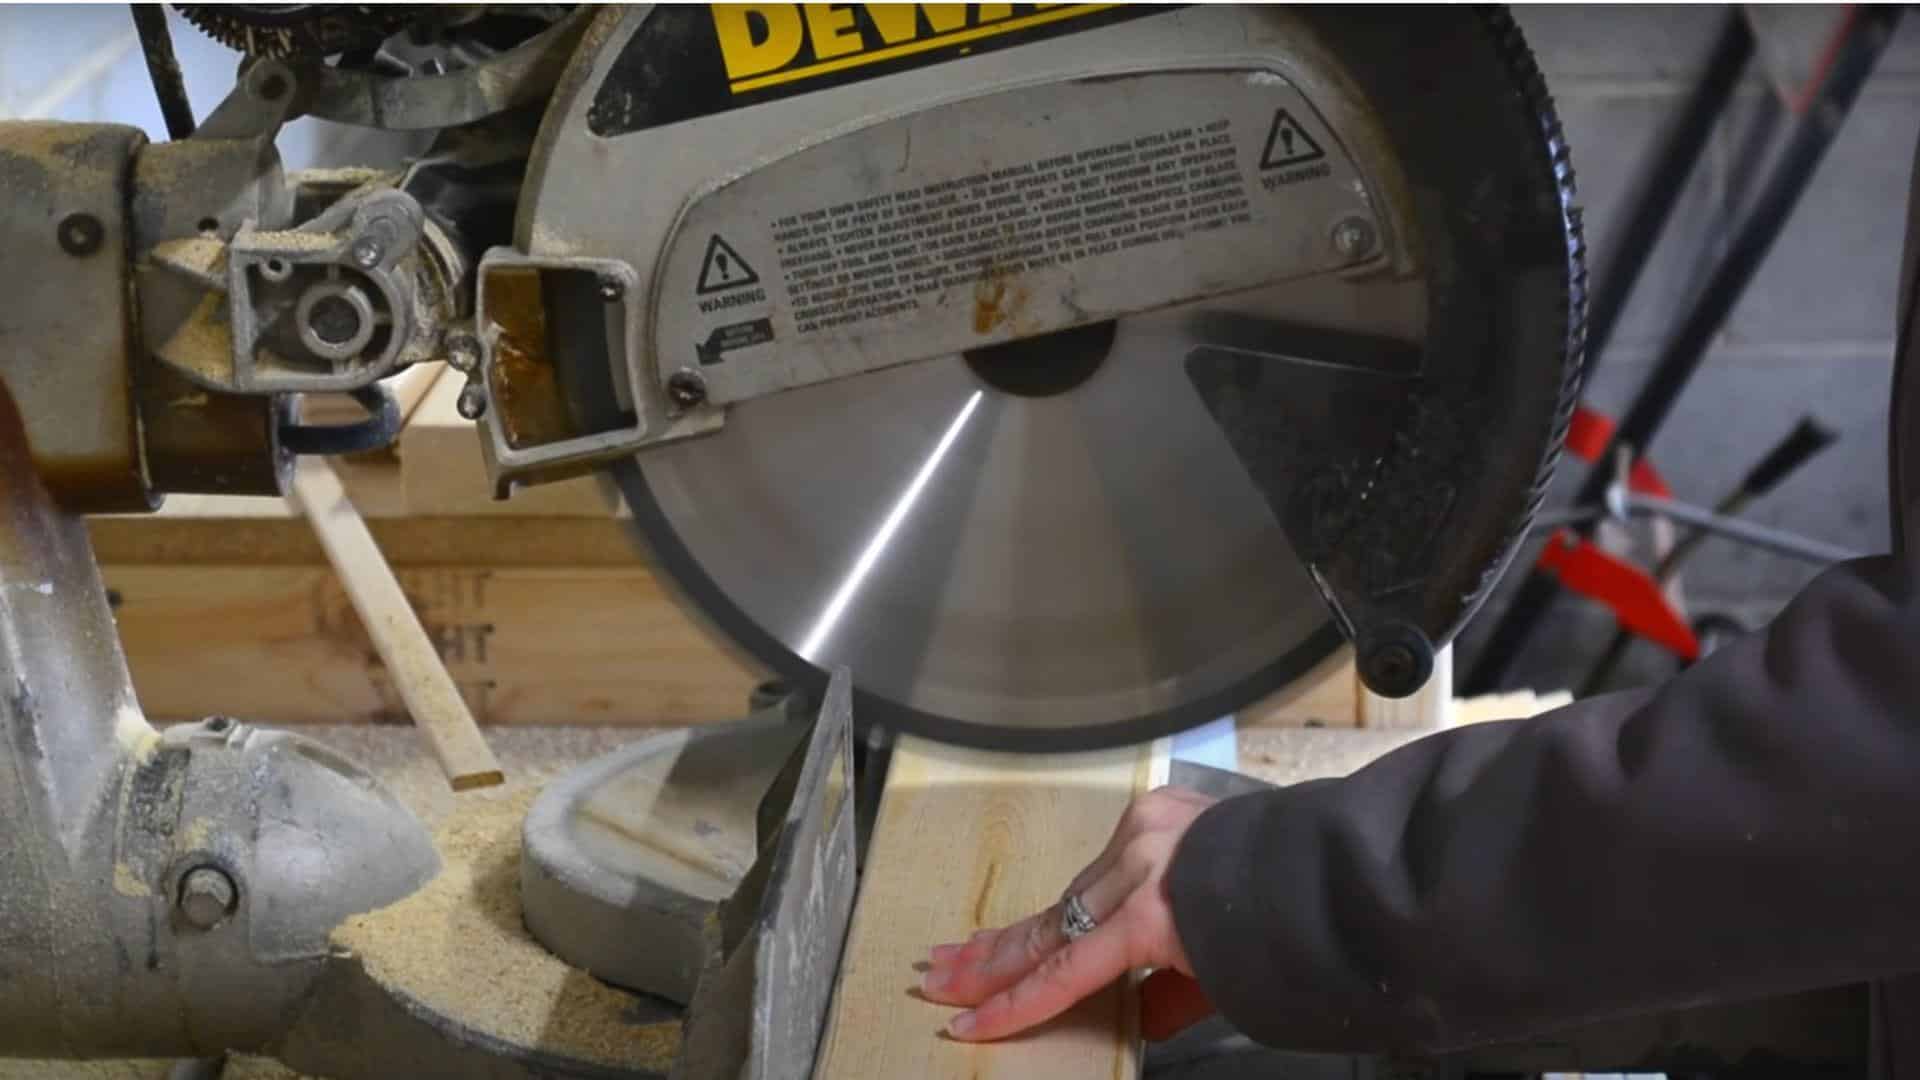
Start by cutting your lumber pieces to the required lengths. You’ll need several 2×4 boards and one sheet of 3/4 inch particleboard. Use a circular saw to rip the particleboard down to the correct dimensions for your tabletops.
Mark your cut lines clearly and make straight cuts. Having all materials pre-cut makes assembly much faster and more organized.
Pro Tip: Use particle board instead of plywood for workbench tops – it provides a smooth, even surface and costs less than plywood.
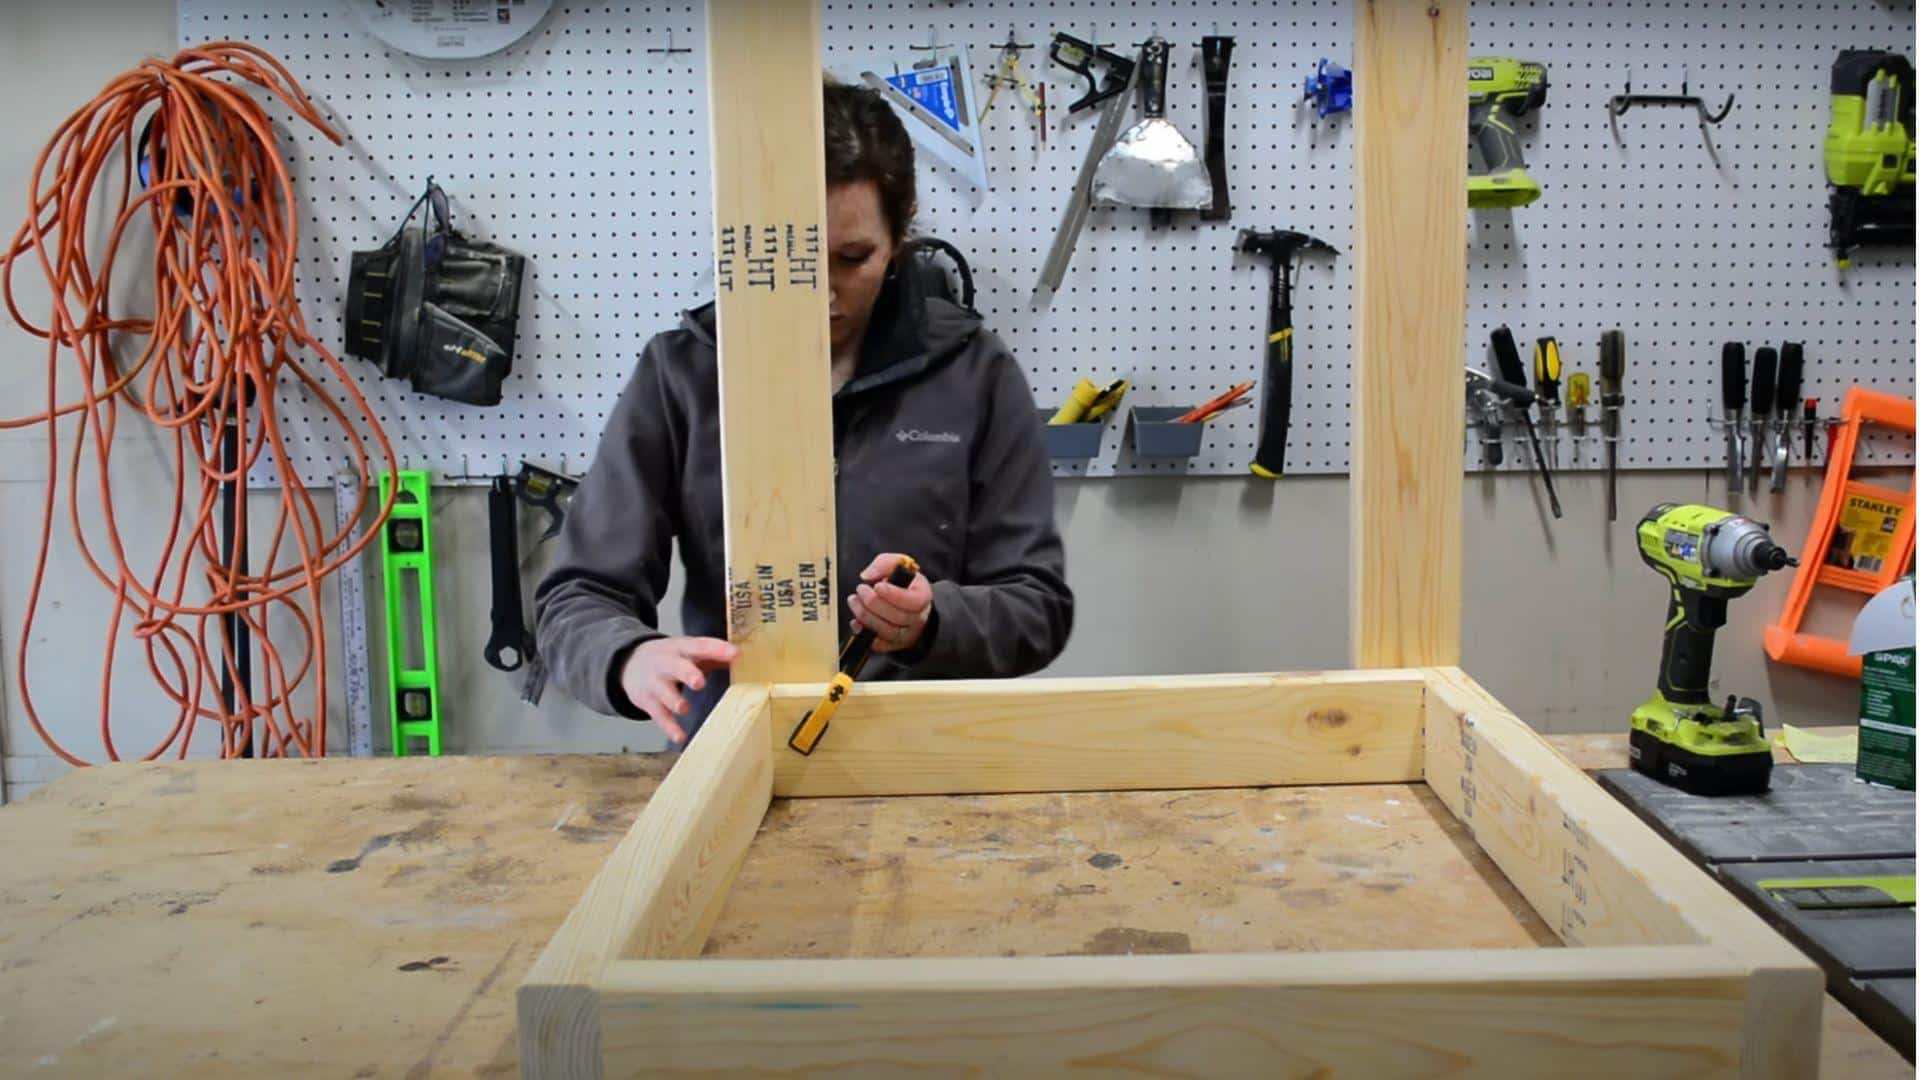
Step 2: Build the Frame Components
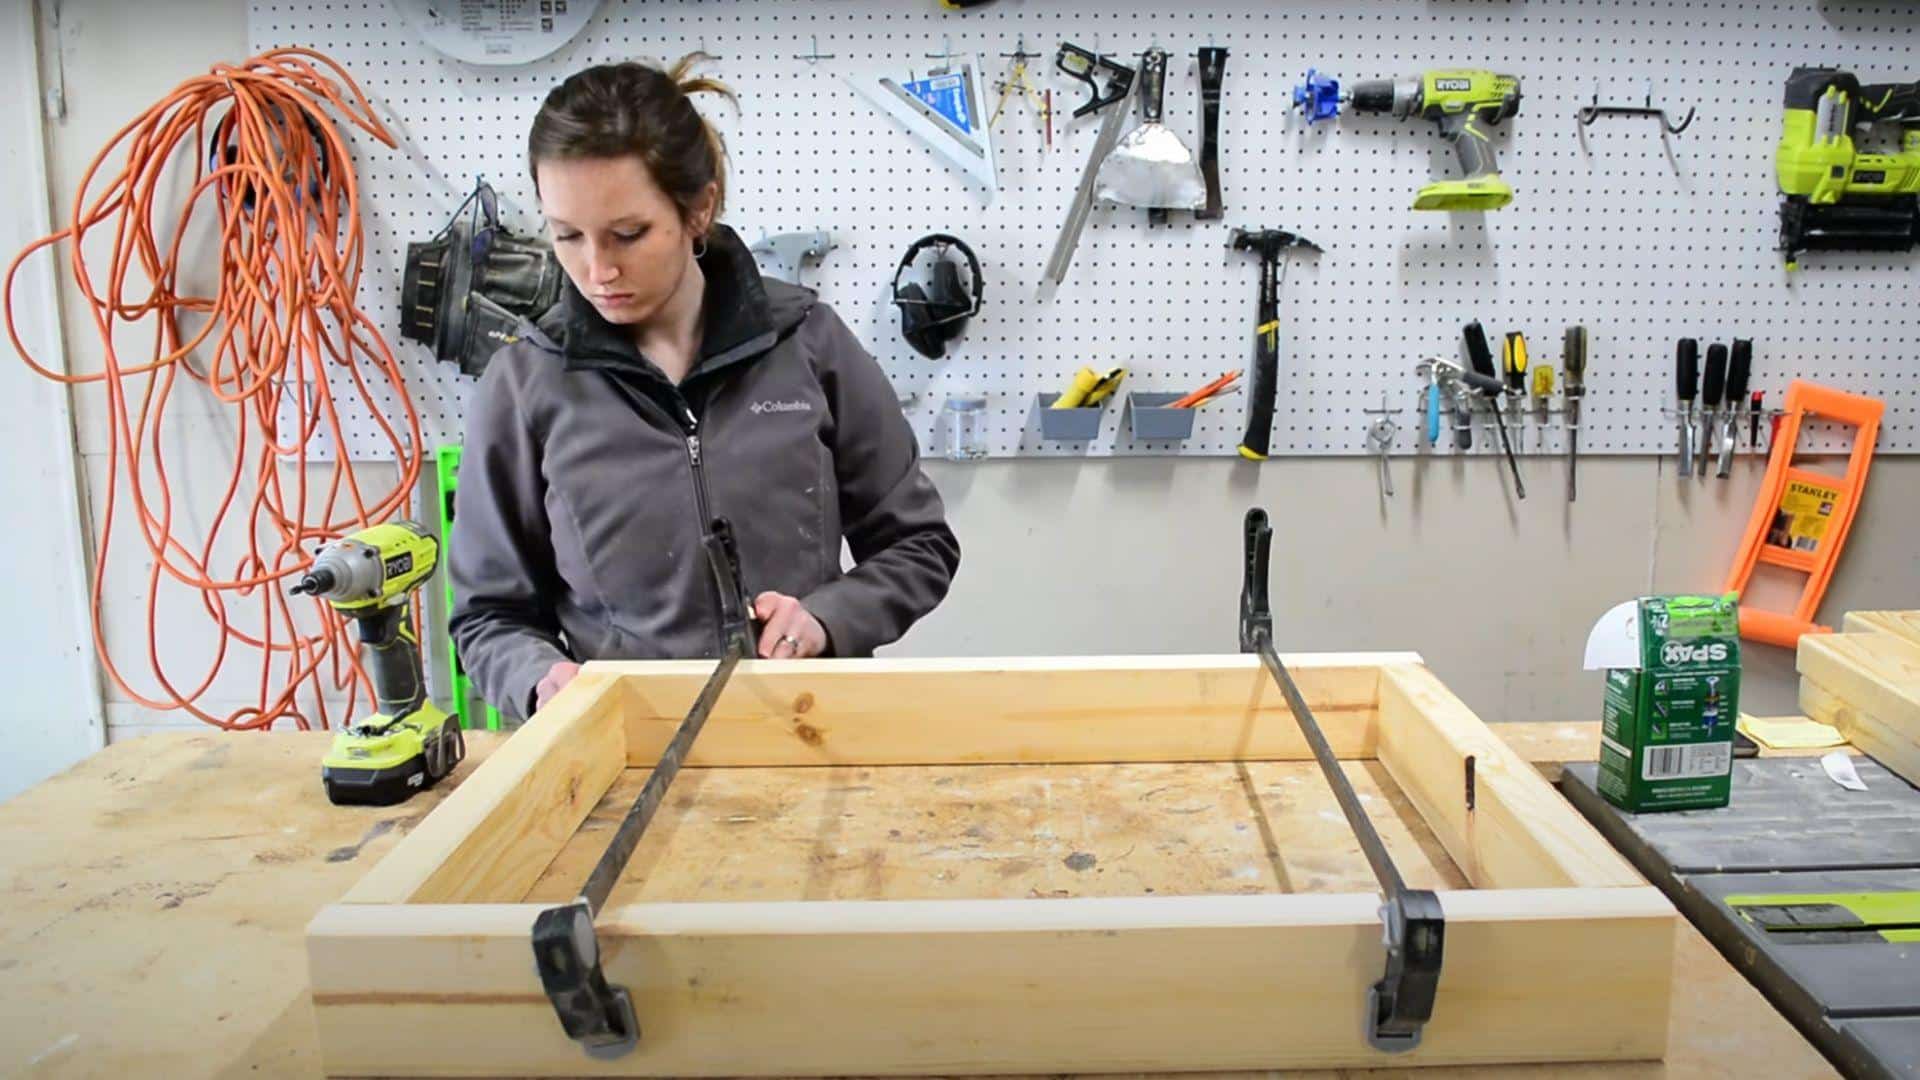
Assemble four separate 2×4 frames that will form the structure of your workbench. This includes two center frames and two collapsible wing frames.
Line up each board carefully, checking that the corners are perfectly square using a speed square. Then, attach the pieces using 2.5-inch screws. Take your time with this step as square frames ensure a stable final product.
Pro Tip: Double-check all frames for square before driving screws completely – small adjustments now prevent big problems later.
Step 3: Attach Legs to Center Frames
Move your work to the floor for better leverage and stability. Position each leg at the outside corner of both center frames. Use three 2.5-inch screws per leg, driving them through the leg into the frame.
Gravity helps hold everything in place while you work. Ensure the legs are flush with the frame edges and perfectly vertical before securing them completely.
Pro Tip: Work on the floor instead of a workbench – gravity helps hold legs tight against frames while you drive screws.
Step 4: Install Folding Brackets
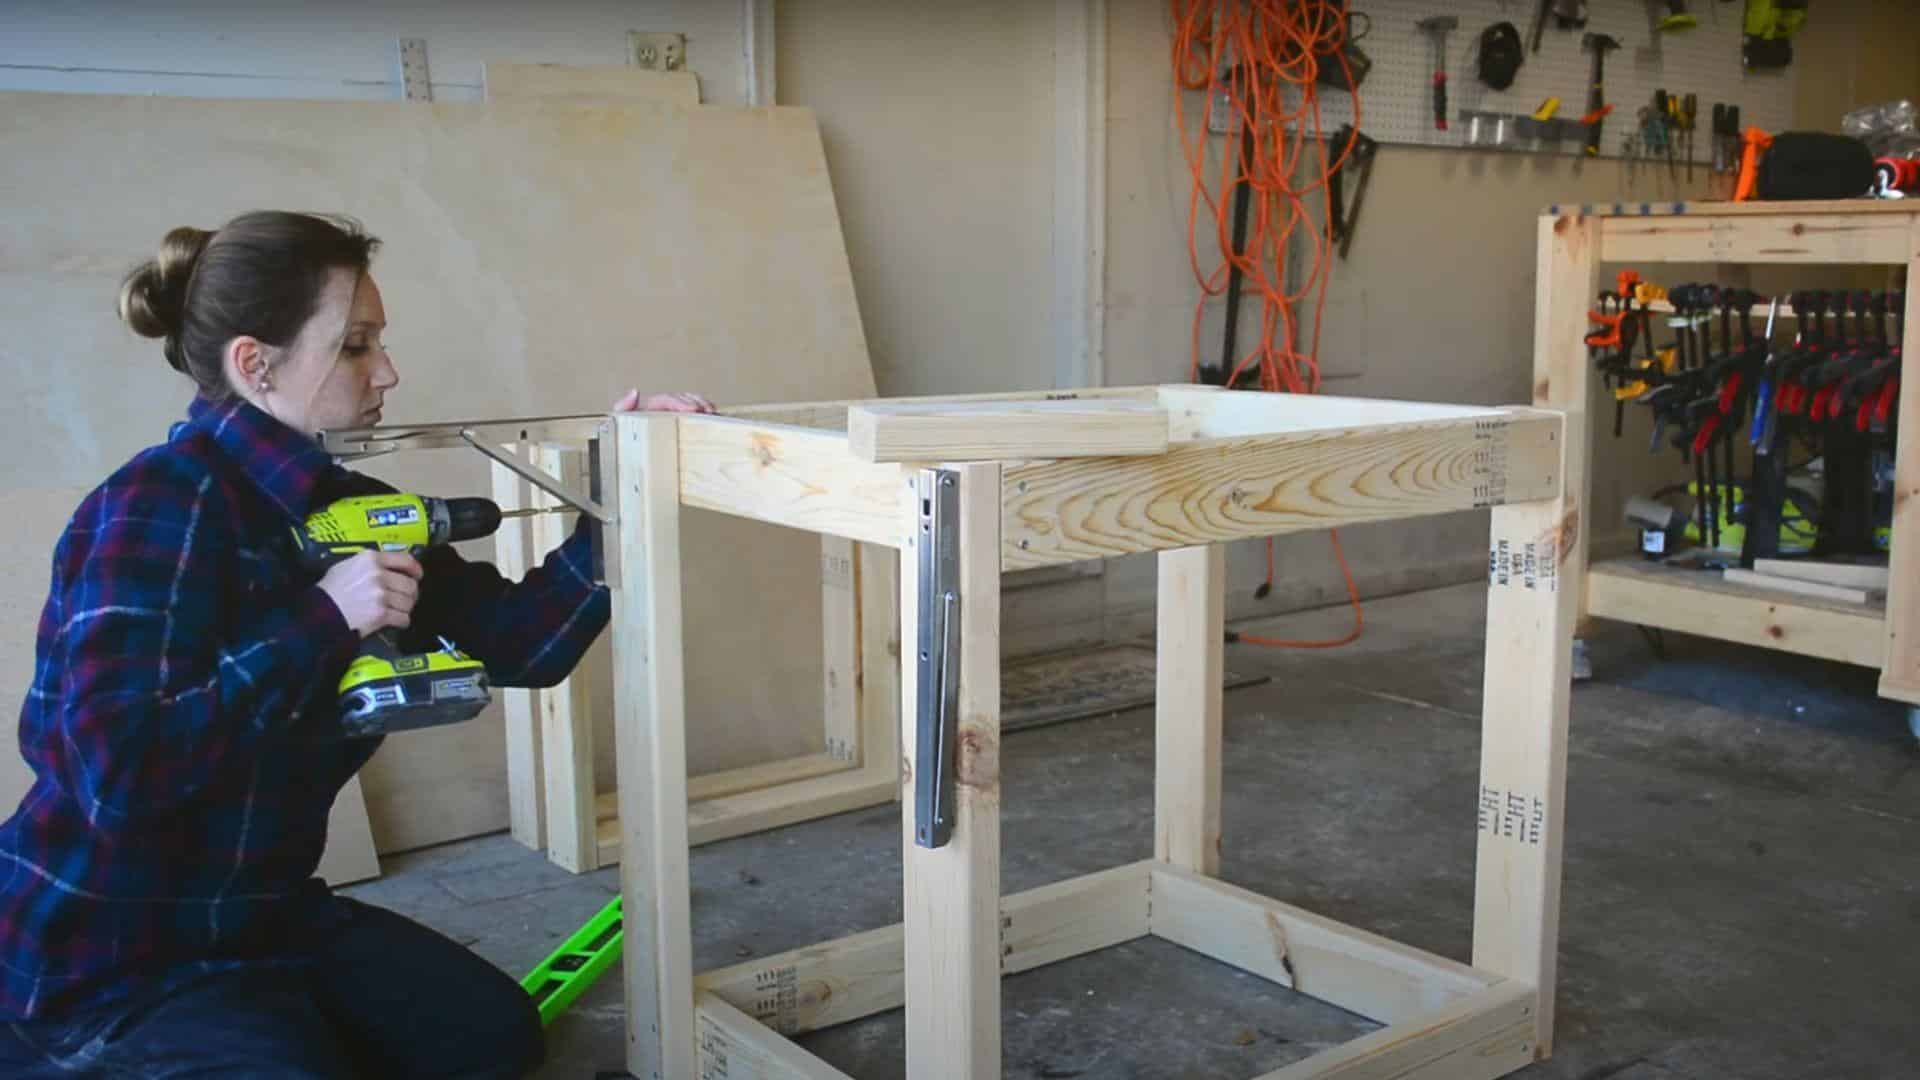
Measure and mark bracket positions on the center frames. If a screw from leg attachment interferes with bracket placement, remove it and use that same screw to attach both the bracket and leg simultaneously.
Use 2.5-inch screws for the top bracket holes and 1.25-inch screws for remaining holes. Add small washers since bracket holes are larger than screw heads.
Pro Tip: Use small washers with all bracket screws to prevent screw heads from pulling through the oversized pre-drilled holes.
Step 5: Connect Brackets to Wing Frames
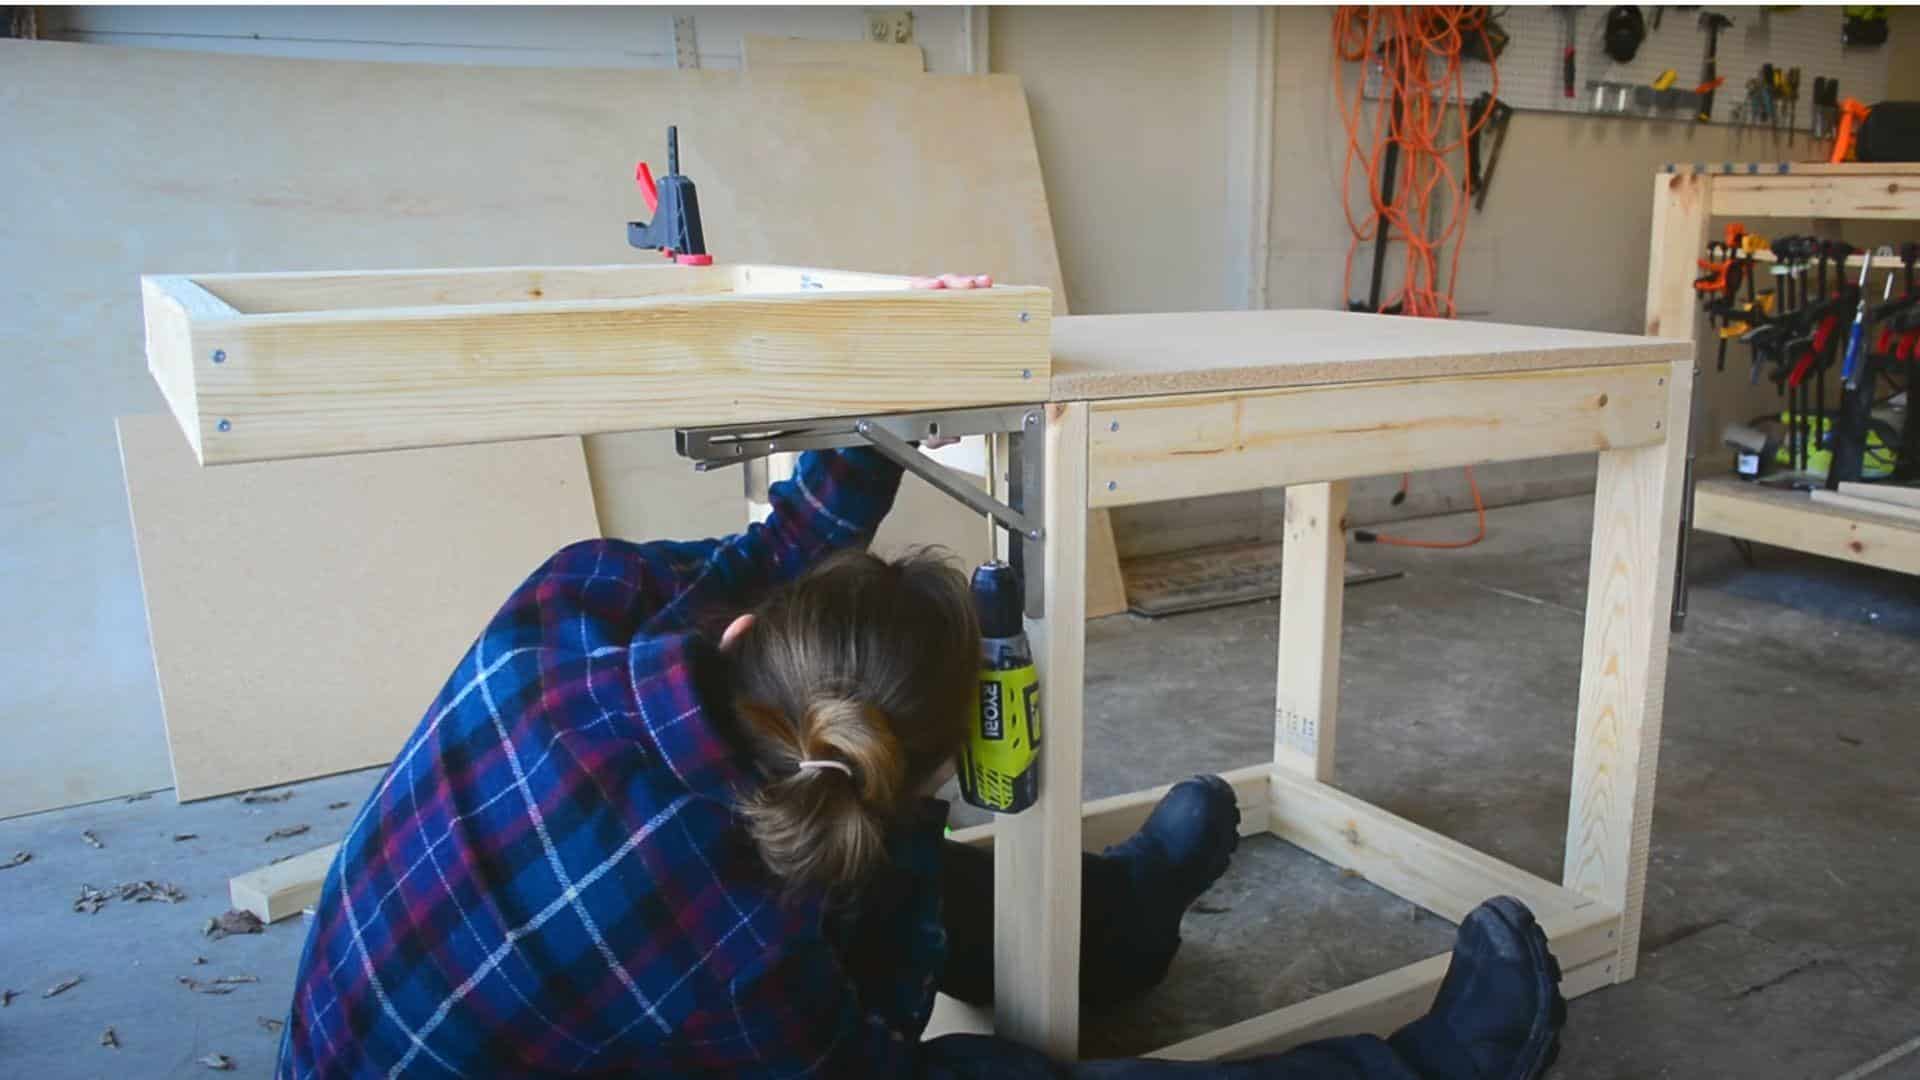
Position folding brackets on the wing frames, centering them and placing them about 1/4 inch from the leg edges. Use a 6-inch bit for better access when driving screws into these tight spaces.
Secure brackets with 1.25-inch screws and washers. Test the folding action to ensure smooth operation before proceeding to the next step.
Pro Tip: Use a 6-inch driver bit when attaching brackets to wings – the extra length gives you better access in tight spaces.
Step 6: Add Locking Casters
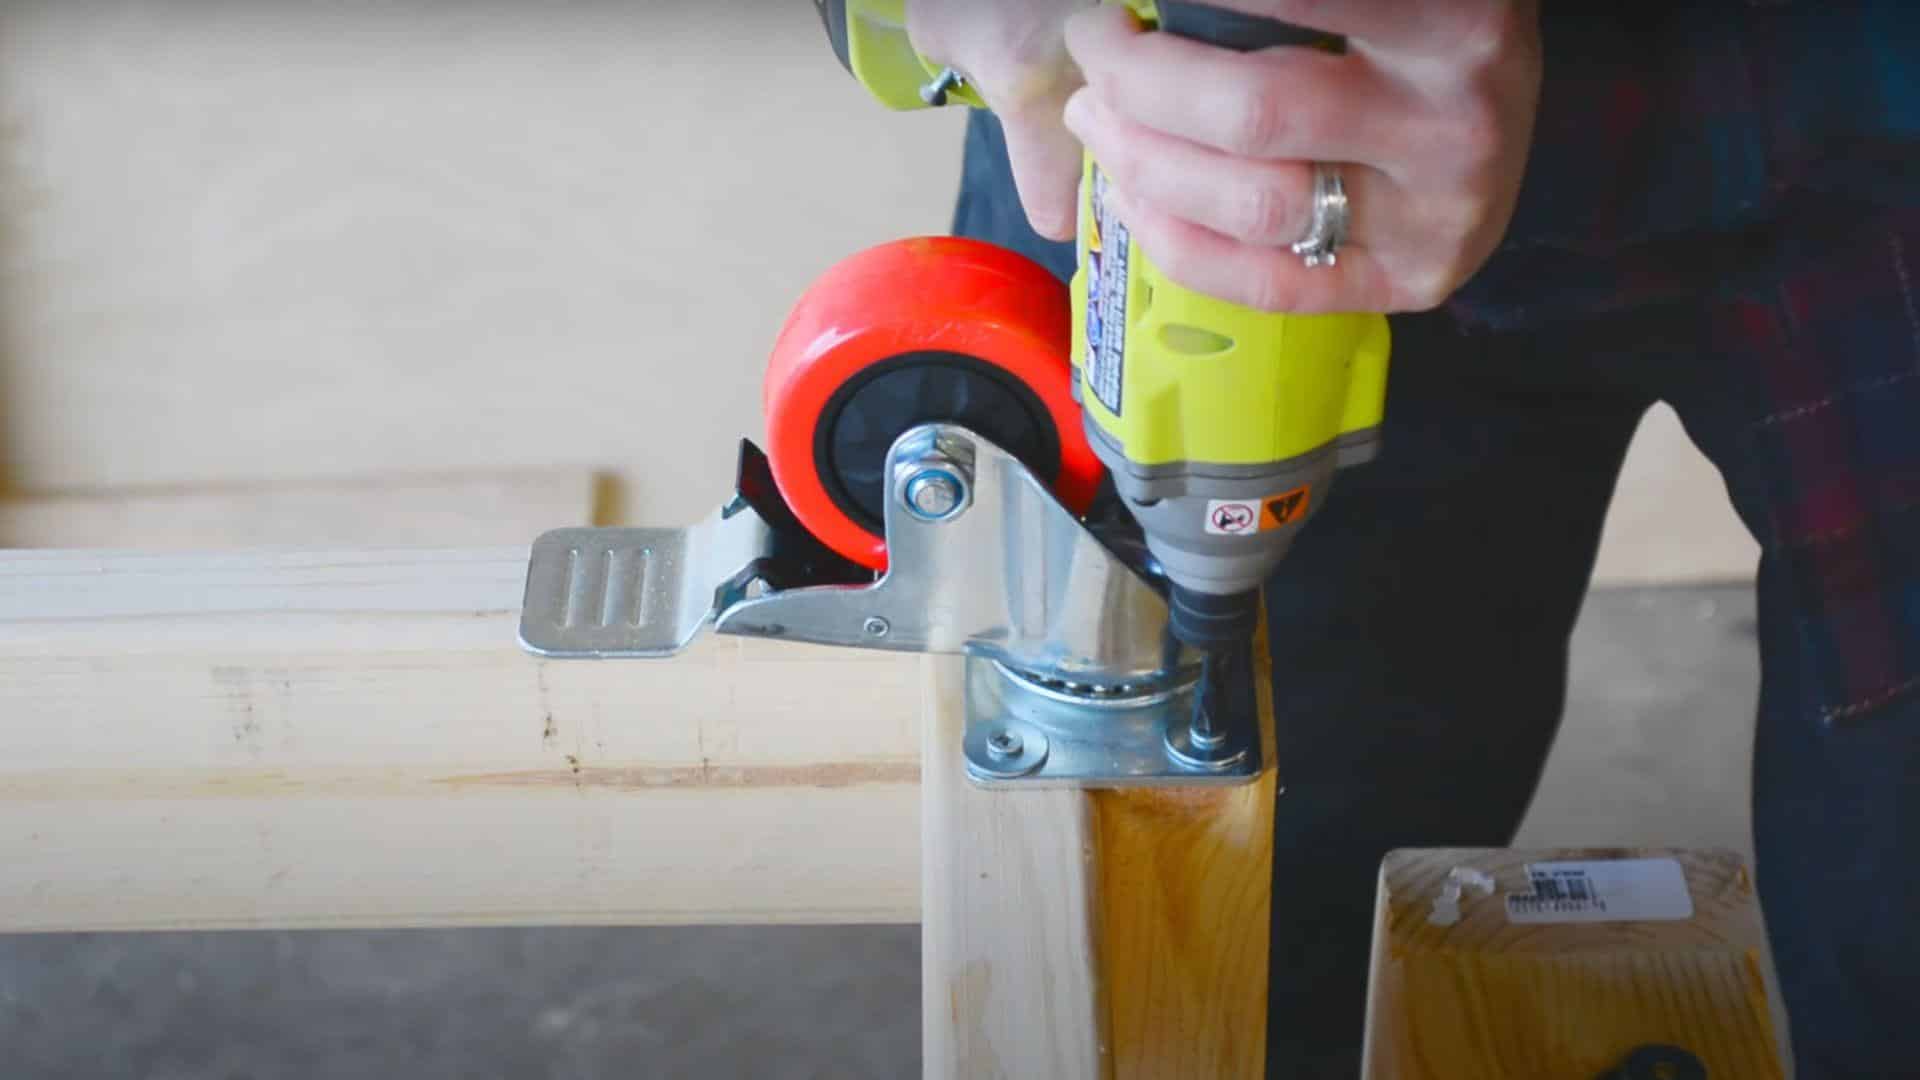
Flip the entire assembly over to install the locking casters on the bottom of the center frame legs. You can do this step before attaching wings, but it’s still manageable afterward.
Select high-quality locking casters that can withstand the weight of your saw and the materials you use. Position them securely and test the locking mechanism before continuing.
Pro Tip: Install locking casters on all four legs to make your stand truly mobile while maintaining stability during use.
Step 7: Secure Tabletops
Place each particle board tabletop onto its corresponding frame and secure with screws in each corner. You can countersink these screws if you want a completely flat surface, though it’s not necessary for most applications.
Make sure tabletops sit flush and level on their frames before driving screws completely.
Pro Tip: Countersink corner screws if you want a perfectly smooth tabletop surface for precision work.
Step 8: Mount Your Miter Saw
Finally, position your miter saw on the center of the tabletop and secure it according to your saw’s mounting requirements. Some saws bolt directly to the surface, while others may sit in a custom recess.
Test the folding wings and locking casters to ensure everything operates smoothly. Your collapsible mobile miter saw stand is now ready for use.
Pro Tip: Test all moving parts (folding wings and locking casters) before your first project to ensure smooth operation and stability.
Video Tutorial
Special thanks to Tylynn M for providing valuable insights in their video, which I referenced while creating this guide.
DIY Miter Saw Stand Mistakes to Avoid
Avoid rushing frame assembly without checking for square corners, and plan bracket positions before attaching legs to prevent conflicts.
Use proper tools, such as washers for brackets and 6-inch driver bits, to ensure a stable, professional result.
| Mistake | Solution |
|---|---|
| Not Checking Frame Squareness | Use a speed square at each corner before driving screws altogether. Check diagonal measurements to ensure rectangles are true. |
| Working on the Wrong Surface | Move the assembly to the floor when attaching legs. Let gravity hold pieces in position while you work. |
| Wrong Screw Placement for Brackets | Mark all bracket locations before attaching legs. Plan screw positions to avoid conflicts with mounting hardware. |
| Skipping Washers on Brackets | Use small washers under every bracket screw head. Select washers that are larger than the pre-drilled holes. |
| Using Wrong Driver Bit Length | Switch to a 6-inch driver bit when attaching brackets to wing frames. Keep longer bits in your toolkit. |
| Choosing the Wrong Tabletop Material | Use 3/4-inch particleboard instead of plywood for work surfaces. Save plywood for structural components. |
Benefits of a DIY Miter Saw Stand
1. Cost Savings – Building your own stand costs 50-70% less than purchasing commercial options. You only pay for raw materials, such as lumber and hardware, avoiding markup costs from manufacturers and retailers.
2. Custom Fit and Features- Design the stand to match your exact workspace dimensions and saw model. Add specific features you need, such as storage compartments, extension wings, or mobility options that store-bought stands may not offer.
3. Perfect Height Adjustment- Build the stand at your ideal working height to reduce back strain and improve cutting accuracy. Standard commercial stands often don’t fit all users comfortably.
4. Space-Saving Design- Create a collapsible or compact design that fits your workshop limitations. Fold-down wings and mobile casters let you store the stand efficiently when not in use.
5. Quality Control- Choose materials and construction methods that meet your standards. Use solid lumber and quality hardware for a stand that lasts longer than many factory-made alternatives.
6. Learning Experience- Develop woodworking skills and gain confidence in building furniture and shop fixtures. Each project teaches techniques you can apply to future builds.
Conclusion
Building your own DIY miter saw stand isn’t just about saving money – it’s about creating a workspace that actually works for you.
With collapsible wings, mobile casters, and the perfect height for your needs, this stand will make every project smoother and more enjoyable.
I’ve built dozens of shop fixtures over the years, and this stand design consistently delivers professional results without the professional price tag. The key is taking your time with the frame assembly and using quality hardware where it matters most.
Now it’s time to put these plans into action. Gather your materials, clear a workspace, and begin building. Once you experience the difference a proper miter saw stand makes, you’ll wonder how you ever worked without one.
What features will you add to customize your stand?
Frequently Asked Questions
What Should You Never Cut with A Miter Saw?
Never cut metal, masonry, concrete, or wet/green lumber with a miter saw. Avoid round objects, small pieces, or materials harder than the blade’s intended use.
What Is the Major Danger of A Miter Saw?
The major danger is kickback – when the blade catches the material and throws it back violently, potentially causing serious injury to the hands or face.
What Is a Good Height for A Miter Saw Stand?
A good height for a miter saw stand is 32-36 inches, matching your waist level for comfortable cutting without back strain or awkward positioning.