Are you tired of buying costly, pre-made wreaths that look like everyone else’s? I was, too, until I learned how to craft my own.
Making a wreath at home is much easier than most people think, and the results can be truly stunning.
The joy of creating something with your own hands cannot be matched. When you make a wreath yourself, you control every aspect – from materials to design to size.
Plus, homemade wreaths often cost less than store-bought ones, while looking just as good or even better. Ready to try your hand at this fun craft project?
In this blog, I’ll walk you through simple steps to create a beautiful wreath that fits your style. You’ll soon be making wreaths for every season and occasion.
DIY Wreaths: Personal Home Décor
A wreath is a circular decoration made from leaves, flowers, or other materials. These items have graced homes for centuries during celebrations and seasons.
These decorations range from simple green rings to detailed designs with colorful ribbons. You can hang them on doors or walls to add beauty to any space in your home.
Creating your own wreath gives you control over its appearance while saving money. You can select colors that match your home and add items with personal meaning—perhaps plants from your garden or family keepsakes.
The joy of crafting comes both from making it (alone or with loved ones) and the satisfaction when visitors admire your handmade creation. This personal touch makes your home feel more welcoming to everyone who visits.
Which Wreath Form Should You Choose?
The base of your wreath affects how it looks and how long it lasts. Picking the right form is the first step to making a wreath that works for your needs.
Your choice depends on what you plan to put on your wreath and where you’ll use it. Each type has good points and limits to think about.
- Wire forms: Light and simple. Perfect for fresh greens or light items. They’re cheap and good for first-time makers.
- Straw or foam forms: Offer a solid base for heavier items. They hold moisture well if you’re using fresh plants.
- Grapevine forms: Made from twisted grape plant branches. They have a rustic look and built-in spots to tuck in stems without much wire.
- Twig forms: Similar to grapevine but made from other tree branches. They give a clean, simple base for small touches.
For a rustic look, grapevine forms offer a charming natural base — find beautiful styling tips in our Spring Grapevine Wreath Ideas Full of Seasonal Charm.
Step-By-Step Process to Make a Wreath
Creating your own wreath is a simple process that anyone can master with the right guidance. Follow these six simple steps to craft a beautiful wreath that will impress your guests and bring joy to your home.
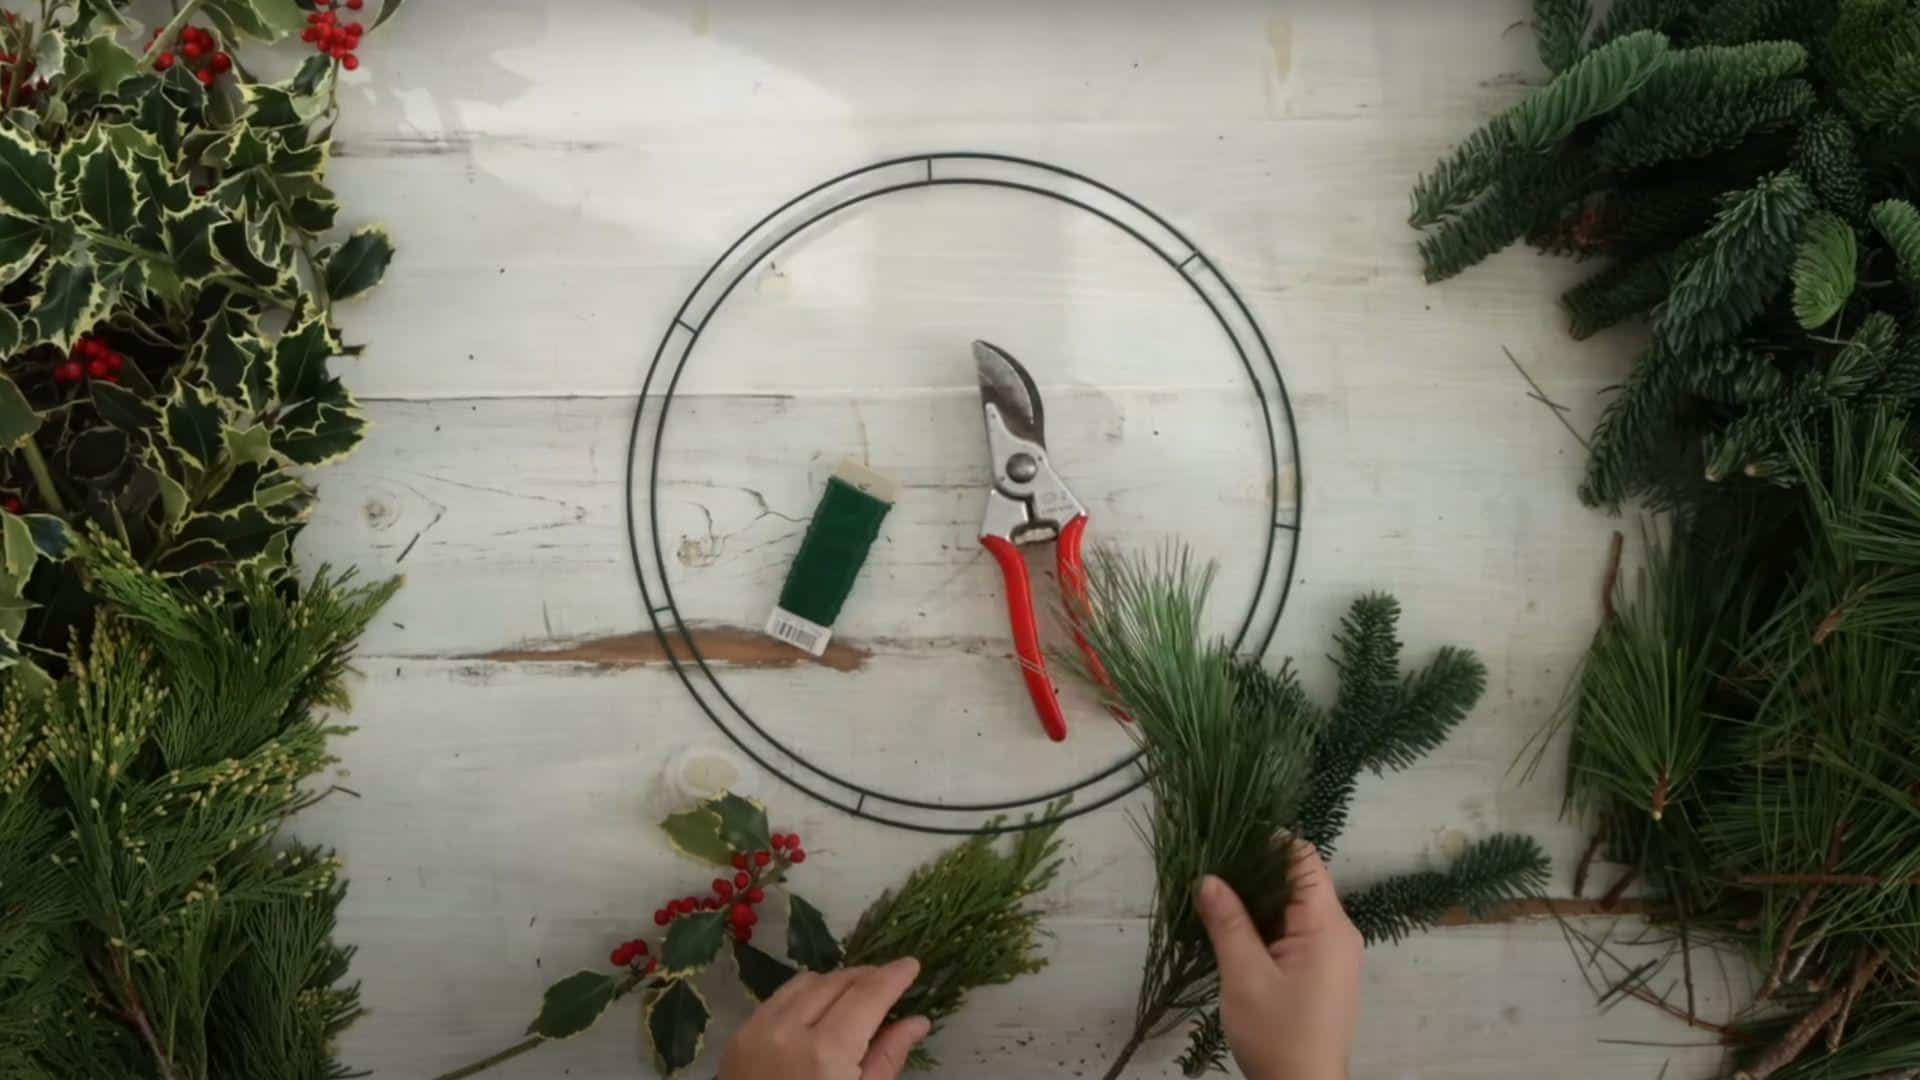
Step 1: Gather Your Supplies
You’ll need a few basic tools and materials before starting your wreath. Getting everything ready at the beginning helps the process flow better and prevents stopping halfway through your project.
What you’ll need:
- A wreath form – wire, straw, or grapevine
- Flexible 22-gauge paddle wire on a spool
- Pruning shears
- Assorted greenery
- Decorative elements (berries, pine cones)
- Hot glue gun (optional)
Step 2: Prepare Your Greenery
Sort and trim your chosen materials before attaching them to the form. This makes assembly easier and ensures your wreath will have a balanced look with varied textures throughout the finished piece.
Step 3: Attach the Wire to the Wreath Form
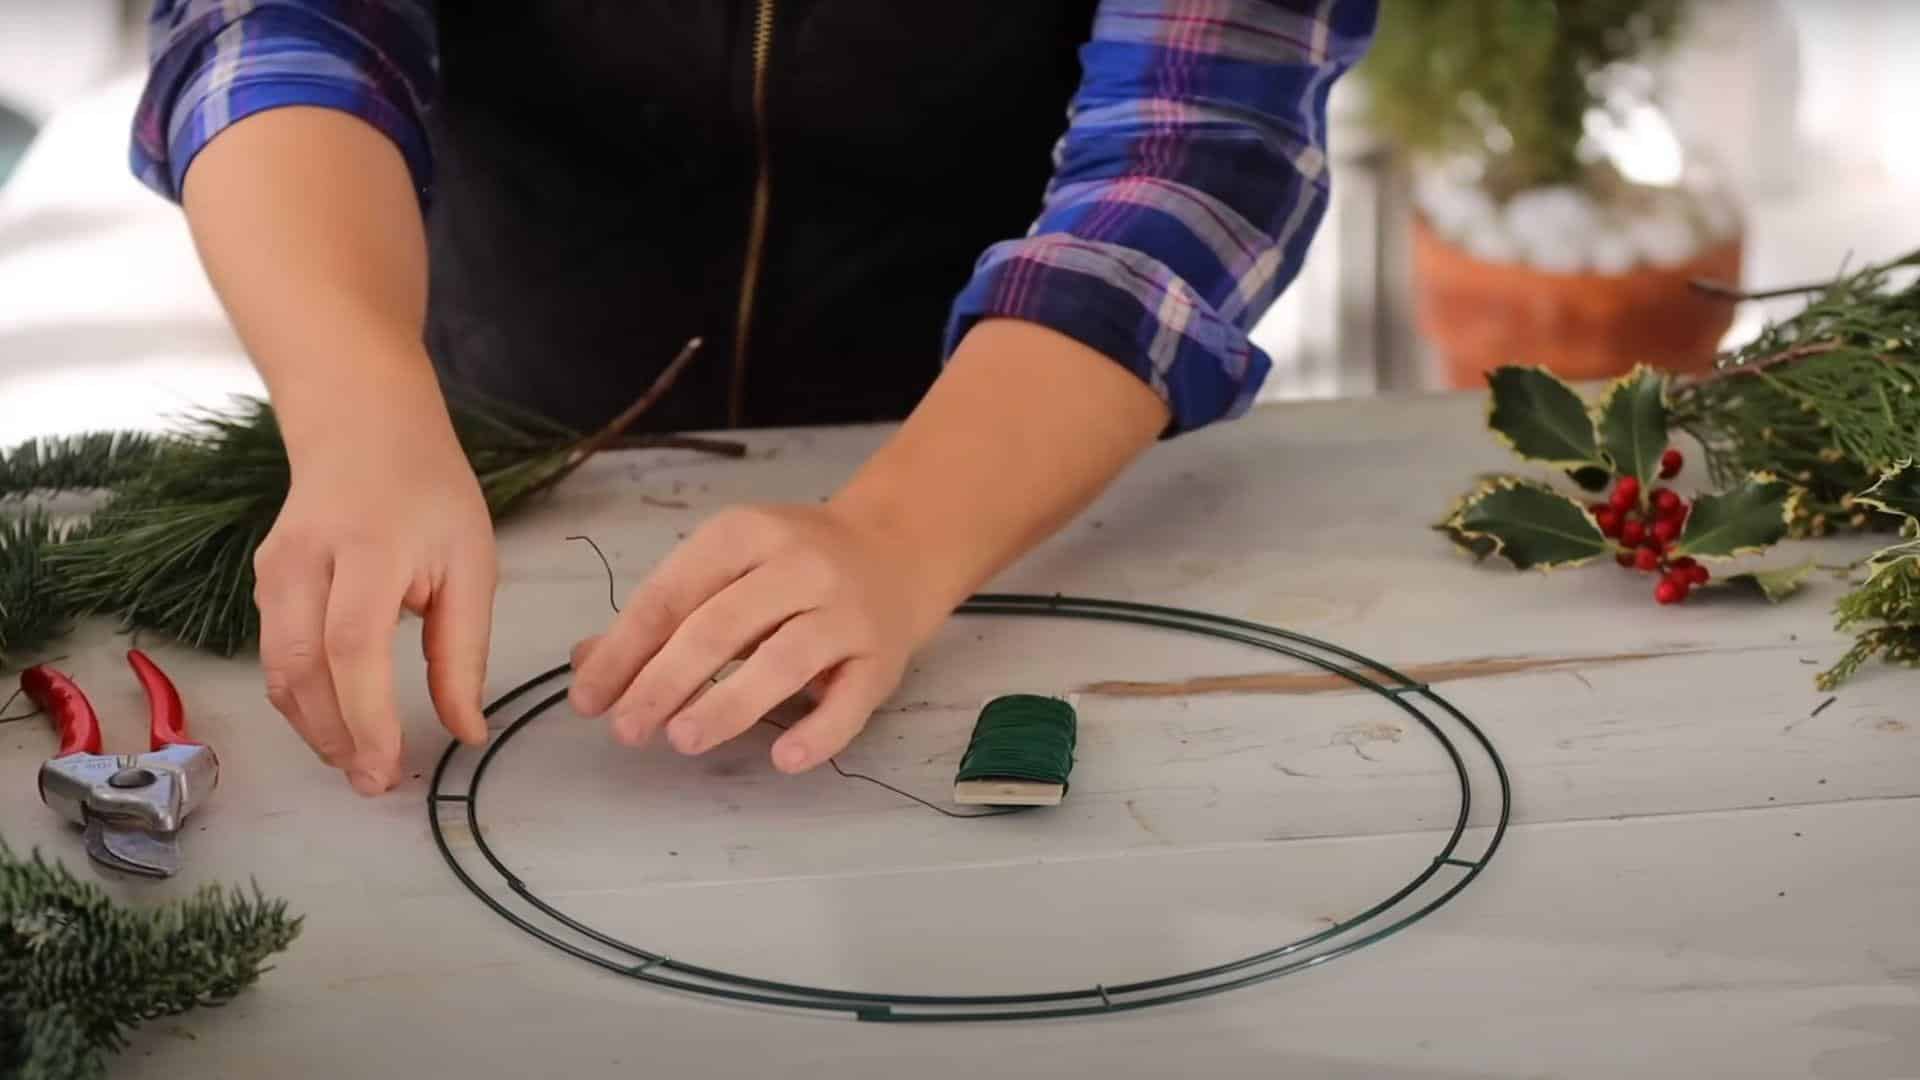
Securing the wire properly at the start is key to a sturdy wreath. This wire will stay connected throughout the entire wreath-making process. Wrap it tightly around the form several times, ensuring it won’t come loose as you work.
Step 4: Create and Attach Bundles
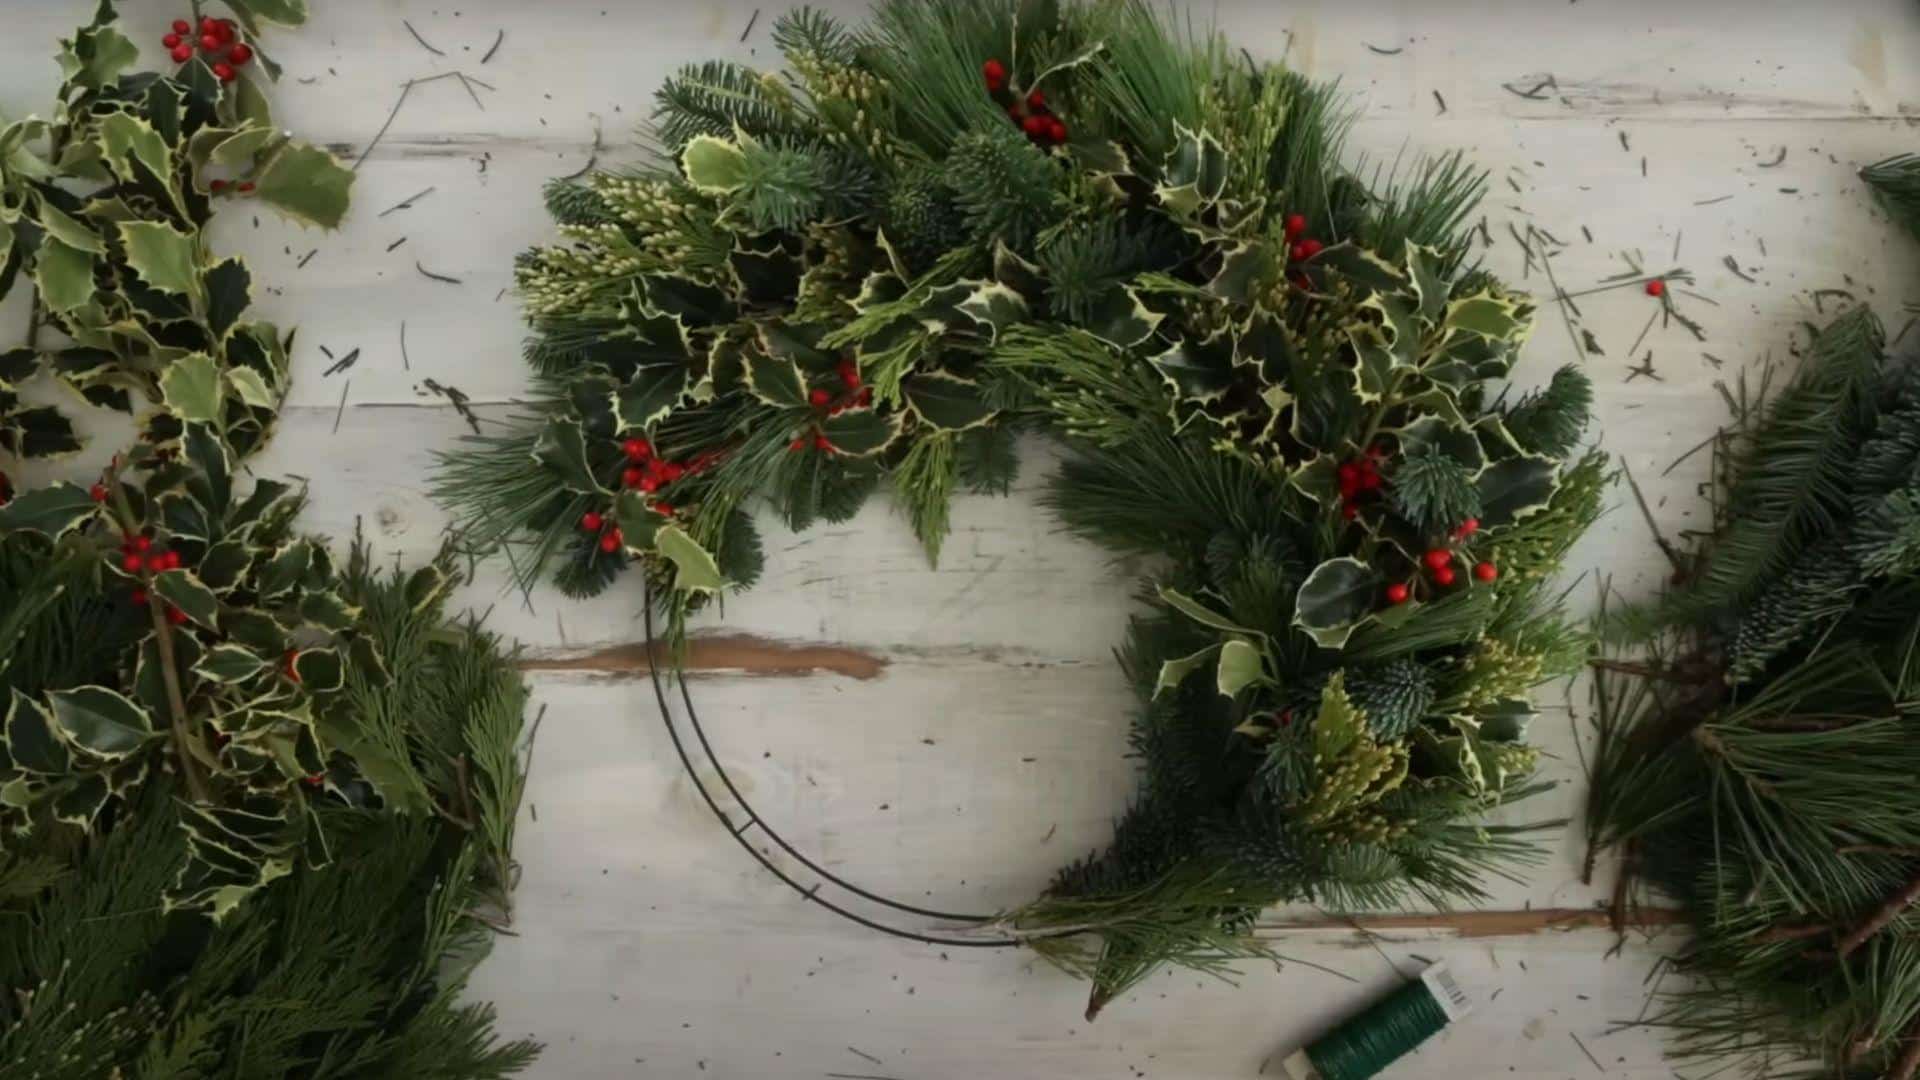
Make small bundles using a mix of your greenery types. Place the first bundle on the wreath form where your wire is attached, then wrap the wire around the stems three times. For each new bundle, slightly overlap it with the previous one and face them outward for thickness.
Step 5: Finish the Wreath
When you’ve gone almost all the way around the form, you’ll need to close the gap. Take larger pieces of greenery and weave them under the first bundle to create a seamless look. Wrap wire around these final pieces, then cut the wire with a 12-18-inch tail.
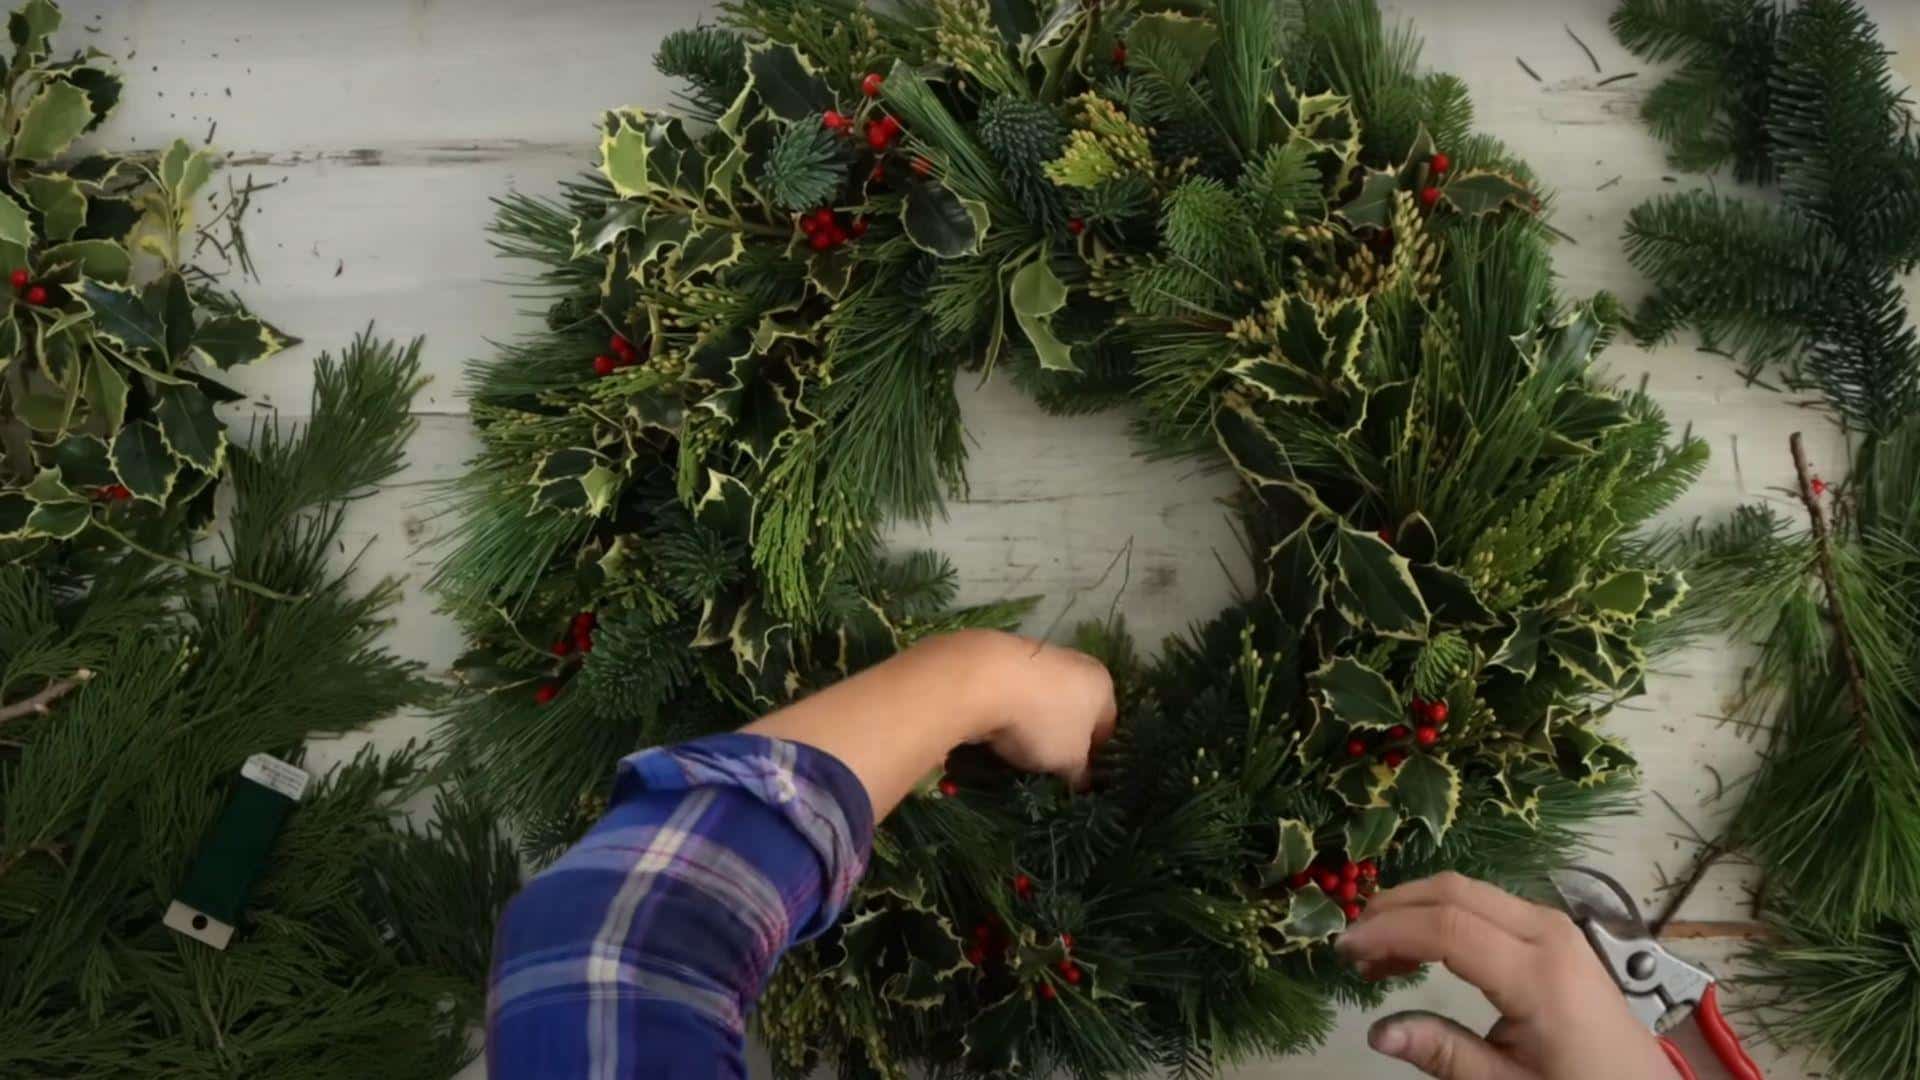
Step 6: Add Final Touches
At this point, your wreath structure is complete, but you may want to add special elements. Check for gaps or sparse areas, then fix them by tucking in extra greenery. You can also add decorative items like bows, ornaments, or dried fruits as desired.
Video Tutorial
For more tips and step-by-step guidance, check out the video tutorial that inspired this blog.
By – Garden Answer
Creative Ideas for Decorating Your Wreath
The beauty of making your own wreath is the freedom to add personal touches. You can keep it simple with just greenery or make it more festive with added decorations.
1. Natural Elements: Consider using items from nature, like pine cones, nuts, or seed pods, for a rustic look. Dried orange slices, cinnamon sticks, or small apples bring warm holiday scents and colors to your design.
2. Classic Holiday Style: For a more classic style, add red berries, velvet ribbons, or small ornaments. These traditional additions make wreaths feel festive and timeless, perfect for holiday celebrations.
3. Modern Minimalist: If you prefer a modern wreath, try using one type of greenery with a simple bow or no bow at all. The clean lines and simple design create an eye-catching piece that works in any home style.
Where and How to Display Your Wreath?
While front doors are the most common spot for wreaths, many other places in your home can benefit from these round decorations. Think beyond the usual to bring greenery to unexpected areas.
1. Indoor Displays
Hang wreaths on interior doors, above fireplaces, or on kitchen walls for added charm. You can lay them flat on tables with candles in the center for a simple but stunning centerpiece.
2. Window Decorations
Windows look more festive with wreaths, either hung inside or outside. Use suction cups with hooks for easy hanging without causing damage to the glass or frame.
3. Wall Galleries
Create a group of small wreaths in different sizes for an eye-catching wall display. Mix materials and styles while keeping one element consistent, such as color or shape.
4. Hanging Method
For door hanging, use over-the-door hooks that won’t damage the surface. Ribbon works well for windows and walls – choose wide ribbon for heavier wreaths and match it to your decor.
Preserving and Maintaining Tips For Wreath Frame
With proper care, your wreath can stay fresh and beautiful throughout the season. A few simple steps can extend its life and keep it looking its best.
- Mist fresh wreaths with water every few days
- Keep wreaths away from heat sources and direct sunlight
- Use plant sealer spray on fresh greens to lock in moisture
- Display wreaths in cooler locations when possible
- Store artificial wreaths in plastic containers or storage bags
- Hang stored wreaths or lay them flat to maintain their shape
Conclusion
Making your own wreath brings a personal touch to your home that store-bought items simply can’t match. The process is straightforward once you understand the basics.
The skills you learn from creating your first wreath will serve you well for years to come. Each season offers new materials and ideas to try.
Remember that perfection isn’t the goal – the small variations make handmade wreaths special. Your creation will carry your style, whether simple or fancy.
So gather your supplies, set aside a little time, and enjoy the satisfaction of hanging a wreath you made yourself. The compliments from visitors will be an added bonus to the joy of creating something beautiful.
Frequently Asked Questions
What Is the Cheapest Way to Make a Wreath?
Use garlands as your base material. They’re more affordable than buying separate greenery pieces and can be wrapped around a simple wire form for quick, budget-friendly wreaths.
Is Wreath-Making Hard?
Not at all! With basic supplies and some creativity, anyone can make a beautiful wreath. The process is simple once you learn the technique of attaching materials.
How Long Do Homemade Wreaths Last?
Fresh wreaths typically last four to five weeks outdoors in cool weather. Indoor wreaths may dry faster unless misted regularly or treated with preservative spray.