Mini golf attracts people of all ages. The challenge of putting a ball through tricky paths grabs attention and creates fun for everyone involved.
Instead of paying for each game at a commercial place, why not design a fun, personal course right at home? It’s affordable, flexible, and rewarding.
In this blog, I’ll show you how to build mini golf holes in your yard or indoors. You’ll learn what materials work best and get ideas that need just basic items to create hours of family fun.
With these tips, you can make a course that fits your space. Your friends and family will enjoy playing with something you built with your own hands.
Let’s get started with everything you need to know about making your own mini golf course.
Why Build a DIY Mini Golf Course?
Making a mini golf course at home brings multiple benefits. First, it saves money. Instead of paying for tickets every time, you invest once in materials that last for many play sessions.
It also offers a chance to spend quality time with family. Building the course together creates shared memories, while playing on it later adds more fun moments.
A homemade course fits your exact needs. You can make it as simple or complex as you want. Have limited space? Create just two or three holes. Want something for younger kids? Make wider paths and bigger holes.
The building process itself teaches useful skills. Kids learn basic design, problem-solving, and how to use tools safely under supervision.
Planning Your Mini Golf Course
Good planning makes all the difference when creating a mini golf course. Taking time to think through your design saves headaches later.
Choosing the Right Space
Indoor courses work well in basements or garages with smooth floors. Look for areas with few obstacles and enough room to swing a putter.
For outdoor spaces, level ground with short grass works best. Avoid spots that collect water or sit in busy walking paths.
Measure your space carefully. Each hole typically needs 6-8 feet in length, plus room for players to stand and swing.
Pro Tip: Take photos of your space and draw on them to visualize how your course will look when finished.
Sketching Layout Ideas and Themes
Draw your space on paper first. Mark doors, trees, or other fixed items that you’ll need to work around.
Plan how players will move from one hole to the next. A good flow keeps the game moving without congestion.
Consider a theme that connects your holes. Themes make the course more fun and give you direction for decorating.
Quick Check: Make sure your holes vary in difficulty. Include some easy wins along with more challenging designs to keep everyone engaged.
How to Build a DIY Mini Golf Hole?
Creating a mini golf hole doesn’t need complex skills. Follow these five simple steps to make a fun, playable hole:
What You’ll Need to Get Started?
Before building, gather these essential materials. Most items can be found at home, hardware stores, or dollar shops at low cost.
| Basic Materials | Tools | Optional Extras |
|---|---|---|
| Cardboard sheets | Scissors | Paint and brushes |
| Wood planks | Utility knife | Decorative items |
| Artificial turf | Measuring tape | Themed props |
| Pool noodles | Hammer | LED lights |
| Plastic cups | Nails or screws | Chalk or markers |
| Golf balls | Hot glue gun | Weather sealant |
| Putters | Drill | Sand or gravel |
The total cost varies based on what you already own. A basic 5-hole course typically costs $30-$50 to build from scratch, while fancier versions might reach $100.
Quick Check: Test your putters with the golf balls you plan to use. Some lightweight toy putters won’t work well with standard golf balls.
Step 1: Choose a Base
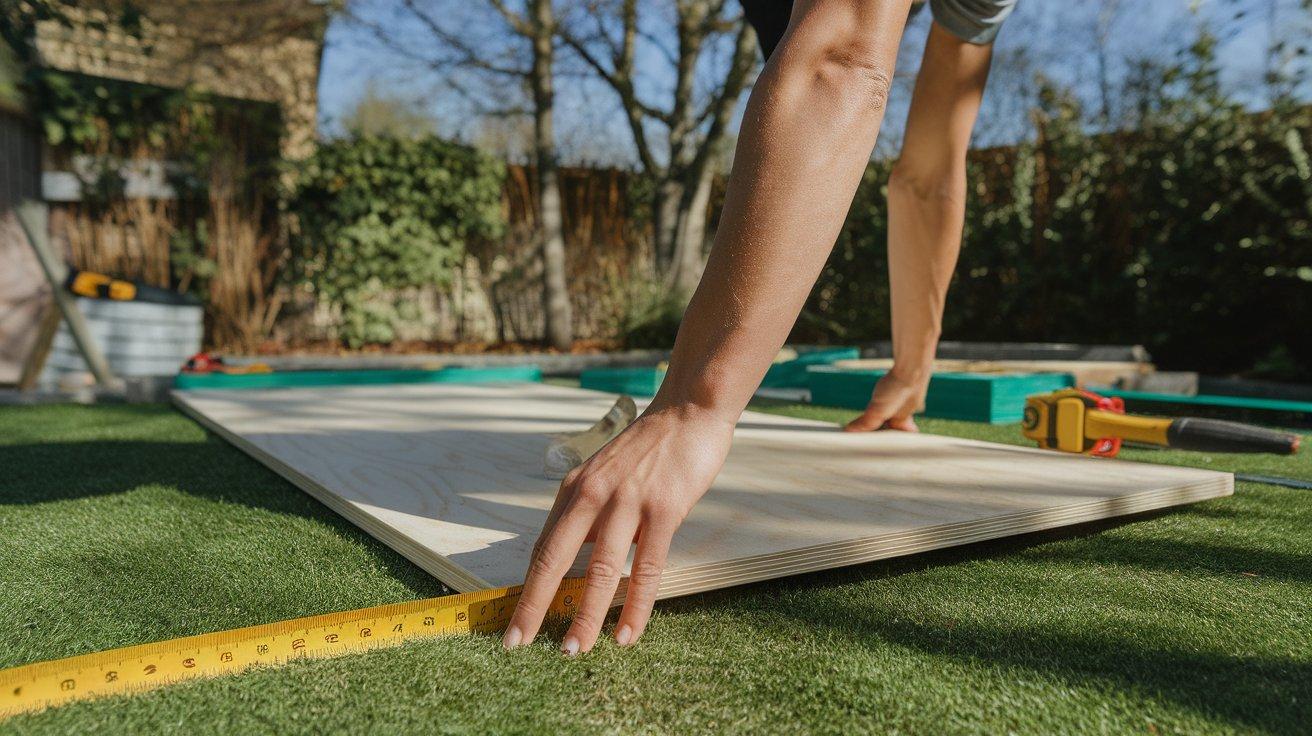
A good base keeps your ball rolling smoothly. Use plywood for a flat, stable surface. Cardboard works for temporary setups. For outdoor builds, cut artificial turf to size or use a flat grassy area.
The base should be at least 2 feet wide and 4-6 feet long to give enough space for the ball to travel. Make sure it’s stable and doesn’t wobble when tested.
Step 2: Create Borders
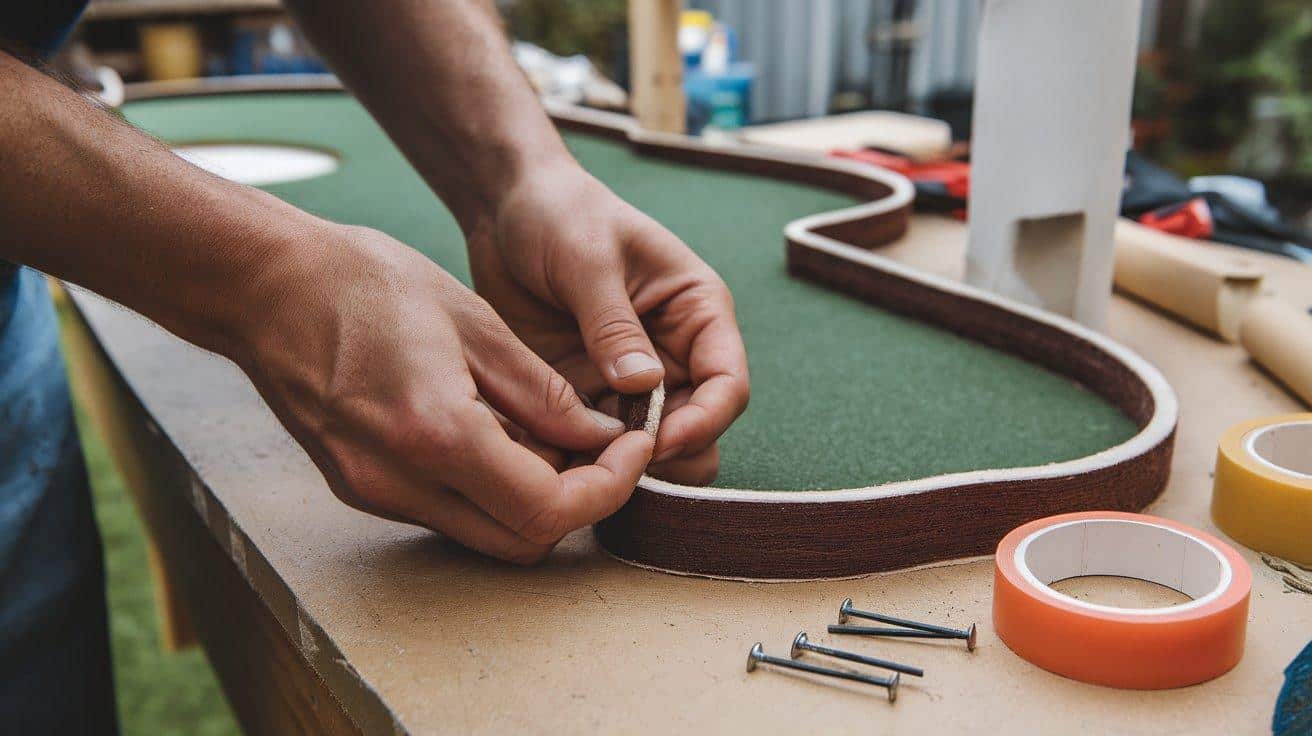
Borders keep the ball on track. Cut pool noodles lengthwise to make perfect soft barriers. Other options include wood strips, rope, or even books for quick indoor setups.
Fix borders securely using tape, glue, or small nails. They should be at least 2 inches high to contain fast-rolling balls without letting them jump the track.
Step 3: Add a Challenge
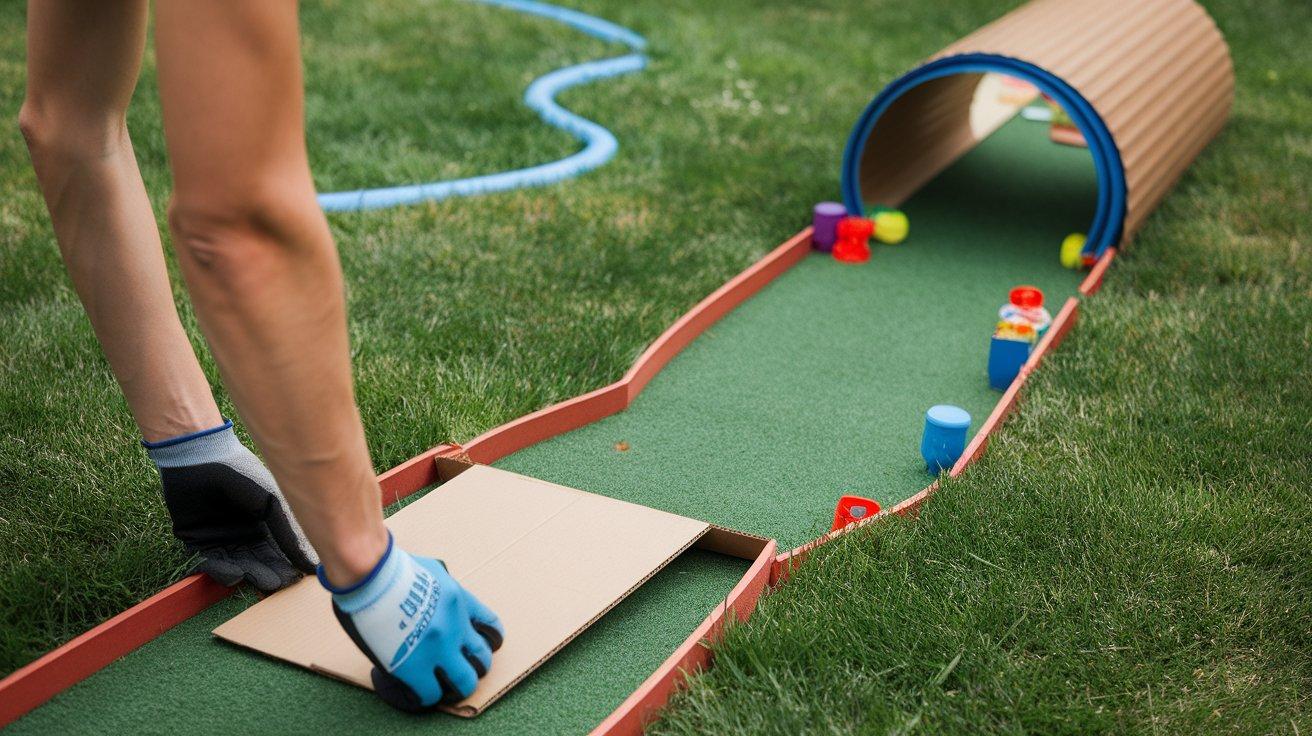
Every good hole needs a challenge. Simple ramps made from cardboard create height changes. PVC pipes form tunnels. Small toys act as obstacles. Start with one challenge per hole.
Test each challenge before fixing it in place. The goal is to make holes fun but not impossible. A child should be able to complete each hole in under 5 tries.
Step 4: Mark the Hole
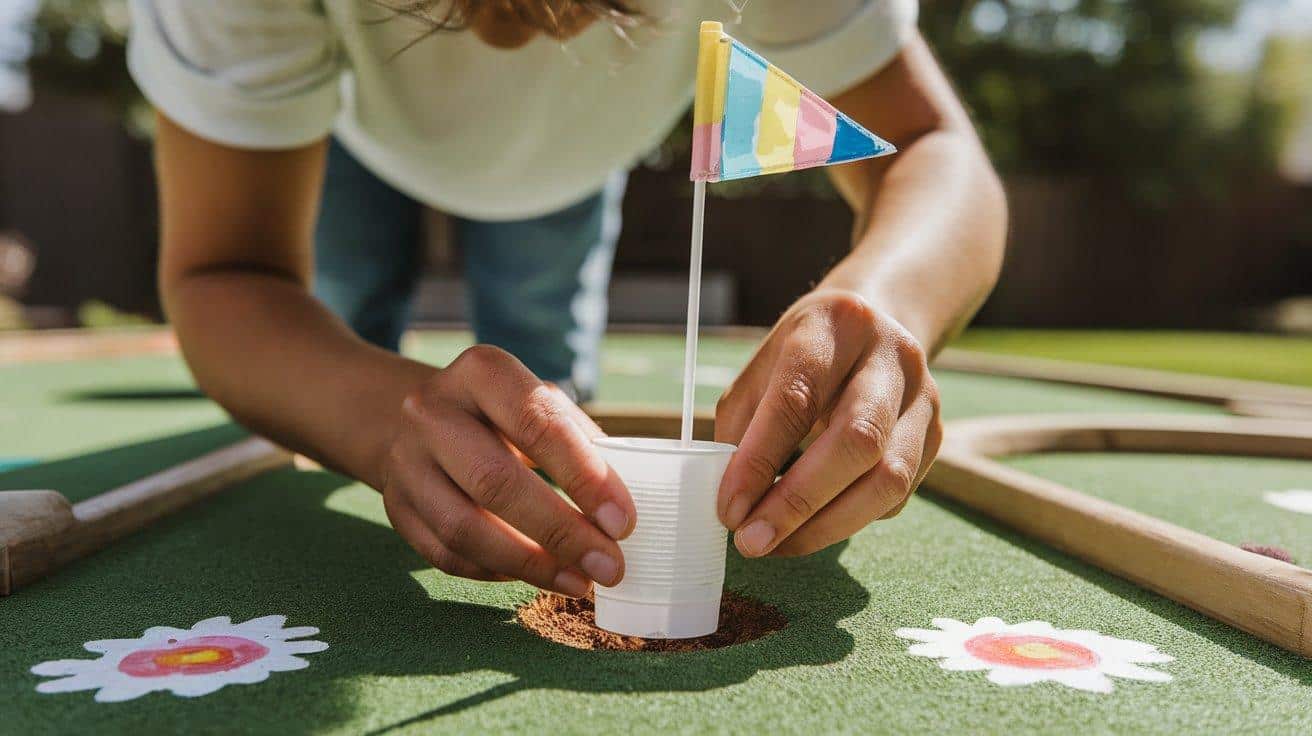
A plastic cup buried to its rim makes a perfect hole. For indoor courses, cut a hole in cardboard and place a cup underneath to catch balls. The standard size is 4.25 inches wide.
Position the hole away from the edges to give players a fair chance. Mark it with a small flag for visibility and that authentic mini golf feel.
Step 5: Decorate it
Add character with paint, markers, or small decorations. Keep designs simple at first. Make sure additions don’t block the ball’s path or create unfair bounces.
Decorations should match your theme if you have one. Waterproof any paper decorations if your course will be outside.
8 DIY Mini Golf Hole Ideas
Looking for hole designs that stand out? Here are five simple yet clever ideas you can build with basic materials:
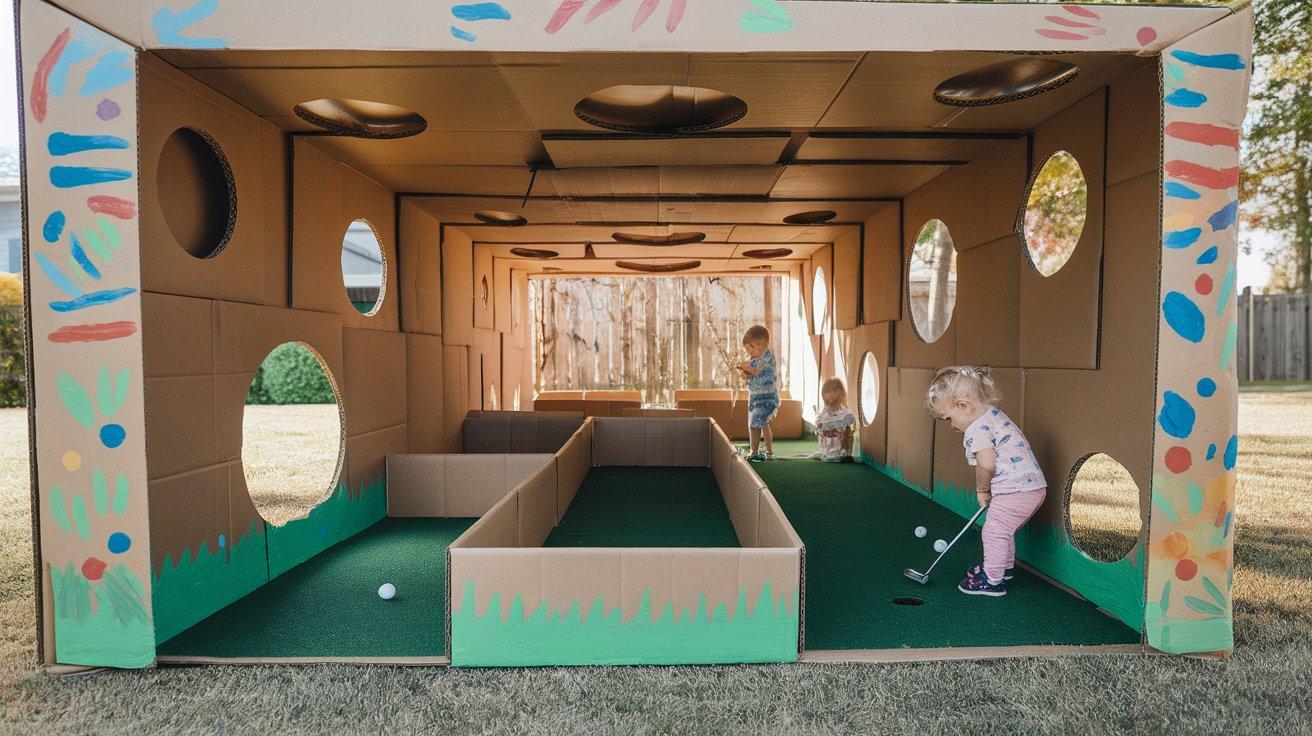
1. Cardboard Castle Hole

Turn a cardboard box into a castle with an archway tunnel. Cut out a door-shaped opening on both sides of the box. Add small towers on top using toilet paper rolls.
Paint it gray for a stone look. Draw or glue on bricks, windows, and a door. Place it in the middle of your putting path so players must aim through the castle to reach the hole.
2. Ramp & Loop Hole
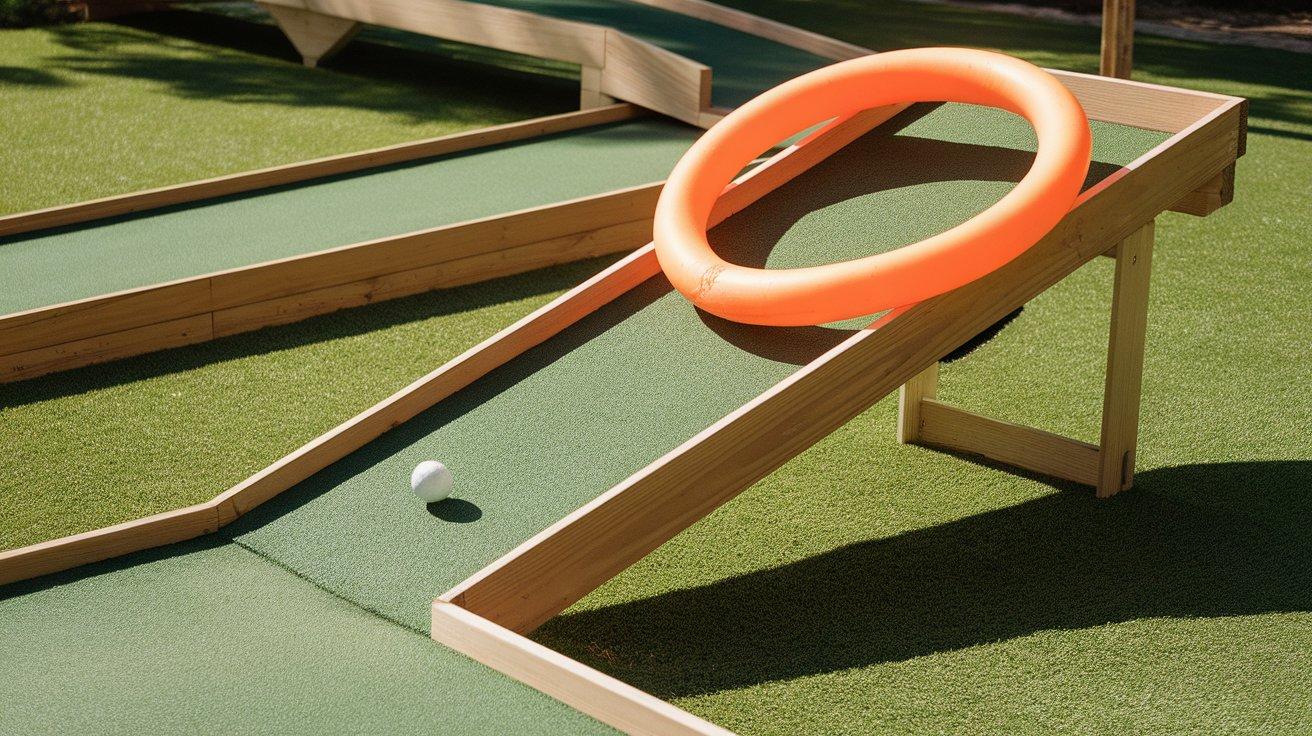
Create a ramp using a piece of wood or sturdy cardboard. Prop it up at one end to create a slope. For the loop, bend a piece of flexible tubing or a foam pool noodle into a circle.
Secure the loop at the end of the ramp. Players must hit the ball hard enough to climb the ramp and go through the loop. Place the hole just beyond the loop for an extra challenge.
3. Obstacle Garden
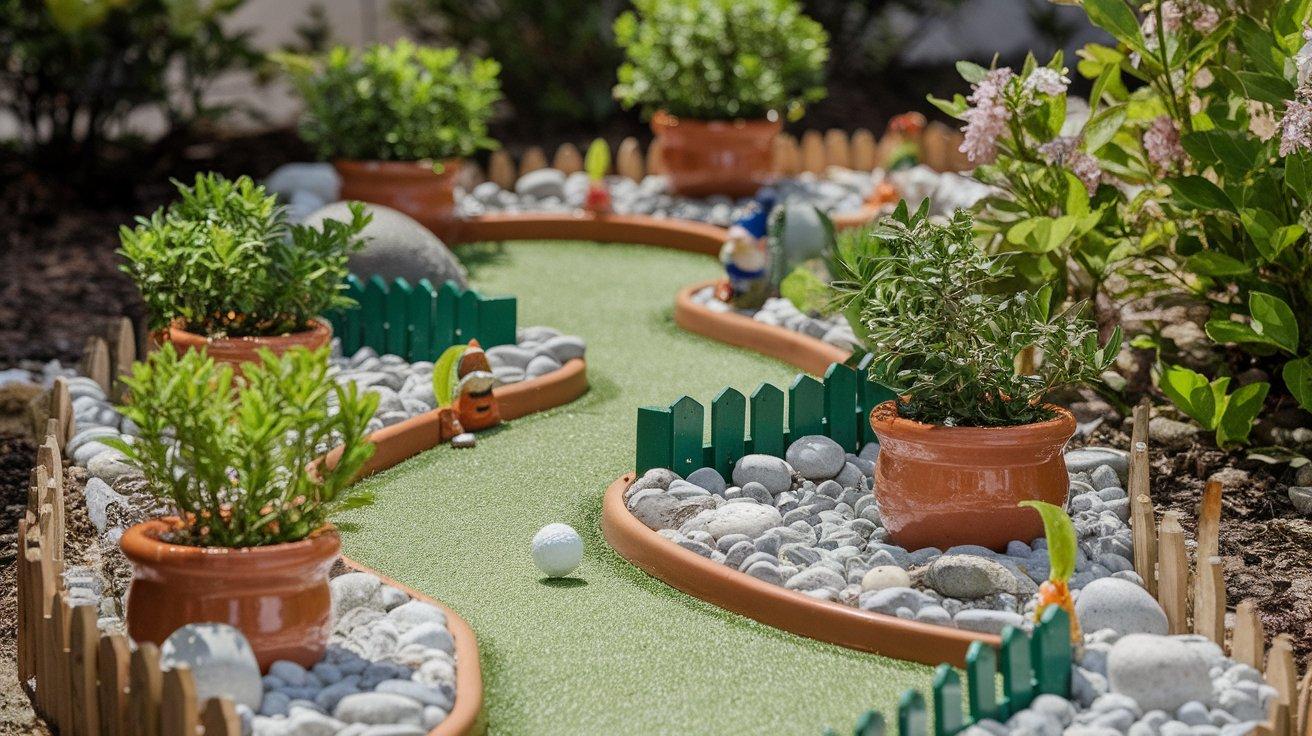
Arrange small potted plants across your mini golf path. Use plants with sturdy pots that won’t tip over when hit. Mix in garden decorations like small rocks or miniature fence pieces.
Create narrow paths between the plants for the ball to travel through. This works great outdoors and adds natural beauty to your course. The hole can hide behind a larger plant.
4. Tunnel Maze
Take a large cardboard box and cut multiple openings on all sides. Set it in the middle of your course. Inside, create walls from cardboard strips to form a maze that the ball must navigate.
Number the openings so players know where to aim. Only one path leads to success. The others lead to dead ends that require starting over. Place the hole at the maze exit.
5. Pool Noodle Slalom
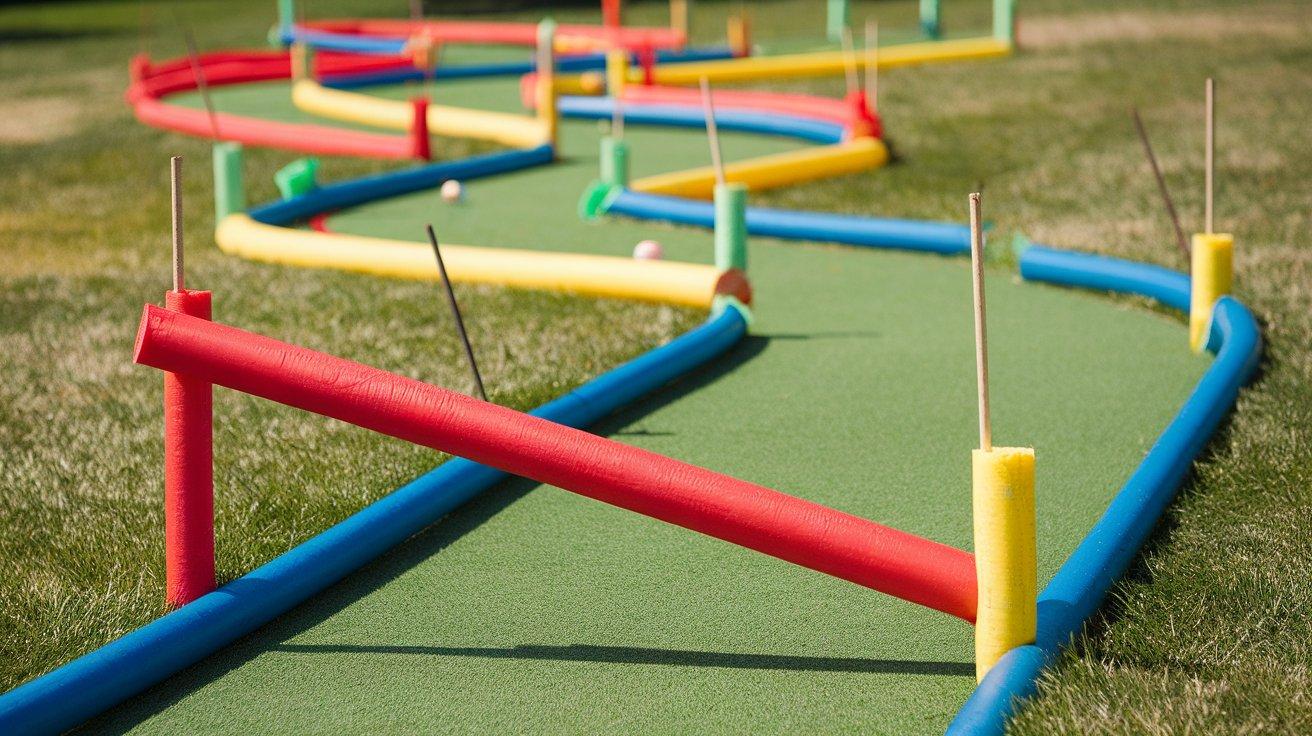
Cut pool noodles into 10-inch sections. Stand them vertically by pushing them onto garden stakes or dowels stuck in the ground. Arrange them in a zigzag pattern.
Players must navigate their ball through this slalom course without hitting the noodles. Space them just wide enough for a ball to pass through. Put the hole at the end of this tricky course.
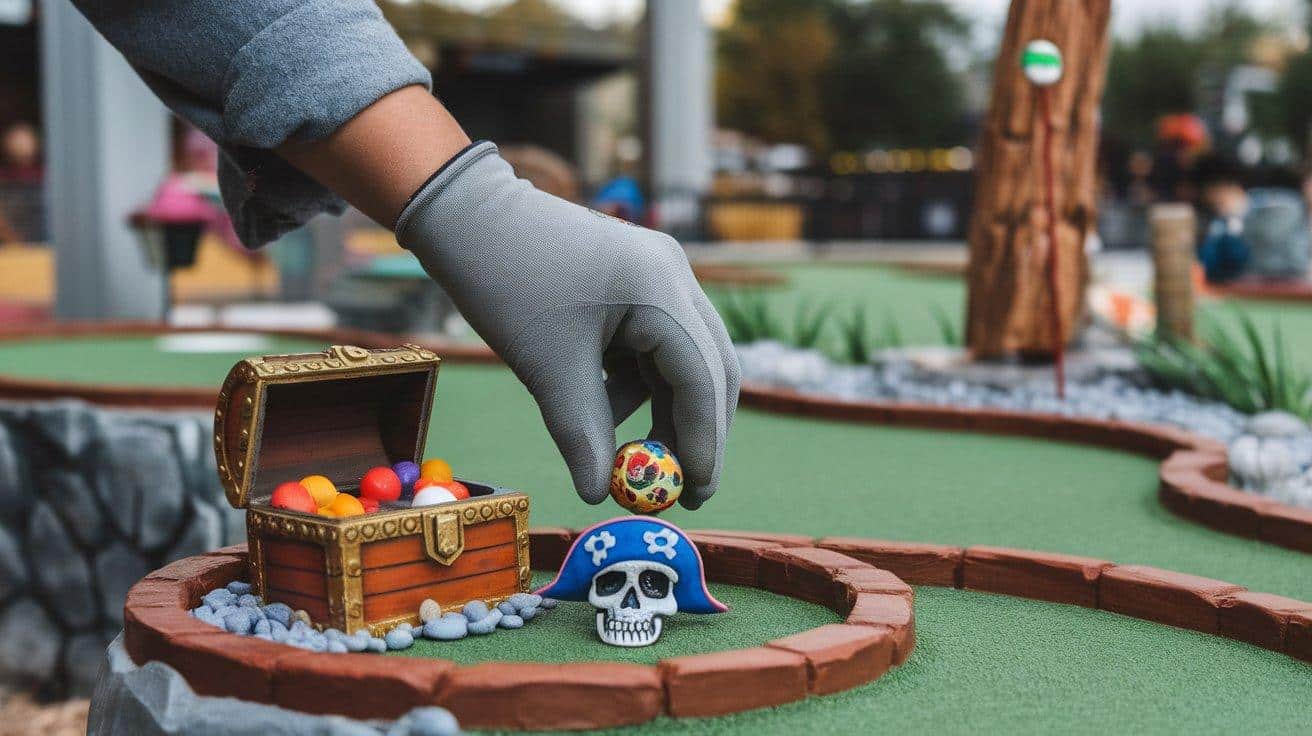
6. Pirate Adventure
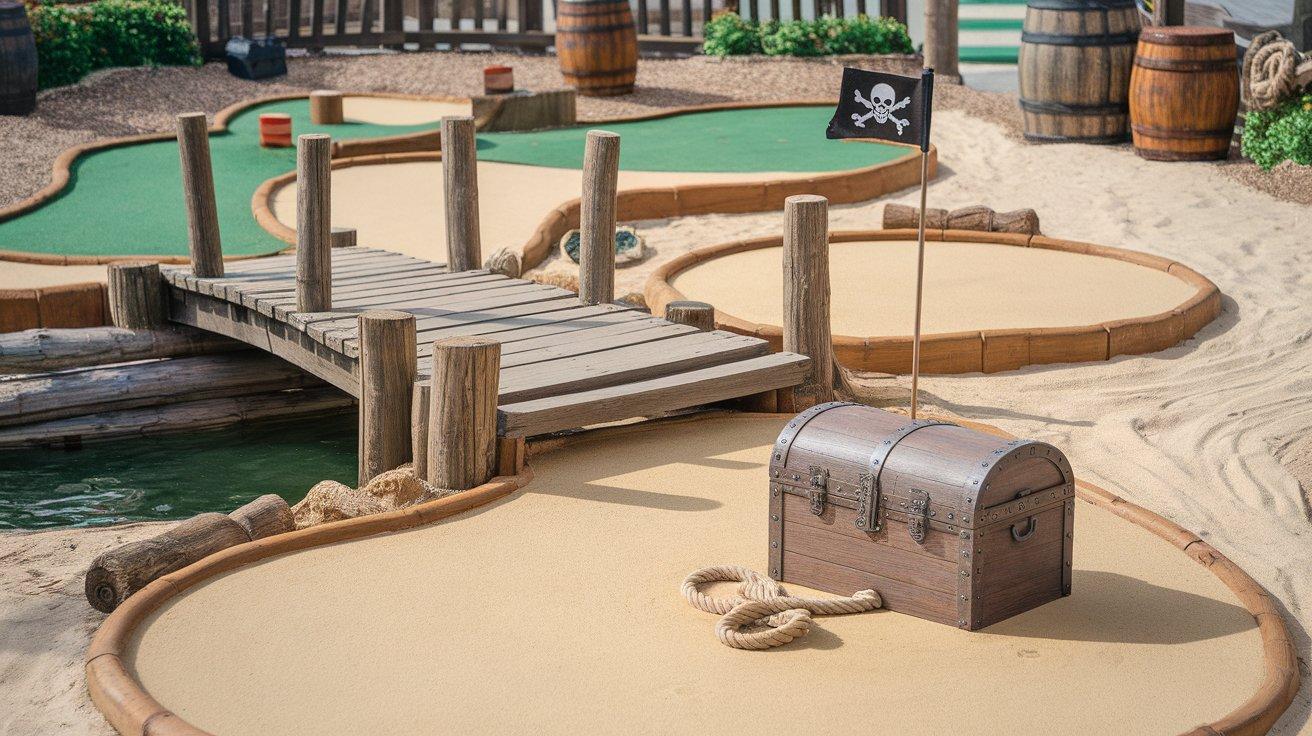
Transform your course into a hunt for treasure with a map scorecard, sand traps, and wooden plank bridges. Add small treasure chests near holes with gold coins and use blue fabric for water hazards that pirates must putt across.
7. Outer Space
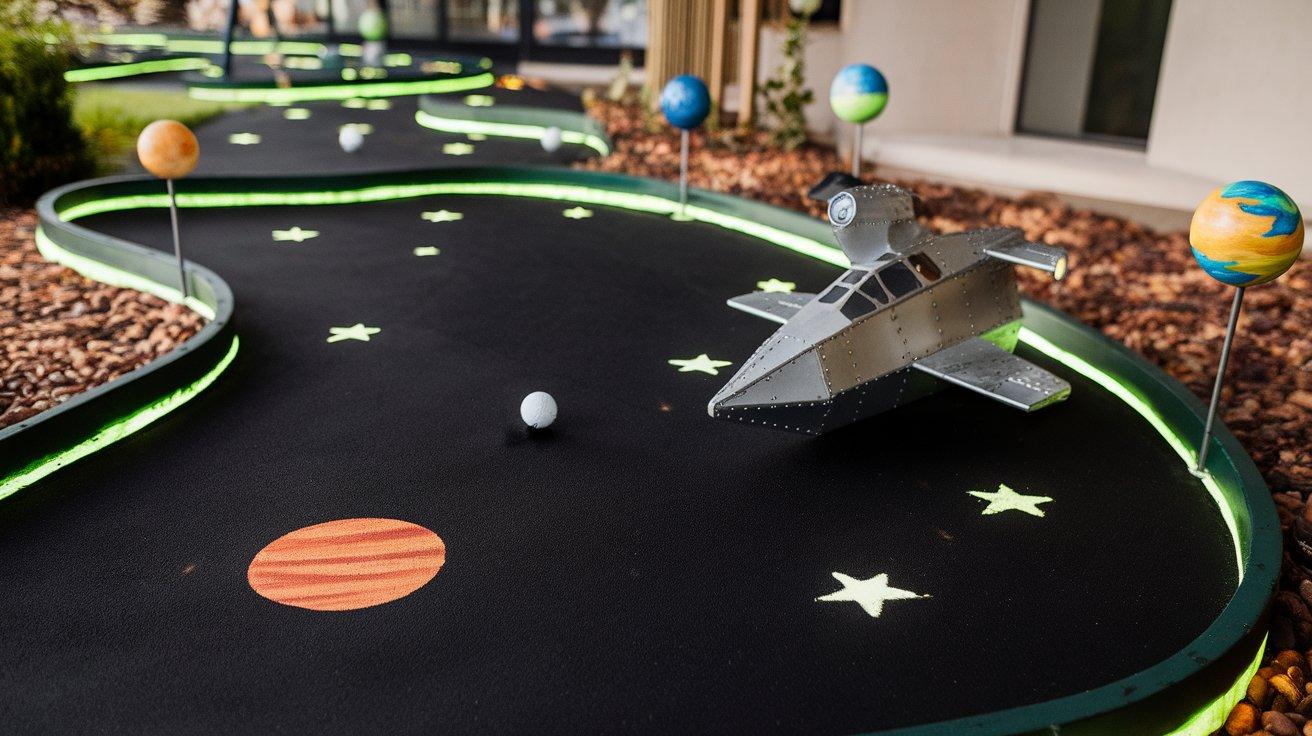
Build a course that takes players through the solar system with bases painted black and decorated with stars and planets—Mount different-sized balls on sticks to create hovering planets and use glow-in-the-dark paint for night play.
8. Jungle Safari

Turn your yard into a wild animal adventure with paths lined with artificial plants and plastic animals as obstacles. Use brown fabric for quicksand traps and create hollow log tunnels from cardboard tubes.
Safety and Maintenance Tips
- Secure all structures properly to prevent tipping during play.
- Round off sharp edges on wood pieces to avoid splinters.
- For outdoor courses, bring in loose parts during bad weather.
- Check regularly for loose nails, screws, or staples.
- Apply waterproof spray to paper elements for outdoor use.
- Store putters flat or hanging to prevent warping.
Common Mistakes to Avoid
- Making holes too difficult for casual players.
- Building on uneven ground where balls won’t roll properly.
- Using materials too flimsy to withstand regular play.
- Forgetting to test each hole before finalizing designs.
- Creating courses too large for the available space.
- Rushing into the building without proper planning.
Conclusion
A homemade mini golf course brings joy without breaking the bank. With basic items and some creativity, you can build a fun activity space right at home.
This blog walked through the essentials—from planning and gathering supplies to building holes step by step. We looked at themes that add character and safety tips that keep the fun going.
You can make it as simple or fancy as you want, indoors or out. Your course can grow and change as you learn what works best.
What matters most is the fun and memories you’ll create playing on something you built yourself.
Frequently Asked Questions
How Can I Make My Mini Golf More Interesting?
Add sound effects when balls hit targets. Create a storyline connecting all holes. Use LED lights for night play. Change hole positions monthly. Add small prizes hidden near difficult holes.
What Makes a Good Mini Golf Hole?
A good hole balances challenge with possibility. It has clear boundaries, at least one interesting obstacle, and a fair chance of success. The theme enhances play without blocking paths.
What Are the Most Popular Mini Golf Obstacles?
Tunnels and tubes top the list. Ramps and bridges add height challenges. Windmills and rotating obstacles create timing puzzles. Water hazards and sand traps mimic real golf challenges.