Guess what? I just saved $5,000 by painting my oak cabinets white instead of replacing them! Those outdated honey-oak monsters that screamed “1990s kitchen” are now bright, crisp, and absolutely gorgeous.
But here’s the thing, I nearly ruined them on my first attempt because nobody told me the secrets to tackling that stubborn oak grain.
After countless hours of testing different methods (and, yes, a few facepalm moments), I’ve refined a foolproof process that yields a factory-smooth finish that actually lasts.
No peeling, no chipping, no regrets! Want to transform your kitchen without emptying your bank account? Grab your paintbrush, I’m about to walk you through exactly how to do it right the first time!
Once your cabinets are looking fresh, consider updating your backsplash-our roundup of 27 Popular Backsplash Ideas with Oak Cabinets and Dark Countertops is a great place to start
Step-by-Step Guide to Painting Oak Cabinets White
Tools Used for Painting Oak Cabinets White:
| Tool | Purpose |
|---|---|
| Electric sander | To smooth the surface and remove imperfections. |
| Zebra brush | Used for the final coat of paint for a smooth finish. |
| Low-cost disposable brush | Used for applying primer to the cabinets. |
| Paint roller | For applying paint to larger, flat surfaces. |
| Sanding sponge/block | To sand edges during the final sanding process. |
| Screwdriver | To remove hardware from cabinets before painting. |
| Sharpie marker | Used to number cabinets for reassembly or organization. |
| Cabinet hardware jig | Assists in accurately installing new hardware on cabinets. |
Materials Used for Painting Oak Cabinets White:
| Material | Purpose |
|---|---|
| Oil-based primer | To prepare the surface, ensure paint adhesion, and block stains. |
| Benjamin Moore Advance paint | Chosen for its durability and smooth finish after testing various options. |
| Crud Cutter (degreaser) | For degreasing surfaces before painting to ensure proper adhesion. |
| Painters tape | Used to mask areas that should not be painted. |
| Sanding pads (120, 240, 400 grits) | To sand surfaces progressively from coarse to fine for a smooth finish. |
| Plastic bags | To store brushes and prevent them from drying out between coats. |
| Damp cloths/towels | For cleaning off dust and debris from the cabinets. |
| Cleaning sponge (degreasing) | Used for cleaning surfaces before applying primer and paint. |
| Grain filler (optional) | Fills in the grain of oak cabinets for a smoother paint finish. |
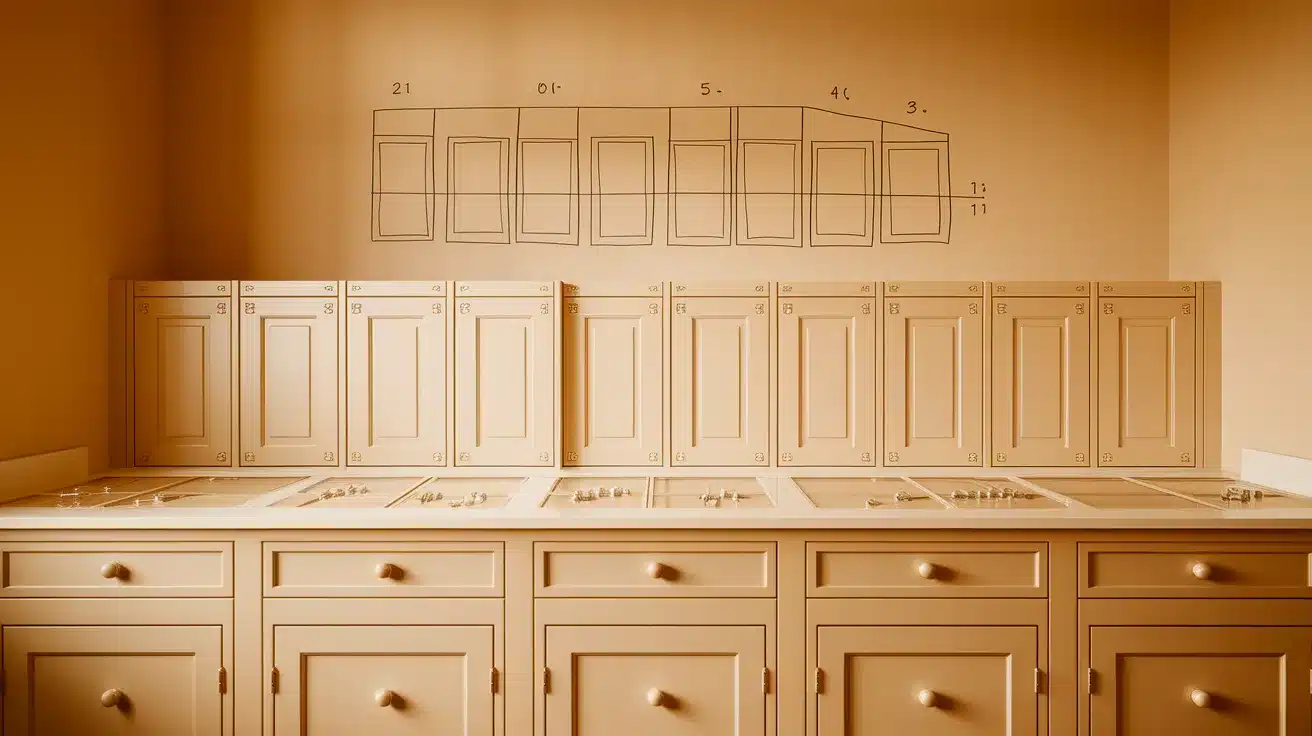
Step 1: Prep Your Space and Remove Cabinet Doors
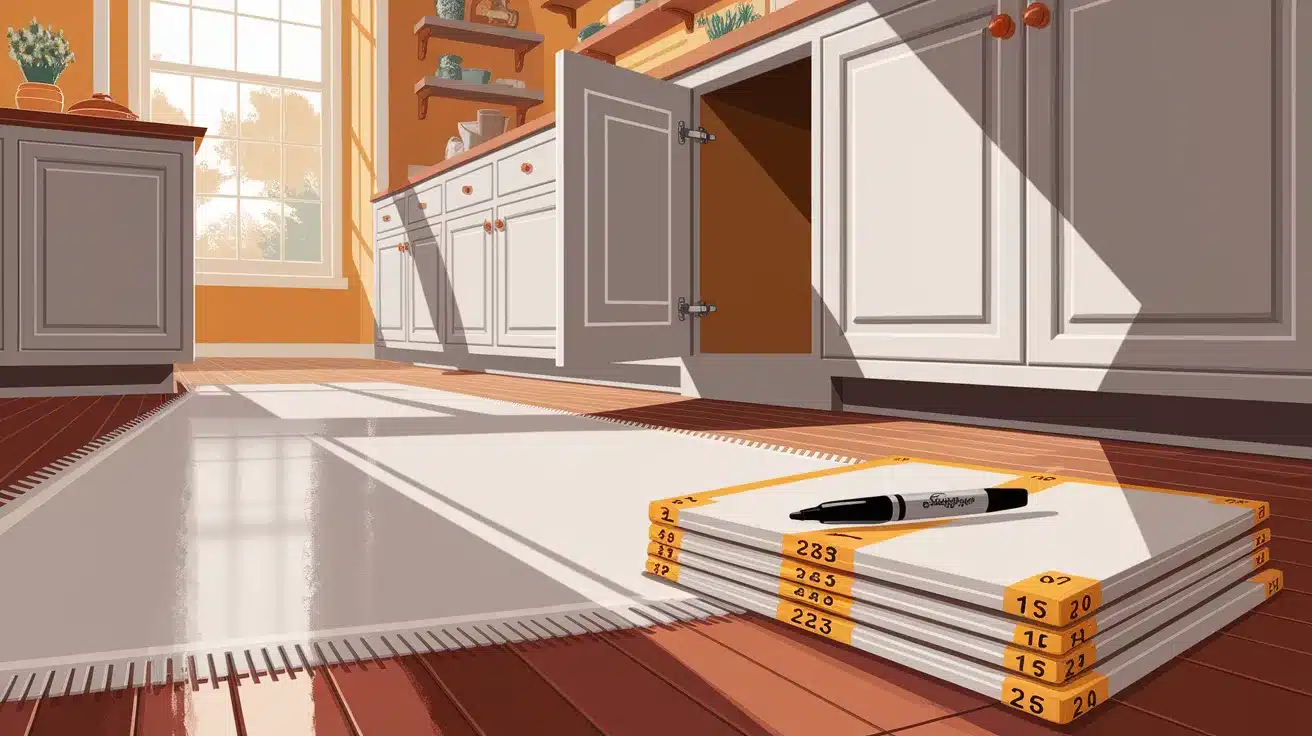
First, take off all your cabinet doors and remove the knobs, pulls, and hinges. Number each door with a Sharpie where the hinges will be installed, then cover those marks with painter’s tape to keep them in place.
Create a simple diagram of your kitchen, showing where each numbered door is located. This saves massive headaches later!
Clean out your cabinets completely, and lay down some drop cloths to protect your floors. I suggest setting up a painting station in your garage or a spare room where doors can dry undisturbed.
Pro Tip: Take pictures of your kitchen before you start. This helps you remember where everything goes and provides you with awesome before-and-after shots to showcase your hard work!
Step 2: Clean and Degrease Everything
Kitchen cabinets are often covered in cooking oils, food splatters, and everyday grime, all of which can be enemies of good paint adhesion. Spray a cleaner like Crud Cutter on your cabinets and scrub thoroughly with the rough side of a sponge. Pay extra attention to areas around the stove and any handles where hands touch regularly.
Rinse with a damp cloth after cleaning to remove any residue from the cleaner. Let everything dry completely before moving on. This step isn’t glamorous, but skipping it is asking for trouble later with peeling paint.
Pro Tip: Clean your cabinet frames too, not just the doors! Paint won’t stick to greasy surfaces, no matter how much you sand them.
Step 3: Sand the Surface
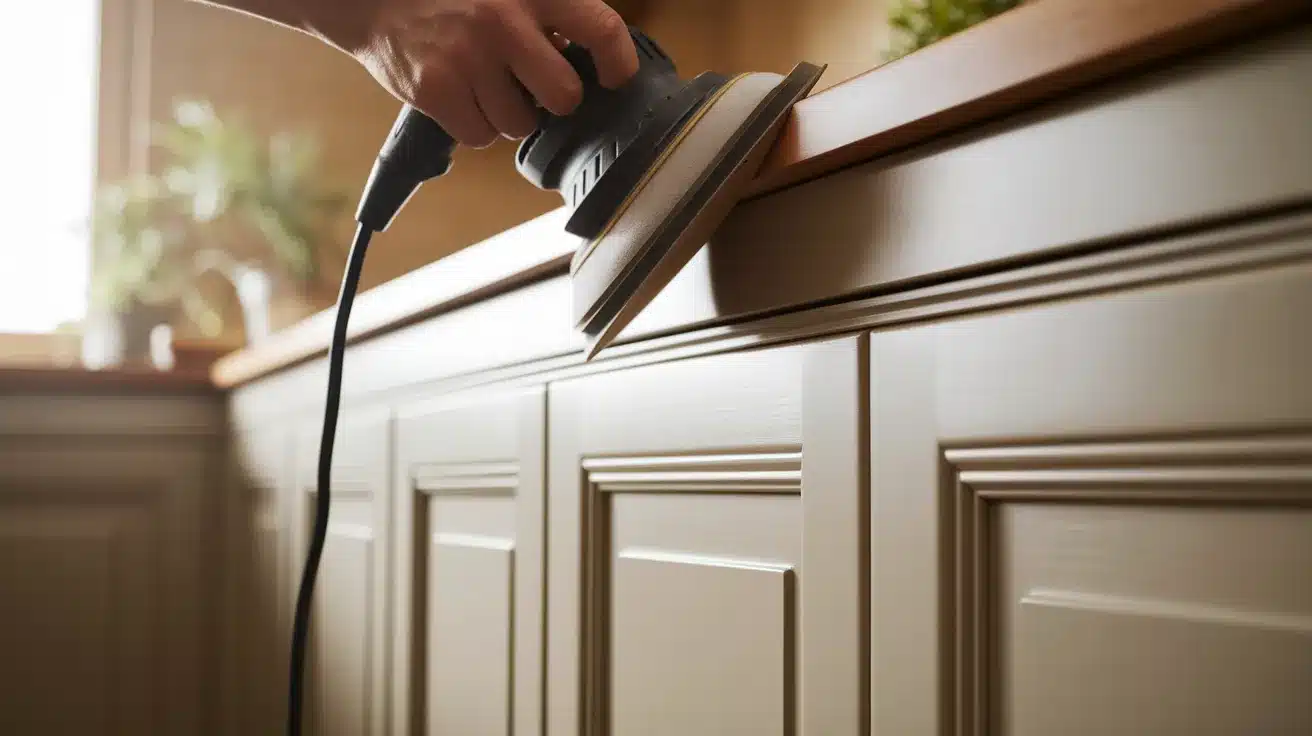
Grab your electric sander with 120-grit sandpaper and lightly sand all surfaces. We’re not trying to remove the existing finish, just roughing it up so the primer can grip better.
Sand in the direction of the wood grain when possible. Hand-sand any detailed areas the electric sander can’t reach. When you’re done, your cabinets should look dull, not shiny. Wipe everything down with a slightly damp cloth to remove all dust.
Pro Tip: Wrap sandpaper around an old credit card to get into those tight corners and grooves that your sander can’t reach.
Step 4: Apply Grain Filler (For Oak Cabinets)
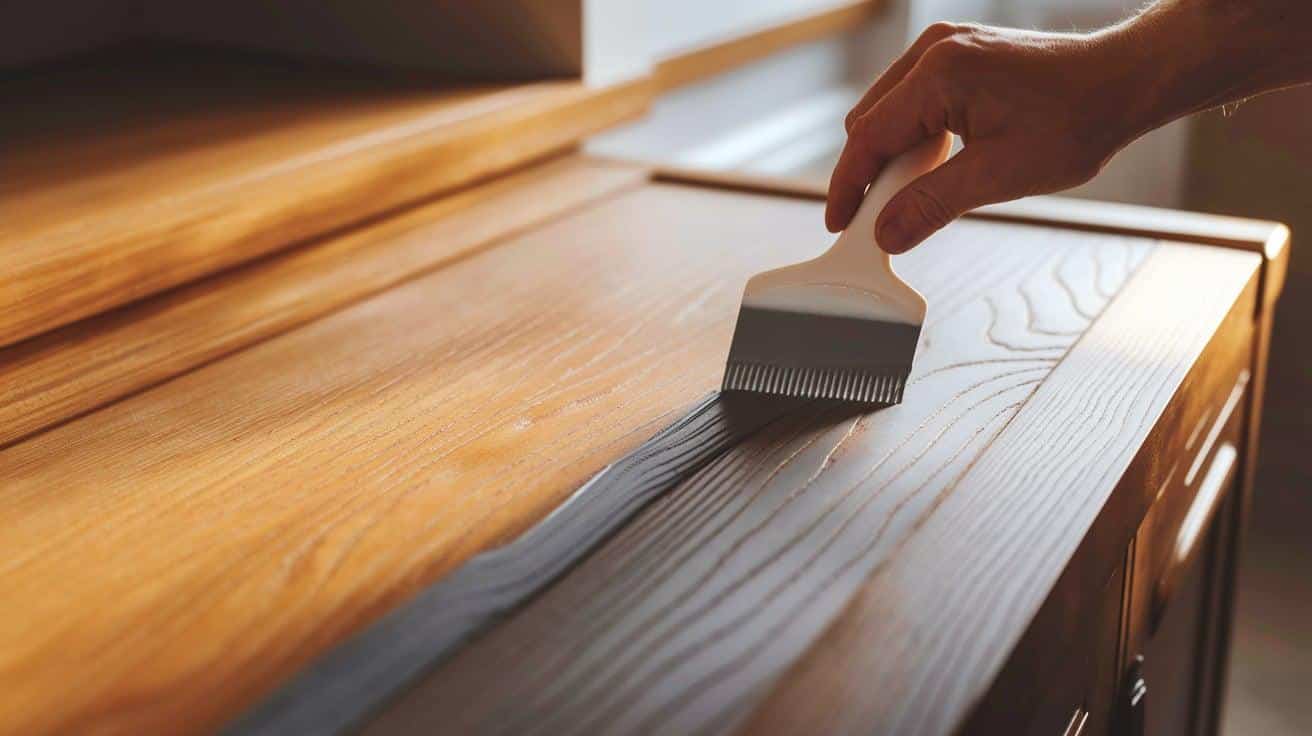
Oak has a deep grain that will show through your paint unless you fill it. Apply grain filler with a plastic putty knife, working it across the grain first, then with the grain to push it into all those tiny pores.
Let it dry according to the package directions, then lightly sand with 220-grit sandpaper until smooth. Run your hand over the surface it should feel much softer than before. Wipe away any dust with a tack cloth.
Pro Tip: Don’t skip this step for oak cabinets! It’s the secret to that smooth, modern look. Without it, your white cabinets will have tiny grain lines that collect dirt and look aged quickly.
Step 5: Prime Your Cabinets
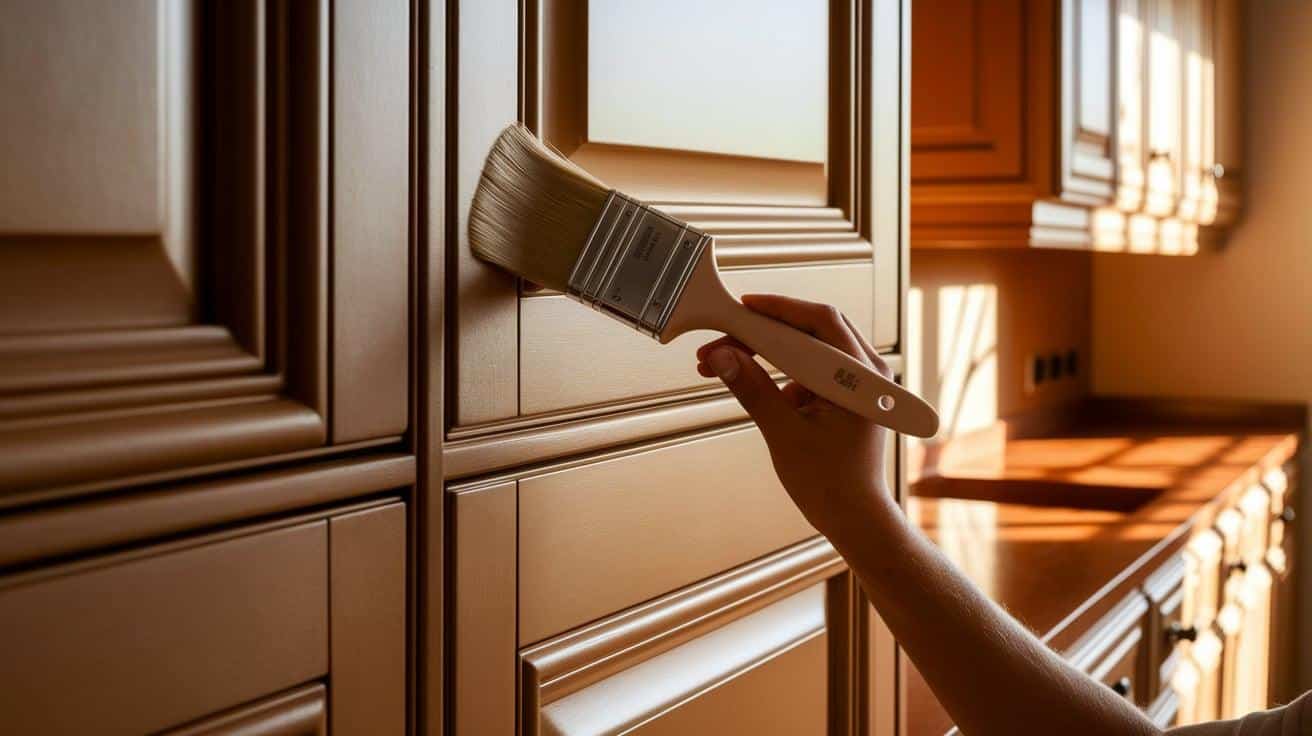
Using a quality brush, apply oil-based primer to your cabinet doors and frames. Start with the inside edges and details, then move to the flat areas.
For the best results, brush in the opposite direction of the grain first, then make your final brush strokes with the grain. This helps the primer get into all those tiny wood pores. Let the primer dry completely (usually overnight). Wrap your brush in plastic and store it in the fridge between coats to keep it fresh.
Pro Tip: Tint your primer slightly toward your final color. Ask the paint store to add a touch of gray to white primer for better coverage with fewer coats.
Step 6: Sand Again and Apply Paint
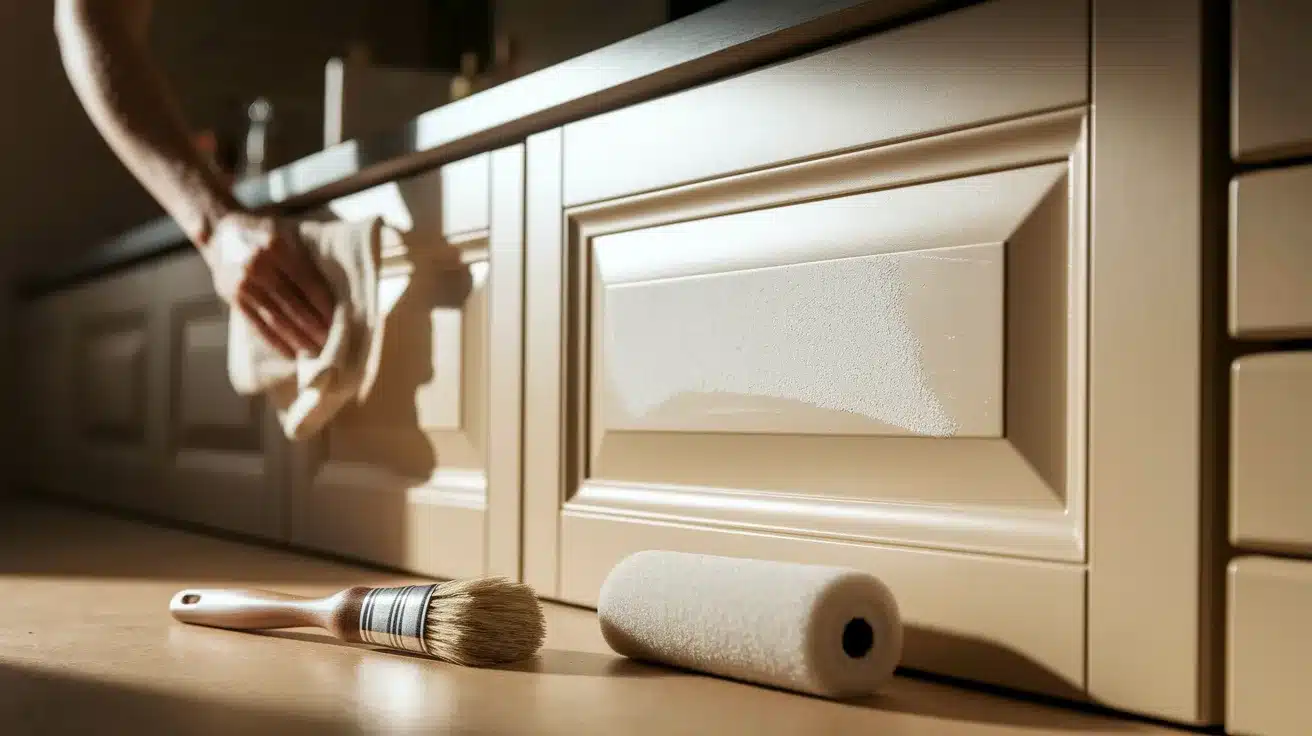
Once the primer is completely dry, lightly sand the entire surface with 240-grit sandpaper. This creates a super smooth base for your paint. Wipe down with a tack cloth to remove dust particles.
Now, apply your first coat of paint using a high-quality brush for the edges and a foam roller for the flat surfaces. Apply paint in thin layers; thick paint can lead to drips and longer drying times. Let the paint dry completely, according to the paint can directions (usually 16 hours).
Pro Tip: After rolling, make one very light pass with your roller over the entire surface without reloading it with paint. This removes roller marks, giving you a smooth, professional finish.
Step 7: Final Coat and Reassembly

Sand very lightly with 400-grit sandpaper before your final coat. For this last coat, apply paint with your good brush, working in thin layers and always finishing brush strokes in the direction of the wood grain.
Allow the cabinets to cure for at least 3-7 days before reattaching the hardware and hanging the doors. This curing time is crucial for a hard, durable finish that won’t chip when the doors close.
Pro Tip: Upgrade your hardware while you’re at it! New knobs and pulls are relatively inexpensive but make a huge difference in the final look of your kitchen.
I want to give special thanks to Renovated Faith with Karin Peters for providing valuable insights in their video, which I referenced while creating this guide.
Color Choices: Selecting the Perfect White
Finding the “just right” white for your cabinets can feel overwhelming with hundreds of options available. Here are the top recommendations after painting countless kitchens:
1. Benjamin Moore White Dove (OC-17)
This soft, warm white has just enough creaminess to keep your kitchen from feeling sterile. White Dove beautifully balances gray and yellow undertones, making it an incredibly versatile shade.
It won’t clash with marble countertops or look too stark against wood floors. Homeowners consistently rave about how this shade feels “homey yet fresh” and hides fingerprints better than brighter whites. It’s particularly flattering in kitchens with limited natural light, as it never looks dingy.
RGB: 238, 236, 225
LRV: 83.16
Pro Tip: White Dove pairs beautifully with both cool and warm metal hardware so you can mix metals without creating a clash!
2. Benjamin Moore Simply White (OC-117)
This brighter, crisper white brings a clean, modern look while still maintaining a touch of warmth. With its higher LRV (Light Reflectance Value), Simply White bounces more light around your kitchen, making the space feel bigger and brighter.
This shade works wonders for smaller kitchens or spaces with northern exposure that need that extra brightness boost. The subtle yellow undertone prevents it from looking too cold or institutional.
RGB: 238, 234, 218
LRV: 91.7
Pro Tip: To avoid an overly stark look with Simply White, balance it with natural elements like wood accents or plants to add visual warmth.
3. Sherwin-Williams Alabaster (SW 7008)
This creamy, soft white has become a go-to for oak cabinet transformations. Alabaster has just enough warmth to complement existing wood tones in your home without looking yellow. It’s particularly forgiving on older cabinets where minor imperfections might show through.
With its slightly lower LRV, it creates a sophisticated, soft look that feels intentional rather than builder-grade basic. Homeowners who choose Alabaster often comment that their kitchens feel “magazine-worthy but still livable.”
RGB: 237, 234, 224
LRV: 82
Pro Tip: Alabaster looks stunning with dark cabinet hardware for a high-contrast, timeless look that never goes out of style.
If you want to ensure your freshly painted cabinets coordinate beautifully with existing trim, check out our guide to the Top 12 Paint Colors that Go with Oak Wood Trim for even more color inspiration.
Maintenance & Longevity: Keeping Your Cabinets Looking New
Your freshly painted cabinets look amazing right now. Here’s how to keep them that way for years to come.
1. Cleaning Tips
• Wait at least 7-10 days after painting before cleaning to allow the paint to cure fully.
• Avoid harsh chemicals like bleach, ammonia, or abrasive cleaners, which can dull or damage the finish.
• Use gentle solutions made with mild dish soap and warm water, applied with a soft microfiber cloth.
2. Touch-Up Strategies
• Save leftover paint in a small jar labeled with the color name, brand, and date.
• Store touch-up paint in a cool, dark place (not the garage) to maintain its consistency.
• Use a tiny artist brush for small nicks – no need for full-sized painting tools.
3. Protecting Your Paint Job
• Use felt pads on cabinet door bumpers to prevent chips when doors close.
• Avoid hanging wet dishcloths on cabinet doors or handles.
• Consider door dampers for cabinets that get heavy use to prevent slamming.
Conclusion
Your kitchen transformation journey doesn’t end with the last brush stroke; it begins there. By tackling those grainy oak cabinets with proper prep, quality products, and patient application, you’ve mastered a skill few homeowners attempt.
The smooth white finish brightens your entire space while saving thousands compared to replacement costs. Those stubborn oak grain patterns that once dated your kitchen have surrendered to your methodical approach. Notice how light now bounces throughout your room, making everything feel more open and fresh.
Treat your painted cabinets gently during their early weeks, and they’ll reward you with years of durability. Your kitchen now feels current without trendy extremes, timeless, bright, and uniquely yours.
Frequently Asked Questions
1. Is Painting Oak Cabinets a Good Idea?
Yes, painting oak cabinets is a great idea! It updates your kitchen at a fraction of replacement costs while hiding dated grain patterns.
2. Does Painting Oak Cabinets Increase Home Value?
Yes, painting oak cabinets can increase home value. Updated white cabinets modernize your kitchen, making it more appealing to buyers.
3. What Color Cabinets Never Go Out of Style?
White cabinets never go out of style. They create a timeless, clean look that brightens your kitchen and works with any decor or color scheme.