Is your shed sitting on uneven ground? This common problem can lead to structural issues, door problems, and early decay.
Many people think fixing uneven ground costs a fortune. Yet there are budget-friendly methods that work just as well as costly ones.
With the right approach, you can level your shed area without breaking the bank. This guide shows you how to save money while still getting solid, lasting results.
Read on for our step-by-step method that has helped hundreds of homeowners create flat, stable surfaces for their sheds. These simple tips will help you complete this task in a weekend while keeping your wallet happy.
Why Leveling Your Shed Site Matters?
The base of your shed needs a flat surface. Uneven ground causes problems from day one. Water pools in low spots when it rains. This leads to wood rot and rust on metal parts. The shed might lean to one side over time. Doors and windows can stick or fail to close fully. Taking time to level the ground first saves money on repairs later.
- Foundation strength: A level base spreads the shed weight evenly. This stops the floor from cracking or warping. Your shed stays firm for years.
- Water control: Proper leveling helps water flow away from the shed. This keeps your items dry and safe inside. No mold or mildew will grow.
- Easy assembly: When the ground is flat, putting the shed together is much faster. Parts line up better. You avoid the stress of forcing pieces to fit.
Most people skip proper ground prep because they think it takes too much time. But this short-term fix causes long-term headaches.
A weekend spent on good site prep can add years to your shed life. Plus, you’ll spend less time fixing issues that come from poor placement. The small effort you put in now will pay off big when your shed stays solid season after season.
Step-by-Step Guide to Leveling the Ground
Tools and materials required:
| Category | Item | Purpose |
|---|---|---|
| Essential Tools | Shovel or Spade | For digging and removing grass, soil, or debris |
| Garden Rake | To level and smooth out soil after digging | |
| Hand Tamper | To compact soil or gravel for a firm, stable base | |
| String Level or Water Level | To check and ensure the ground is level | |
| Measuring Tape | For accurate measurement of area and level differences | |
| Wheelbarrow | To transport soil, gravel, or other materials around the site | |
| Affordable Materials | Wooden Stakes and String | To mark the boundaries and create reference lines for leveling |
| Gravel or Crushed Stone | Provides drainage and helps stabilize the shed base | |
| Landscape Fabric | Prevents weed growth beneath the shed | |
| Scrap Wood (for Screeding) | Used as a straight edge to level and smooth soil or gravel surface |
Step 1: Choose and Mark the Shed Location
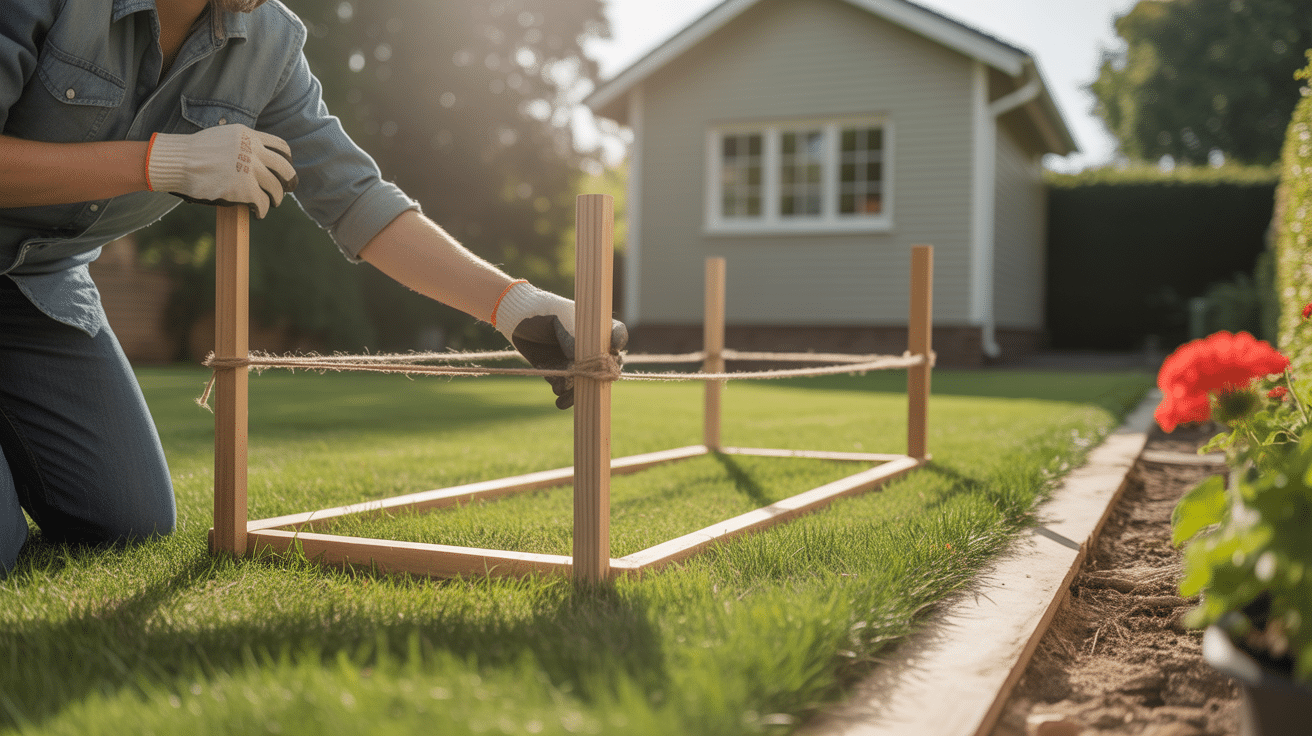
Finding the right spot for your shed saves time and effort. Look for a spot that gets some sun but not too much heat. Check local rules about how far the shed must be from your home and property lines.
- Natural drainage: Pick higher ground when possible so water runs away from the shed.
- Tree roots: Stay away from trees to avoid root problems with your shed base.
- Sun exposure: Think about how much sun hits the area and how this affects what you store.
- Access needs: Make sure you can walk to the shed easily from your house.
Keep in mind: Marking the area larger than your shed by about 2 feet on each side gives you room to work and creates a more stable base.
Step 2: Clear the Area
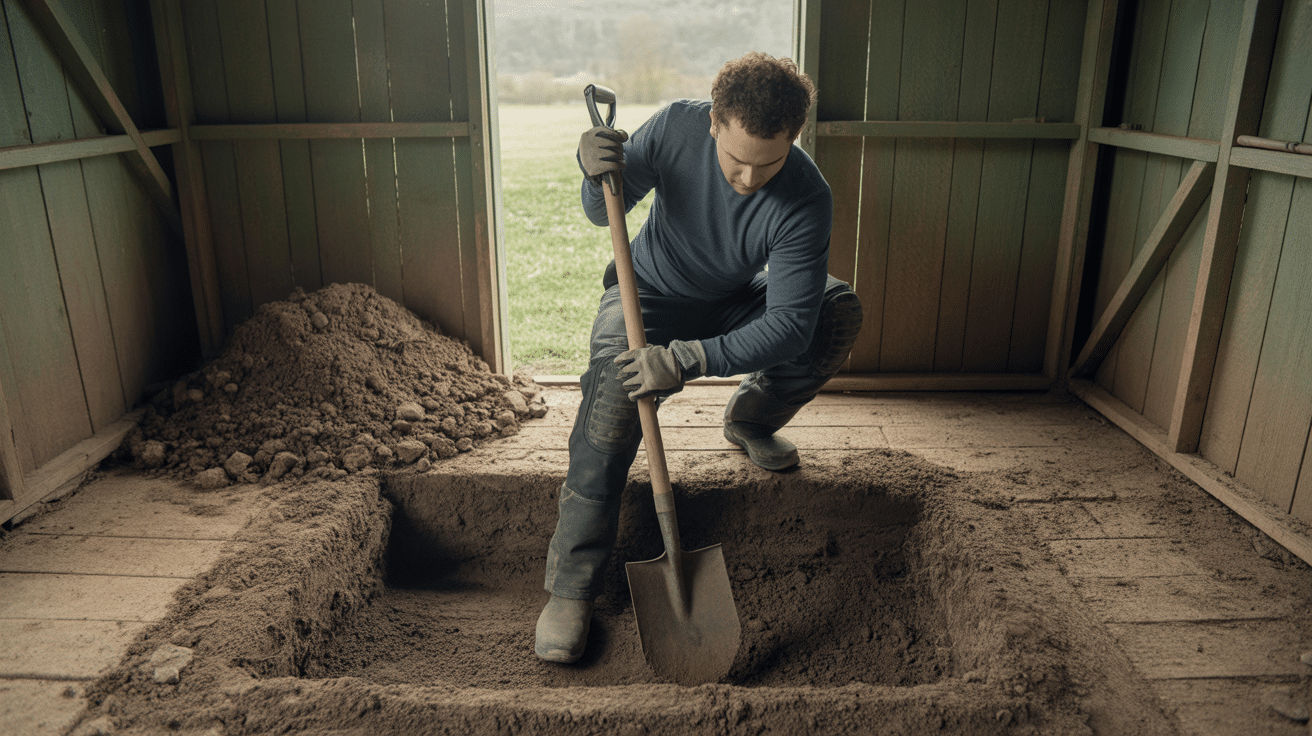
A clean work site makes the whole job easier. Take time to remove all plants and loose items from the marked area. Go down about 4 inches to get past the top soil layer.
- Save topsoil: Put good dirt aside to use in garden beds or low spots in your yard.
- Root removal: Dig out all roots, even small ones that might grow later.
- Rock check: Remove rocks bigger than a golf ball to prevent future shifting.
- Edge clearing: Clean at least 6 inches beyond your marked lines for better results.
Keep in mind: Wear gloves and use knee pads to protect yourself during this step, as sharp objects might be hidden in the soil.
Step 3: Check and Adjust the Slope
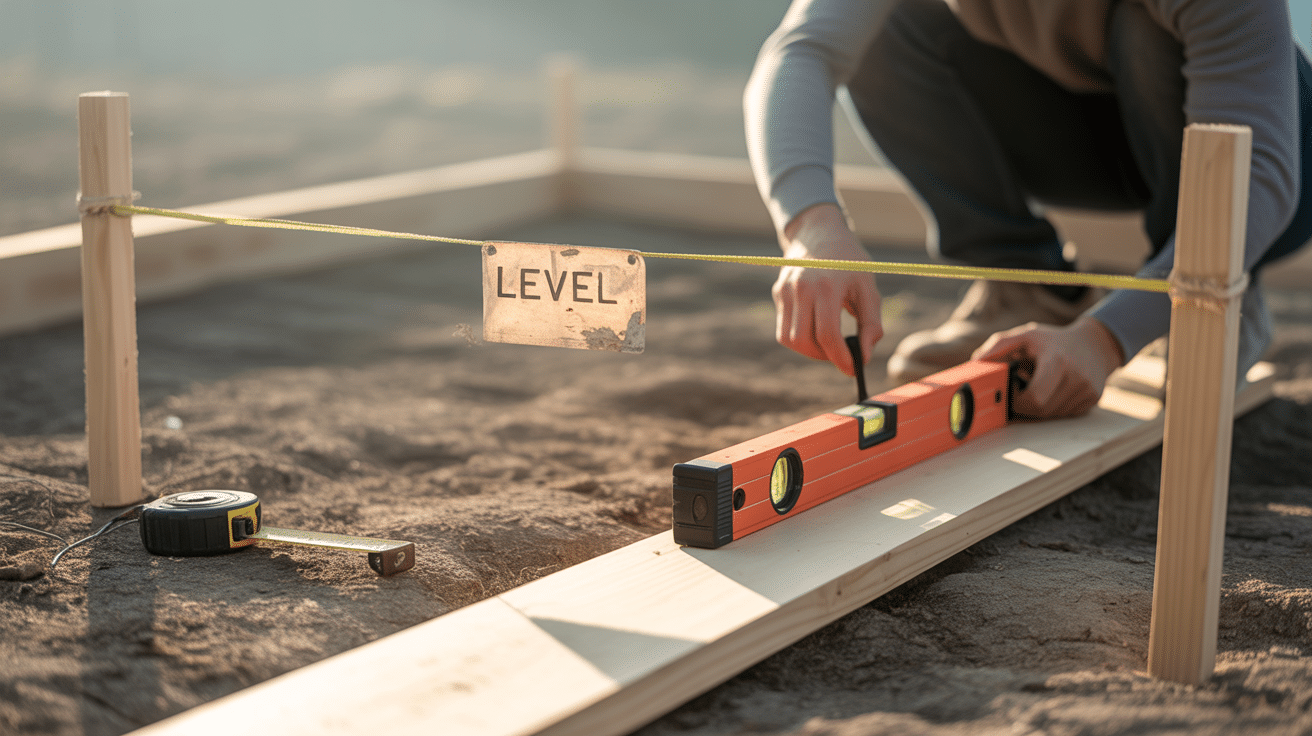
Knowing where the high and low spots are helps you plan your work. Start by stretching string from stake to stake at a set height. Use a line level to make sure the string is perfectly flat.
- Corner heights: Check each corner first to find the lowest point of your site.
- Grid method: Divide large areas into smaller squares to find all uneven spots.
- Slope direction: Make sure any slight slope goes away from your home.
- Measurement tools: A long board with a bubble level works if you don’t have a string level.
Keep in mind: A very slight slope (about 1 inch per 8 feet) away from buildings can help with water runoff while still feeling flat.
Step 4: Level and Compact the Soil

Working the soil is the most physical part of the job. Take your time and work in small areas. Check your progress often with the level to stay on track.
- Fill low spots first: Add soil in thin layers (2-3 inches) and compact each layer.
- Use clean fill: Avoid using soil with lots of plant matter that will break down over time.
- Level checking: Drag a flat board across the area to find and fix high spots.
- Water lightly: A light spray helps the soil pack down better during tamping.
Keep in mind: You can make a DIY tamper with a flat piece of wood attached to a handle, or use the end of a 4×4 post to save money.
Step 5: Add a Simple Gravel Base
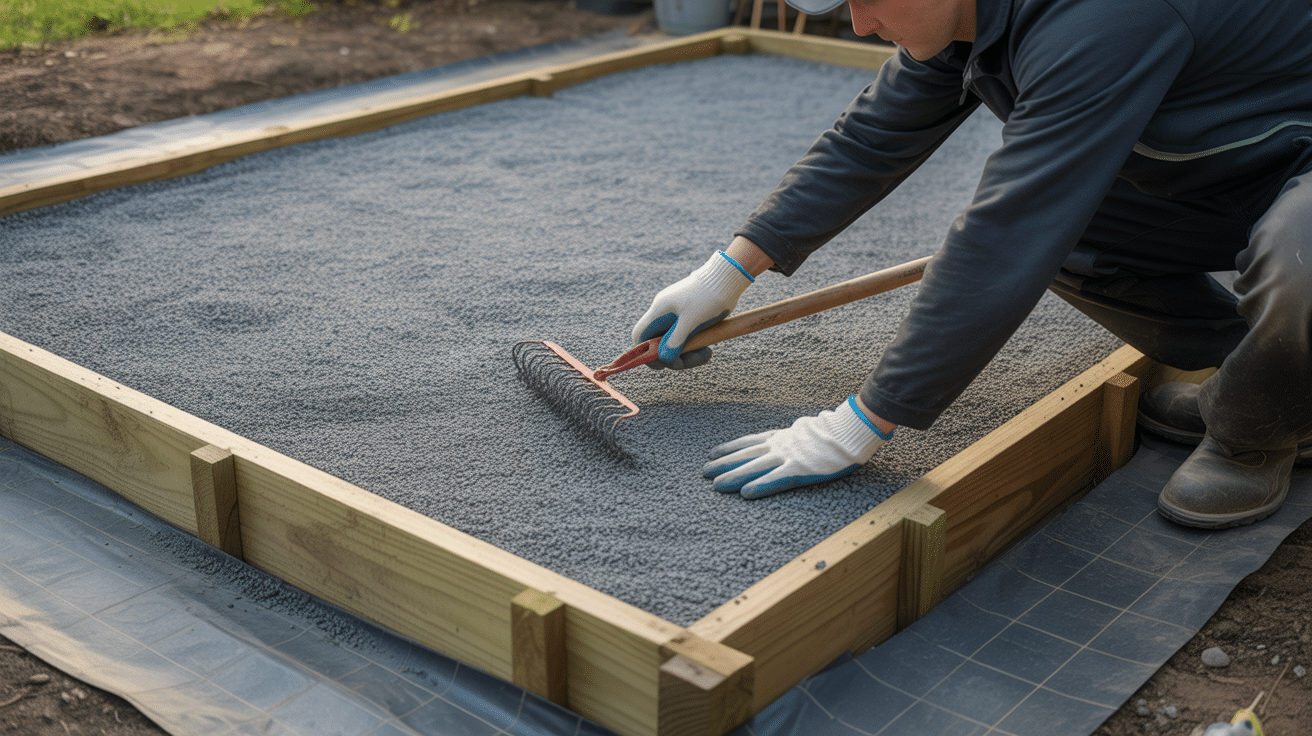
Gravel creates a stable, well-drained surface for your shed to sit on. Aim for a layer about 2-4 inches deep across the whole area. This step costs a bit more but adds years to your shed life.
- Gravel type: Pea gravel is often cheaper than crushed stone but still works well.
- Even spreading: Use a rake to spread the gravel in an even layer across the whole area.
- Border control: Add small wood or plastic edging to keep gravel from washing away.
- Final leveling: Use your board again to make sure the gravel surface is flat.
Keep in mind: Weed fabric under the gravel costs very little but stops weeds from growing up into your shed floor, saving you work later.
Cost-Saving Tips
Tool sharing: Ask friends or family if they have tools you can borrow. Many hardware stores offer daily rental rates for tampers and other equipment at a fraction of the purchase price. This works well for items you’ll use just once.
Free materials: Check websites like Craigslist, Facebook Marketplace, or Freecycle for free fill dirt, gravel, or concrete blocks. Construction sites often have excess materials they might give away if you haul it yourself.
DIY tools: Make your own tamper by attaching a flat, heavy piece of wood to a sturdy handle. Use a garden hose filled with water as a cheap water level to check ground height across distances.
Reclaimed items: Look for old wooden pallets that can be broken down and used as a shed base. Some companies give these away rather than pay for disposal. Clean bricks from demolition sites also work well.
Split costs: Talk to neighbors who might need similar materials. Buying in bulk and sharing delivery fees cuts costs for everyone. You might also swap labor help to finish both projects faster.
Conclusion
Leveling the ground for your shed doesn’t have to empty your wallet. With basic tools and some sweat, you can create a solid base that lasts for years. Start with good planning, take your time with each step, and check your work often.
The most important thing is doing the job right the first time. A well-level site prevents future problems and repairs. Your shed will stand straight, keep your items dry, and look better too.
Try these budget-friendly methods this weekend. Your future self will thank you when your shed stands firm through changing seasons.
Have you used any of these methods before?