Is your wooden furniture looking dull and worn under that old lacquer finish? Over time, lacquer can yellow, crack, or hide the wood’s beautiful grain.
Many assume that removing it requires professional help, but with the right knowledge, you can restore your furniture at home.
Learning proper removal techniques not only saves you money but also gives you control over the restoration process.
Whether using chemical strippers or gentle sanding, knowing the right approach can make all the difference in achieving attractive results. Ready to bring new life to your wooden treasures?
This guide will show you how to safely and effectively remove lacquer from any wooden surface.
Why is Lacquer Removal Important?
-
Restores Natural Beauty: Over time, lacquer can yellow, crack, or wear down, hiding the wood’s unique grain and texture. Removing the old finish allows the wood’s original charm and character to shine through.
-
Preserves the Wood: Old lacquer can trap moisture, dirt, and oils, leading to damage such as warping, cracking, or rotting. Stripping it away allows the wood to breathe and prevents future deterioration.
-
Opportunity for a Fresh Finish: Removing the lacquer provides a clean slate to apply a new finish, whether you prefer a glossy shine, a matte look, or a more natural appearance.
-
Extends Lifespan: Lacquer removal revitalizes your furniture, improves its appearance, and helps extend its lifespan, ensuring it stays beautiful and functional for many years to come.
Types of Lacquer and Why It Matters
1. Nitrocellulose Lacquer
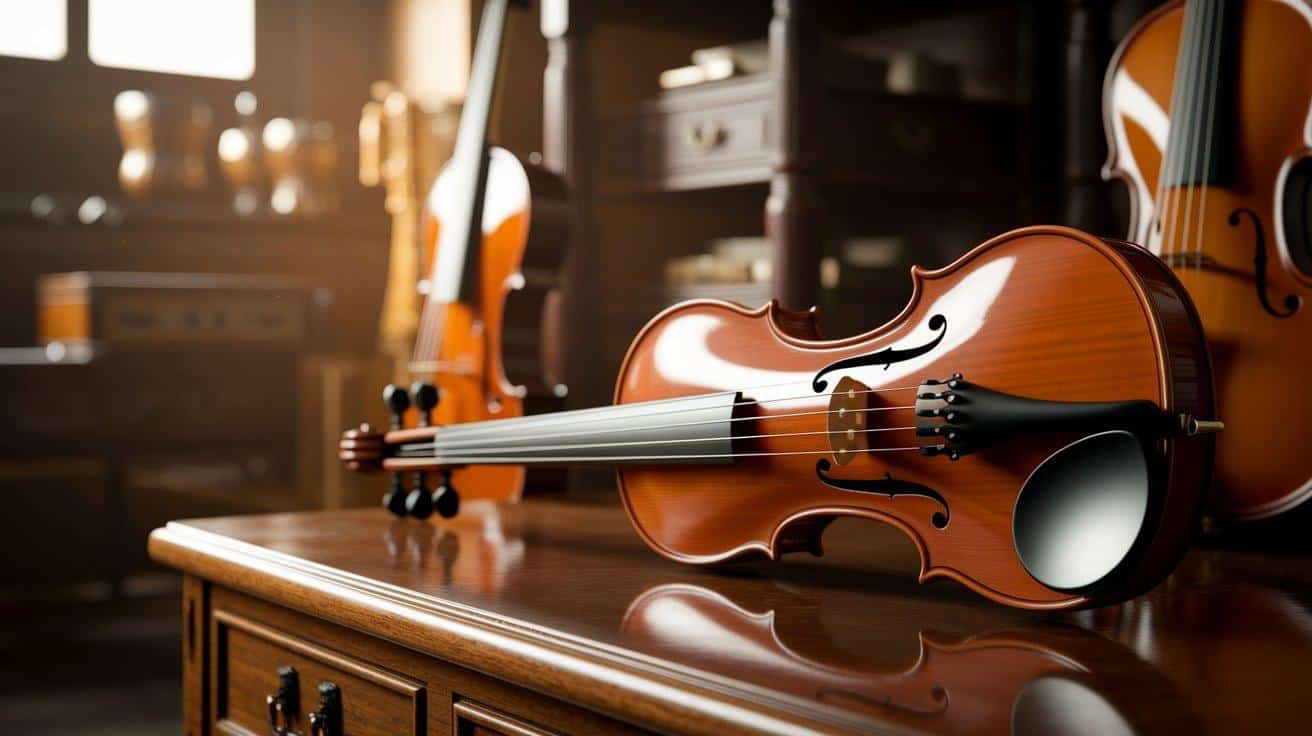
Nitrocellulose lacquer is a traditional finish that dries quickly, creating a hard, clear coating. It’s commonly found on vintage furniture and musical instruments due to its fast-drying properties and glossy finish.
When removing it, acetone works best as it softens the lacquer, making it relatively easy to strip.
2. Acrylic Lacquer

Acrylic lacquer is known for its resistance to water, chemicals, and UV exposure, making it a durable finish for modern furniture and vehicles.
Removing it can be more challenging because it requires stronger solvents or chemical strippers that can break down its tough layer without damaging the underlying surface.
3. Polyurethane Lacquer

Polyurethane lacquer is incredibly durable and resistant to scratches and most solvents, making it a popular choice for high-traffic areas such as furniture, floors, and kitchen cabinets.
Its toughness also means that it’s the hardest lacquer to remove, requiring specialized strippers or industrial-grade removers for effective removal.
How to Identify Your Lacquer Type?
To identify the type of lacquer, test a small, hidden area with different solvents. Nitrocellulose will soften with acetone, while polyurethane will require specialized strippers due to its resilience. Identifying the lacquer type ensures you choose the right method for removal.
Methods for Removing Lacquer
Tools and Materials to Remove Lacquer from Wood:
Gathering the right supplies beforehand will make the lacquer removal process more efficient. Here’s what you’ll need:
| Purpose | Tools & Materials |
|---|---|
| Chemical Removal | Chemical stripper appropriate for your lacquer type Plastic or metal scraper Clean cloths or rags Plastic wrap Paintbrushes for application |
| Mechanical Removal | Sanding blocks Sandpaper (various grits: 120-220) Steel wool (0000 grade) Electric sander (optional) |
| Safety Equipment | Chemical-resistant gloves Safety goggles Respirator mask Drop cloths Fans for ventilation |
| Cleanup Supplies |
Mineral spirits |
Investing in quality tools will protect both you and your wood during this process, resulting in better outcomes.
Method 1- Using Chemical Strippers

Chemical strippers break down lacquer’s chemical bonds, making it soft and easy to remove. Start by preparing your workspace—cover the floor with drop cloths and ensure good airflow is maintained.
Apply the stripper in small sections using a paintbrush and let it sit for 15-30 minutes. Once the finish softens, scrape it off gently with a plastic scraper.
For stubborn areas, apply more stripper and cover with plastic wrap to prevent drying. Afterward, wipe the surface with a neutralizer or mineral spirits.
Chemical strippers are ideal for large or intricate areas but should be used with caution due to their toxic nature.
Pros: Effective for stubborn finishes, works on detailed areas.
Cons: Toxic fumes, requires ventilation, can damage delicate wood.
Method 2- Sanding

Sanding removes lacquer by physically grinding it away, making it particularly effective for flat surfaces. Begin with medium-grit sandpaper (120-150) to remove the bulk of the lacquer, sanding along the wood grain to avoid scratches.
Once the lacquer thins, move to finer grits (180-220) for a smoother finish. Regularly clean off dust with a tack cloth or vacuum to monitor progress.
You can use mineral spirits to check your progress, as it temporarily shows what the bare wood will look like. This method requires patience but offers more control, especially for flat surfaces.
Pros: More control, no chemicals, ideal for flat surfaces.
Cons: Labor-intensive, messy, can damage intricate areas.
Method 3- Heat Guns

Heat guns provide a chemical-free method by softening the lacquer, allowing it to be scraped away. Set the heat gun to medium temperature (500-650°F) and keep it 3-4 inches from the surface.
Move the weapon steadily to prevent scorching, and scrape the finish away as it bubbles. Work in small sections for the best results.
Heat guns work quickly but require constant attention to prevent damage to the wood. This method is especially useful when working with challenging finishes or when avoiding the use of chemicals.
Pros: Quick, chemical-free, effective for stubborn finishes.
Cons: Requires attention to prevent damage; working in detailed areas is challenging.
Method 4- Natural Alternatives

For a gentler approach, natural products such as citrus-based solvents (lemon oil or d-limonene) can be used to soften lacquer. Apply these liberally, cover with plastic wrap, and let sit for a few hours before scraping.
You may need to repeat the process. Another option is using a mixture of denatured alcohol and water, which can soften the lacquer when applied with a cloth.
These methods are slower but less harsh, making them a good choice for antique pieces or when working in areas with limited ventilation.
Pros: Eco-friendly, gentle on wood, safer for limited ventilation.
Cons: Slower process, less effective on thick finishes.
Common Myths and Misconceptions About Lacquer Removal
| Myth | Fact |
|---|---|
| Removing lacquer is always difficult. | With the right tools and methods, lacquer removal can be straightforward and manageable for most wood types. |
| You have to remove all the lacquer. | Partial removal, accompanied by light sanding, is often sufficient, especially when only specific areas are damaged or worn. |
| Heat guns will damage the wood. | Using proper technique (medium heat, keeping distance) makes heat guns safe and effective for lacquer removal. |
| Chemical strippers are too toxic to use. | Many eco-friendly, less toxic options are now available that work effectively when used in conjunction with proper ventilation and safety gear. |
| You need a professional to remove lacquer. | Most DIY enthusiasts can achieve excellent results with proper preparation, the right tools, and patience. |
Final Touches
After removing the old lacquer, you’ll want to protect and enhance the wood with a new finish. Oil finishes, such as tung or linseed, penetrate the wood for a natural look that highlights grain patterns.
Shellac provides a warm glow that’s easily repaired if damaged. Varnish offers excellent durability and water resistance, making it good for high-use items. The new lacquer creates a hard, glossy coating that closely resembles the original finish.
When applying any finish, work in thin, even coats rather than thick layers that can drip or bubble. Allow proper drying time between coats as indicated by the manufacturer.
Sand lightly with very fine sandpaper (320-400 grit) between coats to ensure a smooth finish. Apply at least two coats for adequate protection; additional coats may be required for items that will experience heavy use.
Frequently Asked Questions
Will Acetone Remove Lacquer from Wood?
Yes, acetone can remove lacquer from wood, especially nitrocellulose lacquer. However, it should be used carefully to avoid damaging the wood.
What Is the Best Solvent for Removing Lacquer?
The best solvent for removing lacquer is acetone, especially for nitrocellulose lacquer. For tougher finishes, such as polyurethane, a stronger chemical stripper may be required. Always test in a small area first and use caution.
Will Rubbing Alcohol Dissolve Lacquer?
Rubbing alcohol can soften lacquer to some extent, but it’s generally not strong enough to fully dissolve it. For effective lacquer removal, stronger solvents like acetone or specialized chemical strippers are recommended.