Easy Guide to Waterproofing MDF for Longevity
Have you ever watched your beautiful MDF project slowly swell and crumble after it comes into contact with moisture? It’s heartbreaking to see your hard work ruined because MDF isn’t naturally waterproof.
I struggled with this same problem in my workshop until I discovered a simple solution that completely changed how I work with this versatile material.
Waterproofing MDF isn’t just possible, it’s surprisingly easy and affordable. With the right technique, your projects can withstand humidity, occasional spills, and even washing without deteriorating.
In this guide, I’ll share the exact method I use to transform ordinary MDF into a water-resistant material that lasts for years. You’ll learn how to protect your furniture, shelving, and decorative pieces from moisture damage with materials you might already have in your home.
If you're exploring creative ways to use MDF in your home, our guide on DIY Faux Beams showcases how this material can add character to any room.
What is Waterproof MDF (Medium Density Fiberboard)?
Definition: Wood fiberboard with added moisture-resistant chemicals
Comparison: Better than regular MDF around water, but not truly waterproof
Varieties:
- Moisture-resistant (green-tinted)
- Marine-grade (higher resistance)
Best Uses: Kitchens, bathrooms, laundry rooms, basements
Weaknesses:
- Edges remain vulnerable
- Will eventually fail in constant moisture
- More expensive than standard MDF
Steps for Waterproofing MDF
Tools required to waterproof MDF:
| Item | Purpose/Use |
|---|---|
| Container or tray | Holds bonding liquid for easier application |
| Paintbrush or foam brush | Applies bonding liquid, paint, or varnish evenly |
| Clean cloth or paper towels | Used to wipe off any excess liquid |
| Flat drying surface | Ensures even drying of MDF pieces |
| Gloves | Protects hands from chemicals and keeps them clean |
Materials required to waterproof MDF:
| Item | Purpose/Use |
|---|---|
| MDF (Medium Density Fiberboard) | The base material to be waterproofed |
| Latex bonding liquid (tile grout additive) | Main waterproofing agent |
| Waterproof varnish (for exterior applications) | Adds a durable, waterproof finish for outdoor use |
| Acrylic paint (optional) | Used for decoration after sealing the MDF |
Step 1: Gather Your Materials
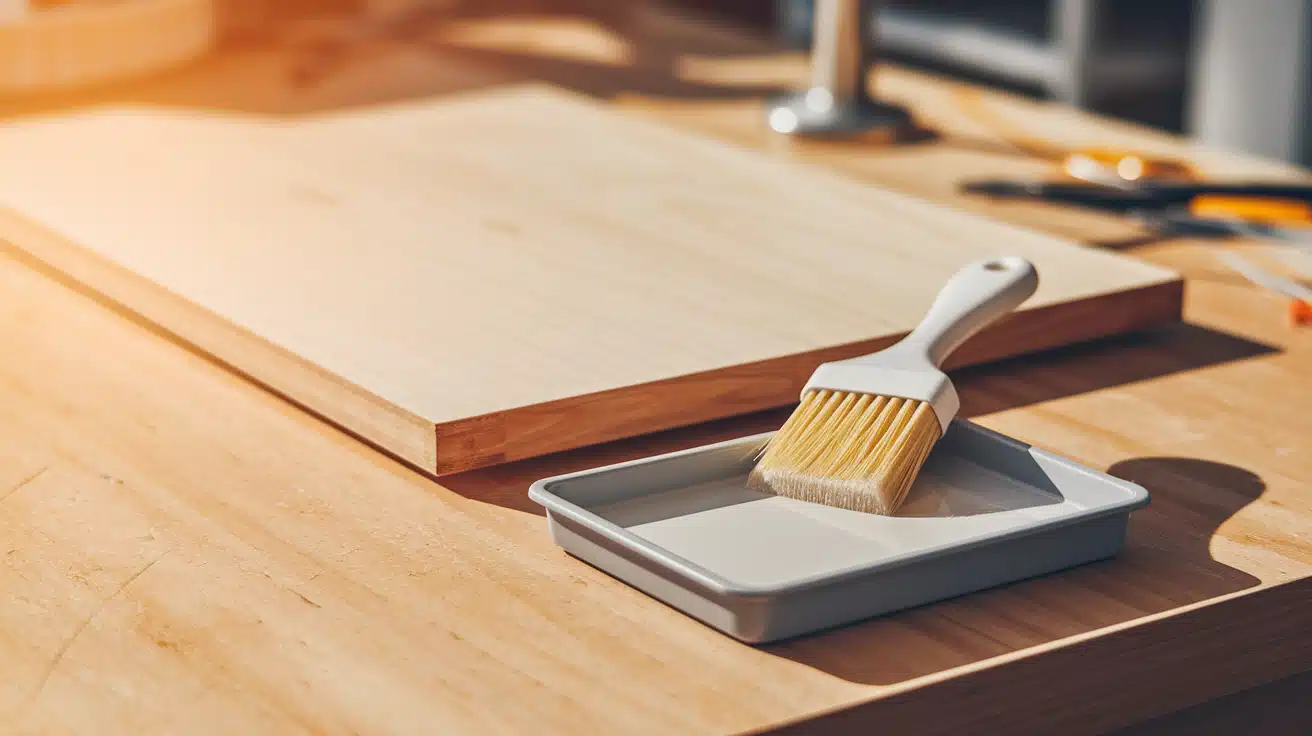
You’ll need latex bonding liquid (the same additive used for tile grout), a shallow tray, a paintbrush, and your MDF pieces.
Latex bonding liquid creates a moisture-resistant barrier that seals the porous surface of MDF. Before starting, ensure your workspace is clean and well-ventilated, as the bonding liquid may have a strong odor.
Pro Tip: Purchase bonding liquid from home improvement stores in the tiling section, not the wood section. It’s often cheaper and works just as effectively as specialized wood sealers.
Step 2: Prepare the MDF Surface
Sand all edges and surfaces of your MDF with fine-grit sandpaper to create a smooth finish. Remove all dust completely with a tack cloth or slightly damp rag, then let it dry completely.
Any remaining dust particles can prevent the bonding liquid from properly adhering to the surface, compromising your waterproofing efforts.
Pro Tip: Pay extra attention to the edges of MDF as they absorb moisture faster than the flat surfaces and are usually the first areas to show damage.
Step 3: Apply the First Coat of Bonding Liquid
Pour the bonding liquid into your tray and apply a thin, even coat to all surfaces of the MDF using a paintbrush or foam brush. Ensure complete coverage, especially on edges and corners.
The first coat will soak in quickly as MDF is highly absorbent.
Pro Tip: Apply in one direction with long, smooth strokes rather than back-and-forth motions to minimize bubbles and achieve more even coverage.
Step 4: Allow Proper Drying Time
Allow the first coat to dry completely, as per the manufacturer’s instructions, which typically range from 2 to 4 hours. The surface should not feel tacky to the touch.
Proper drying between coats is crucial for creating an effective moisture barrier. Rushing this step may result in an incomplete seal.
Pro Tip: If working in a humid environment, increase drying time by 25-50% to ensure the bonding liquid cures properly and forms a strong waterproof seal.
Step 5: Apply Additional Coats
Once dry, apply a second coat of bonding liquid. For highly water-resistant results, a third coat is recommended. Each successive layer strengthens the waterproof barrier.
Ensure that all surfaces are covered evenly, checking for any missed spots from previous applications.
Pro Tip: Slightly thin the final coat with 10% water to help it self-level and create a smoother finish that doesn’t show brush marks.
Step 6: Final Curing
Allow the final coat to cure fully for at least 24 hours before handling or using the MDF. Complete curing ensures maximum water resistance and durability.
During this time, keep the MDF in a dust-free environment away from moisture or extreme temperatures.
Pro Tip: For projects that will face heavy exposure to moisture, apply a clear polyurethane topcoat after the bonding liquid has fully cured for extra protection that also adds a nice sheen.
Step 7: Test Before Final Use
Before installing or using your waterproofed MDF, perform a small water test by placing a few drops on an inconspicuous area. The water should bead up rather than absorb into the surface.
If absorption occurs, apply additional coats of bonding liquid.
Pro Tip: Even with waterproofing, avoid prolonged water exposure. Wipe up any spills promptly and use coasters or trivets on waterproofed MDF furniture for maximum longevity.
Video Tutorial
Special thanks to RobCosman.com for providing valuable insights in their video, which I referenced while creating this guide.
Why Use Waterproofing MDF?
1. The Silent Killer: Why MDF Hates Moisture
- MDF consists of compressed wood fibers and resin that act like a sponge when exposed to water.
- Unlike solid wood, MDF has no natural grain structure to limit water absorption.
- Once moisture penetrates, fibers swell up to 3x their original size, causing irreversible damage.
2. What Happens If You Skip It (Spoiler: It’s Bad)
- Edges swell first, creating visible ridges that can’t be sanded away
- Surface bubbles and warps ruin the smooth finish
- Paint and laminates peel away as the substrate expands
3. When & Where MDF Really Needs Protection
- Bathroom vanities and kitchen cabinets near sinks or dishwashers
- Laundry room shelving or storage units
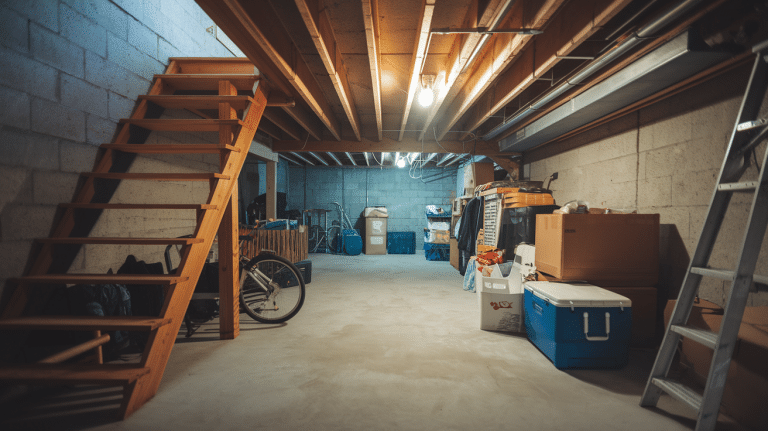
- Basement furniture where humidity fluctuates
Waterproofing adds just a few hours to your project timeline but can extend the life of your MDF from months to years in environments prone to moisture.
Mistakes to Dodge Like a Pro
Here are the common mistakes DIYers make when waterproofing MDF, along with tips on how to avoid them.
1. Skipping Surface Preparation
The mistake: Applying sealants to dusty, uneven MDF.
The fix: Sand surfaces with 220-grit sandpaper, then vacuum and wipe with a tack cloth before applying any treatments.
2. Rushing the Process
The mistake: Not allowing adequate drying time between coats.
The fix: Follow the manufacturer’s instructions for drying times, usually 24 hours between coats. Patience prevents trapped moisture and ensures proper curing.
3. Using the Wrong Primer
The mistake: Using water-based primers that cause MDF to swell.
The fix: Always use oil-based or shellac-based primers specifically designed for MDF. These create a moisture barrier without raising the wood fibers.
4. Neglecting the Edges
The mistake: Forgetting that MDF edges absorb moisture faster than surfaces.
The fix: Apply 2-3 coats of primer to all edges, sanding lightly between coats. Consider edge banding for exposed areas.
5. Inadequate Sealing
The mistake: Applying a too-thin layer of sealer.
The solution: Apply multiple thin coats rather than a single thick coat. For high-moisture areas, use polyurethane, epoxy, or marine varnish for maximum protection.
6. Improper Tools
The mistake: Using low-quality brushes that leave streaks and bubbles.
The fix: Invest in high-quality brushes or foam rollers for smooth application. For large surfaces, consider spray application for even coverage.
7. Ignoring Maintenance
The mistake: Assuming one-time waterproofing lasts forever.
The fix: Inspect sealed MDF regularly and reapply protective coatings every 1-2 years, or as soon as signs of wear appear.
By avoiding these common mistakes, your MDF projects can withstand moisture and last for years to come.
Conclusion
Convert your vulnerable MDF projects into moisture-resistant masterpieces by following this simple waterproofing process. Remember, the difference between a failed project and a lasting creation often comes down to these preventative steps.
With just latex bonding liquid, proper tools, and patience between coats, you can extend the lifespan of your MDF from months to years, even in humid environments. The small investment of time pays tremendous dividends in durability.
Ready to put this knowledge into practice?
Start with a small test piece before tackling larger projects. Watch how water beads up rather than soaks in, visible proof of your successful waterproofing.
Have you tried waterproofing MDF before? Please share your experiences or questions in the comments below, and let’s work together to create projects that stand the test of time.
Frequently Asked Questions
1. Do You Prime or Seal MDF?
You should both prime and seal MDF. Prime first with an oil-based primer, then seal with a proper waterproofing agent, such as polyurethane or latex bonding liquid.
2. Can MDF be treated for outdoor use?
Yes, MDF can be treated for outdoor use, but it requires thorough waterproofing with marine-grade sealants and regular maintenance.
3. Is MDF Stronger Than Plywood?
No, MDF is not stronger than plywood. Plywood has better structural strength, especially when spanning gaps.

