Have you ever looked at a home with a sharp, clean fence line and wondered, “Could I do that myself?” You can. Aluminum fencing sits at the sweet spot of looks and function. It stands firm for years without rust or decay.
Many folks think fence setup requires pros with big tools and special skills. This is not true. With basic gear and a free weekend, you can put up a fence that makes the neighbors stop and stare.
This guide walks you through each step of setting up an aluminum fence. You’ll learn what tools to grab, how to map your yard, and tricks to keep posts straight. We’ll also show you how to dodge common slip-ups that waste time and money.
Want a fence that looks pro-made without the pro price tag? Let’s get started.
Why Choose Aluminum Fencing?
Aluminum fences stand out from other options for good reasons. Compared to wood, iron, or vinyl, aluminum offers much more.
These fences last a very long time. Unlike wood, they won’t rot, warp, or crack. They don’t rust like iron or steel. This means less work for you over the years.
The care needs are small, too. You won’t need to paint, stain, or seal an aluminum fence. A simple wash with soap and water once a year keeps it looking fresh.
Here’s why many homeowners pick aluminum:
- Long-lasting: Stands up to weather without breaking down
- Low upkeep: No painting or sealing needed year after year
- Good looks: Clean lines that suit both modern and classic homes
- Safe and secure: Hard to climb, yet still offers good views
- Cost-effective: Pays for itself with low lifetime costs
- Weather-tough: Handles sun, rain, and snow without issues
For yards big or small, aluminum fencing offers a balance of form and function that’s hard to beat.
Step-by-Step Instructions for Installing an Aluminum Fence
A clear guide to help you install your aluminum fence with minimal hassle and professional-looking results.
Step 1: Preparation Before You Start
Before you pick up any tools, make sure you know the rules in your area. Each town has its fence laws about height, how far from the street it needs to be, and what it can look like.
Safety comes first when you plan to dig in your yard. Hidden pipes and wires run under the ground, and one wrong dig could cut power to your home or cause water leaks. Call 811 at least three days before you dig.
This free service will mark all utility lines on your land with color-coded flags or paint. When you dig, stay at least two feet away from these marks.
- Check your plot plan: Start with your home’s plot plan to see the exact land lines. This helps you avoid putting a fence on your neighbor’s land.
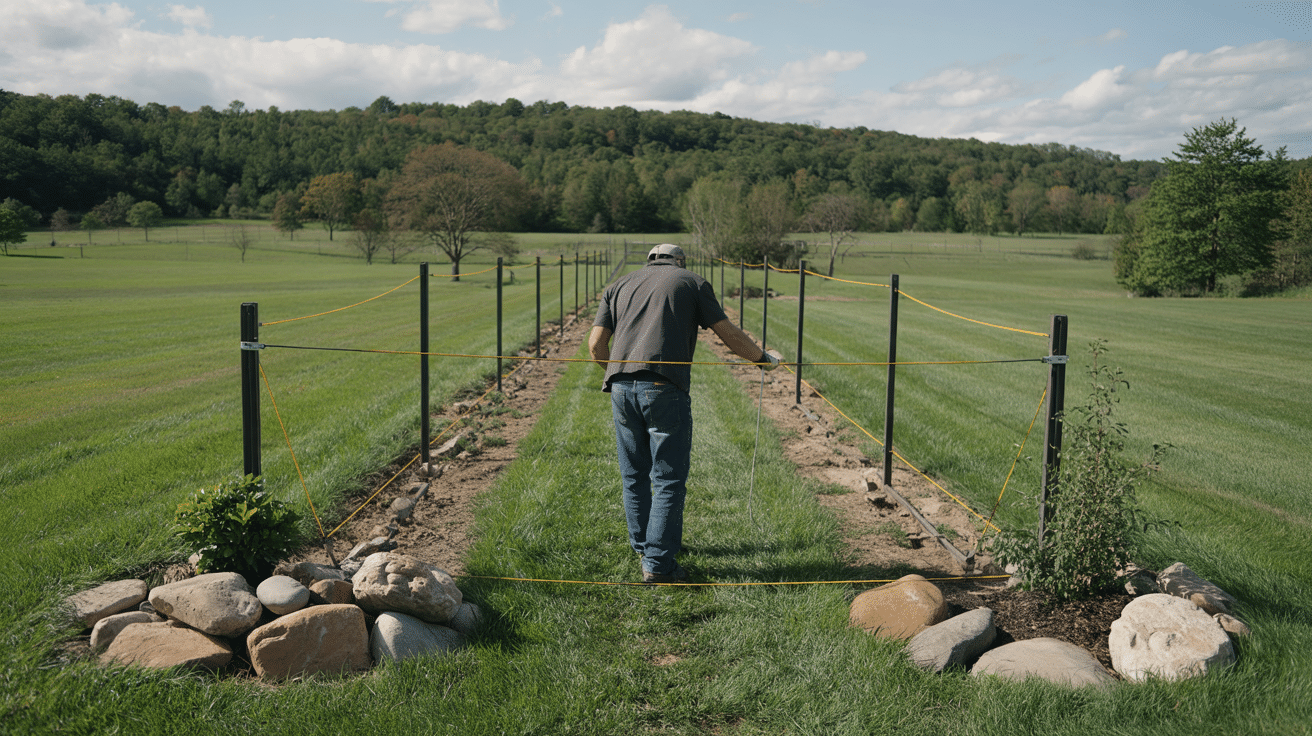
- Use two tape measures: Two tape measures work best for large areas. Stake the start and end points, then run a string between them to map the fence line.
- Mark post spots: Most aluminum fence posts sit 6 feet apart. Mark each spot with a small stake and bright paint or tape.
- Test your layout: Walk the marked path to ensure it looks right and works with your yard’s slopes and features.
Gather Tools and Materials
| Tools & Materials | Purpose |
|---|---|
| Post hole digger | Creates holes for fence posts |
| Level (2-foot) | Ensures posts are straight |
| Tape measure | Measures distances accurately |
| String line | Marks straight fence lines |
| Rubber mallet | Taps pieces together gently |
| Hacksaw or metal cutting saw | Cuts aluminum pieces to size |
| Drill with bits | Creates holes for screws and brackets |
| Shovel | Removes soil from post holes |
| Wheelbarrow | Mixes concrete for posts |
| Aluminum fence panels | Main fence sections |
| Aluminum posts | Support structure for panels |
| Post caps | Decorative tops for posts |
| Concrete mix | Secures posts in ground |
| Gravel | Provides drainage at the bottom of post holes |
| Self-tapping screws | Connects panels to posts |
Step 2: Setting Up Your Fence Line
First, mark where each post will go. Start at the corners with stakes. Add stakes for gate posts, too. Run a string between the stakes for a straight guide. Mark spots for line posts every 6 feet along this string. Most aluminum fence panels need posts at this spacing.
Before digging, clear the fence path of all items. Remove rocks, roots, and plants. Trim the grass low to see your marks better. Check all measurements now to avoid fix-ups later. A clean work area speeds up the whole job.
Step 3: Installing the Posts

Digging post holes is the most work-intensive part. Use a hand post hole digger or rent a power auger. Dig holes 6-8 inches wide and at least 24 inches deep. In cold areas, go deeper than the frost line. Add 3 inches of gravel at the bottom for drainage.
Start with the corner and end posts first. Place each post in its hole, add concrete mix, and check for level on two sides. Have a helper hold the post while you add concrete. Let these posts set fully for 24 hours before moving on.
Step 4: Installing the Aluminum Fence Panels

Start with posts that have been set for 24 hours. Lift each aluminum panel and slide it into the slots on the posts. Check that panels sit level, then secure with self-tapping screws. Put two screws at each end where the rails meet the posts to keep panels from moving.
You’ll need to cut for spaces that don’t fit full panels. Measure the gap twice, mark your cut line with tape, and use a hacksaw to trim. File any sharp edges after cutting. Keep a 2-inch gap between the fence bottom and ground for water flow and easy mowing.
Step 5: Install the Gate

Gates need extra care during setup since they move each time they open and close. Start by checking that your gate posts are solid and free of wiggle. The space between posts must match your gate width plus a half-inch gap for hinges and latches.
Place the gate in the opening and prop it up with wood blocks to the right height. Keep the same ground gap as your fence panels. Attach the hinges to the gate first, then to the post. Add the latch last, making sure it lines up well. Test the gate several times, looking for smooth swings with no drag or sticking.
Step 6: Finishing Touches

Give your fence concrete at least 48 hours to harden before you make final tweaks. Walk the fence line and check each post and panel for wobbles. Tighten any loose screws and make sure all post caps are firmly in place. Add touch-up paint to any scratched spots now while they’re fresh and easy to fix.
Keep your aluminum fence looking good with basic care. Wash it once a year with mild soap and water to remove dirt and grime. Check for loose parts each spring, and tighten any screws that may have worked loose. Fix small issues right away to stop them from growing into big problems that cost more to repair.
Video Tutorial
I want to give special thanks to Jason Caicco for providing valuable insights in their video, which I referenced while creating this guide.
Common Mistakes to Avoid When Installing an Aluminum Fence
When putting up an aluminum fence, watching for these common slip-ups can save you time and money:
- Skipping the permit check: Many homeowners start digging without checking local rules. This can lead to fines or having to remove your fence. Always call your town office first.
- Setting posts too shallow: Posts that aren’t deep enough will lean or fall over time. Dig at least 24 inches deep or below the frost line in cold areas.
- Using too little concrete: Skimping on concrete leads to wobbly posts. Fill each hole with enough concrete to support the post against wind and pressure fully.
- Poor post spacing: Putting posts too far apart causes sagging panels. Stick to the 6-foot rule unless your fence kit says otherwise.
- Not checking for level: Each panel should be level and in line with others. Small errors add up, making the whole fence look sloppy by the end.
Conclusion
Putting up an aluminum fence isn’t as hard as many think. With good planning and the right tools, you can create a wall that looks great and lasts for years. We’ve walked through each step: checking rules, marking your layout, setting posts, adding panels, and hanging gates.
Remember to take your time with the post setup—it’s the backbone of your fence. Measure twice, dig once, and check for level often. Small fixes early save big headaches later.
Your new fence will boost your home’s looks and value while giving you privacy and safety. The best part? You can point to it with pride and say, “I built that.”
Do you have questions about your fence project? Drop them in the comments below. Ready to get started? Your yard is waiting for its new look!
Frequently Asked Questions (FAQs)
Is an Aluminum Fence Easy to Install?
Yes, aluminum fences are fairly easy to install for DIYers with basic tools. The lightweight materials and simple connections make it doable for most homeowners over a weekend.
What Are the Disadvantages of Aluminum Fences?
Aluminum fences cost more upfront than some options. They may dent with hard impacts and can’t be easily fixed if damaged. Some styles offer less privacy than solid fences.
How Deep Should an Aluminum Fence Post Be?
In cold areas, aluminum fence posts should be at least 24 inches deep or below the local frost line. Add 3 inches of gravel at the bottom for drainage.