Do you have that old chair gathering dust in your garage? The one your grandmother left you years ago? What if I told you it could become the most eye-catching piece in your living room?
I was once like you—surrounded by worn-out furniture pieces I couldn’t bring myself to throw away. Then I learned about furniture redoing, and it changed everything.
Giving new life to old furniture isn’t just good for your wallet. It’s also a win for our planet. Each piece you fix up means one less item in a landfill. Plus, there’s something deeply satisfying about creating something beautiful with your own hands.
The best part? You don’t need fancy skills to start. With some basic tools and a bit of patience, you can turn forgotten items into fresh, stylish pieces that tell your story.
Ready to see what’s possible?
Why You Should Consider Redoing Your Furniture?
Before tossing out that old coffee table, think again! There are plenty of good reasons to give worn-out furniture a second chance.
1. Save Money While Updating Your Home: New furniture comes with a hefty price tag. A quality sofa can cost thousands of dollars. When you redo furniture you already own, you spend much less on supplies like paint, fabric, or new handles.
Consider the numbers a complete bedroom set might cost $2,500 new, while refreshing your current set with paint, new knobs, and updated hardware might run just $150-200.
2. Environmentally Friendly Choice: Millions of furniture pieces end up in landfills yearly. A wooden dresser takes 13 years to break down. Metal parts? Up to 100 years.
By fixing up what you have, you reduce the need for new materials, minimize manufacturing energy, and decrease packaging waste.
3. Unlock Your Creativity: There’s joy in saying, “I made that.” Each piece becomes a canvas for your ideas.
Unlike store-bought items, redone furniture tells your unique story. That bookshelf can show your love of bright colors, and the cabinet handles you picked reflect your style.
“I never thought of myself as artistic,” says Mark, “but after updating my first chair, I couldn’t stop.”
Essential Tools and Materials for Redoing Furniture
Getting started with furniture redoing doesn’t require a full workshop, but having the right tools and materials will make your work easier and more successful.
| Category | Items |
|---|---|
| Sanding Tools | Medium and fine-grit sandpaper (80, 120, 220), Sanding blocks, Small electric sander (optional) |
| Painting Tools | 1-inch and 2-inch brushes, Small detail brushes, Foam rollers, Paint trays |
| Disassembly Tools | Various screwdrivers, Small hammer, Pliers |
| Safety Gear | Gloves, Dust mask, Eye protection |
| Measuring Tools | Tape measure, Straightedge |
| Primers | Water-based primer, Shellac-based primer, Oil-based primer |
| Paints | Latex paint, Chalk paint, Milk paint, Acrylic paint |
| Wood Stains | Oil-based stains, Water-based stains, Gel stains |
| Fillers | Wood filler, Wood putty |
| Sealers | Polyurethane, Wax, Polycrylic |
| Hardware | Knobs, Pulls, Hinges |
Step-by-Step Guide to Redoing Your Furniture
Turning a worn-out piece into something beautiful doesn’t have to be hard. Follow these simple steps, and you’ll be showing off your “new” furniture in no time!
Step 1: Cleaning and Preparing the Surface
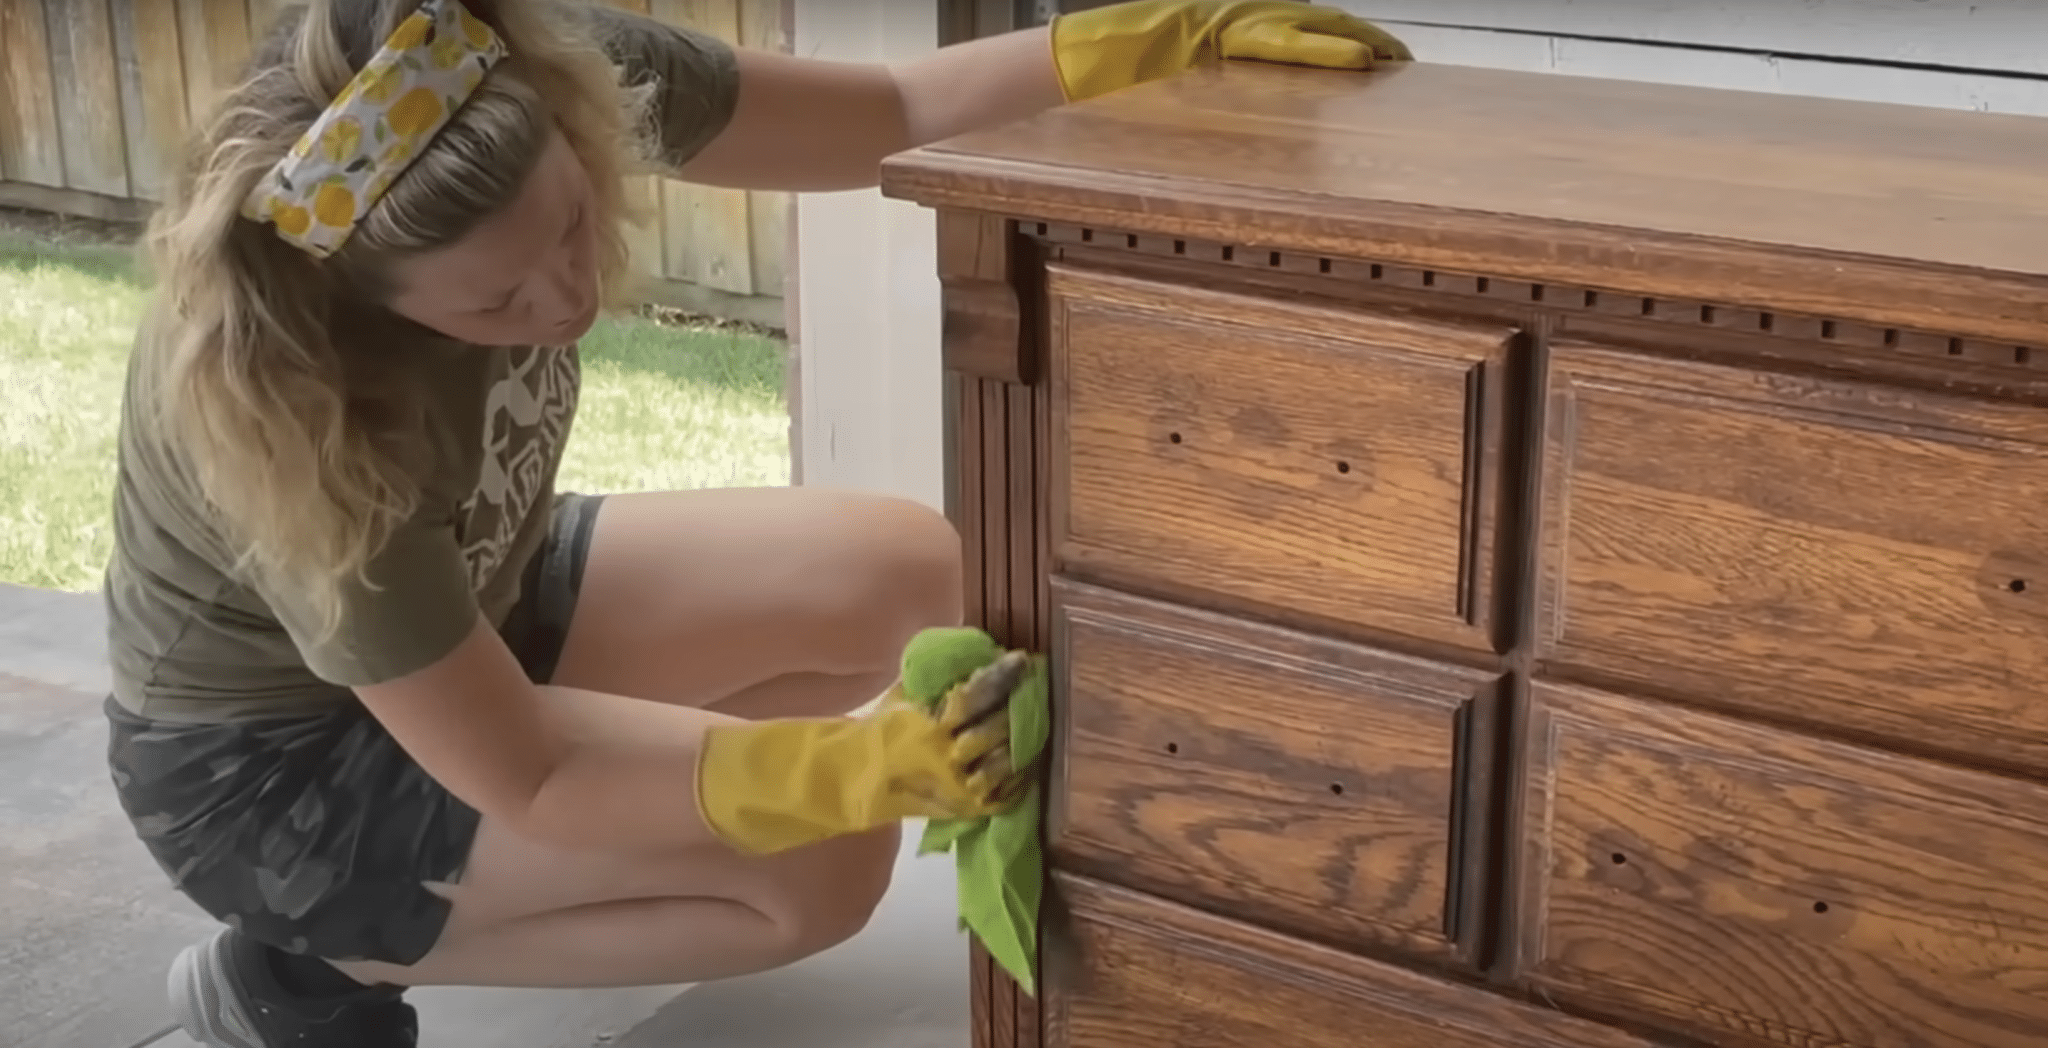
Every good furniture redo starts with a clean slate. First, remove all hardware, like knobs and pulls, from your piece. Then, thoroughly wipe down the entire surface with Simple Green or another good cleaner.
Kitchen furniture often has greasy spots that need extra attention. Make sure to let the piece dry completely before moving to the next step.
Many beginners make the mistake of skipping proper cleaning, but paint and stains won’t adhere well to dirty surfaces, causing problems later.
Step 2: Sanding and Stripping Old Paint/Finish

Once your piece is clean, you need to remove the old finish. For items with paint or varnish you want to remove completely, apply Citrus Strip with a cheap brush and wait about 30 minutes for it to work.
Then, scrape off the bubbled finish with a plastic scraper and wipe clean with mineral spirits for pieces that need light prep for new paint.
Use 120-grit sandpaper to rough up the surface, always sanding in the direction of the wood grain. After sanding, wipe away all dust with a damp cloth before continuing.
Step 3: Fixing Any Damage

Before adding a new finish, take time to address any problems with your furniture. Use wood filler with a small putty knife to fill holes and cracks in the surface.
Give the filler enough time to dry completely, which usually takes 2-4 hours, depending on the depth of the repair. Once dry, sand the filled areas until they’re perfectly level with the rest of the surface.
Run your hand over the area to check for smoothness. Once properly sanded, you shouldn’t be able to feel where the repairs were made.
Step 4: Painting or Staining

This step is where your furniture gets its new look. If you’re painting, apply primer first for better adhesion, which is especially important on glossy surfaces. Quality furniture paints like Lily Moon Paints provide excellent coverage and durability.
Apply paint in thin, even coats using a brush or roller, allowing proper drying time between applications. Gel stains are easier for beginners to use for staining since they don’t drip or run like liquid stains.
Apply gel stain with a clean cloth in the direction of the wood grain, then wipe away excess after a few minutes for a professional-looking finish.
Step 5: Sealing and Protecting the New Finish

The final step is crucial for longevity. After your paint or stain has fully dried, apply a good sealant like Stellar Shield to protect your work. Use a clean brush or cloth to apply a thin, even coat of sealer over the entire piece.
For furniture that will see heavy use, like dining tables or coffee tables, apply three or more coats of sealer for maximum protection. Wait for each coat to dry completely before adding the next.
Remember that different sealers have different looks—polyurethane offers high protection but can turn yellow over time, while polycrylic stays clear but isn’t quite as tough.
Video Tutorial
For a detailed video, check out How To Refinish Dark Furniture: Cheap Hacks for a Luxe Look! by Lemons To Lemonade Furniture
Customizing Your Furniture
Once you’ve redone the basic structure of your furniture, it’s time to make it truly yours. Small details often make the biggest difference in how a piece looks and feels in your home.
Updating Hardware
- Hardware acts as “jewelry” for your furniture – replacing knobs and pulls is quick, affordable, and creates high visual impact with minimal effort.
- Always measure the distance between screw holes before buying new hardware to ensure proper fit.
- Test one piece at home before purchasing all your hardware since store lighting can be deceiving.
- Mixing metals (like brass knobs with silver hinges) can work beautifully when done with intention.
Additional Design Elements
- New furniture legs can completely transform tables, chairs, and sofas without requiring major structural changes.
- Create interest with two-tone effects by painting the body while leaving drawer fronts in natural wood.
- Stencil patterns on flat surfaces add visual interest and can be made with contact paper or purchased pre-made.
- Focus on creating pieces that feel intentionally designed for your space, not just fixed-up versions of old furniture.
Conclusion
There’s something magical about stepping back and seeing what your hands have created. Redoing furniture transforms not just the piece itself but often how you feel about your home.
Throughout this guide, we’ve walked through the why and how of furniture renewal: the tools you need, the steps to follow, and the personal touches that make each piece special. From sanding and painting to swapping hardware, each step brings you closer to a home filled with items that tell your story.
Remember, your first project doesn’t need to be perfect. Start small, learn as you go, and enjoy the process. That’s the real magic of furniture redoing—turning something forgotten into something you’re proud to show off.
So what are you waiting for? That old side table isn’t going to transform itself!
Frequently Asked Questions(FAQs)
1. How much does it cost to redo furniture?
The costs vary from $30-200 per piece. Paint and basic supplies cost $50-100, while hardware adds $20-50. However, it is still much cheaper than buying new furniture.
2. Is it worth restoring old furniture?
Yes! Restoring old furniture saves money, helps the environment, and often results in better quality pieces than new cheap options. Plus, you get items that match your style.