Tired of seeing that same old furniture year after year?
Looking at new furniture can hurt your wallet. I know the feeling. We all want something that looks classic and fits with a cozy home vibe without spending too much money.
What if you could turn your old furniture into something with character and charm?
Wood distressing is a simple way to create that worn, timeworn look without waiting decades. I’ve gathered several methods to help you age your wooden items with paint in just a few days.
In this guide, I’ll show you how to make something new look wonderfully old. These methods work on any wood pieces – no need for costly materials. Let’s learn how to give wood that perfect worn-down look!
What is Wood Distressing?

Distressing is a creative way of mimicking normal wear and tear with paint colors. It makes something look less than perfect, which is why a few dents and torn paint are a good thing when it comes to distressed wood. For a unique and timeless look, wood distressing works wonders. It gives the chic, subtle vintage vibe, rustic look, and classic appearance.
Wood is an easy material to distress as it already has some textures. Each time you try to distress it, you will get a different texture with a different look—that’s the uniqueness of the wood pieces.
There are many ways to make your wooden wonder look rustic and old, some of my favorite techniques to distress wood are the staining method with vinegar and tea, the sandpaper technique, and the woodblock technique.
To distress wood using paint color- wet distressing, whitewash pickling, beeswax distressing, and dry distressing techniques are techniques.
Tools and Materials You’ll Need in Distressing Process
- Paint Color
- Wood piece
- Scrapping pad
- Sandpaper
- Beeswax bar
- Water bucket
- Lint-free cloth
Top 3 Techniques to Distress Wood with Paint
1. Wet Distressing
In the wet distressing technique, you apply one coat of paint and let it dry completely. Then, apply the first cure and make sure the piece is properly covered with paint so that it won’t come off when you distress it.
Apply a second coat in a different color, preferably contrasting for better results. Dry the paint to the touch. Generally, the paint takes a minimum of 4-5 hours on a summer day.
Keep this point in mind that even though the paint feels dry it should not reach its toughest level; this is where our key element of wet distress comes in the foreground.
Once your final paint coat is dry, grab a bucket of water and a lint-free cloth or scarring pad, and then start gently rubbing the surface of the wood in a back-and-forth motion. Play around the edges to make it look well-dressed. The more strokes of distressing your wood has in the corners, the better it will appear.
Things to Consider While Working with Wet Distressing Technique
While working with wet distressing technique to distress your wood with paint, there are things you need to take care of:
- Let the paint dry completely before starting to work on the wood.
- If you are working on laminated or oil-painted wood, start the coating process by sanding the piece lightly.
- The pad should be wet but not dripping wet.
- In case the coat comes out too heavily distressed, you can always apply a second coat and restart the wood distressing process.
- You can also use sandpaper in spite of wet scouring pads
- The longer you wait, the harder the paint will take to dry, so its best to start when the paint is fresh.
- Rub with gentle hands because you don’t want to take off more paint layers than you intend to.
In case you waited too long and the paint is fully dry, try the dry distressing technique that I am going to cover next.
2. Dry Distressing Technique

In dry distressing techniques, you may find the need to add a second coat, depending on the texture of the wooden surface you are working with. The wood piece you are working on should have clean and completely dry paint.
To make sure that the paint is properly dried, take a minimum of one hour gap between your first and second coats and let the second coat dry for at least an hour before proceeding with the next.
In the next step, take sanding sponges or sanding blocks to sand the wood once its fully dry. Do not use sandpaper that is too coarse. It does not distress the wood in a natural finish. While sanding, start with the corners and gradually move to areas where the wood would have naturally distressed due to normal wear and tear.
Lastly, use a lint-free rug to remove paint dust from your distressed wood piece, and your distressed wooden piece is ready.
Things to Consider While Working with Dry Distressing Technique
When you’re working with the dry distressing method, make a note of these points while trusting the process:
- The higher the no. of sandpaper, the finer its texture will be.
- There is no right or wrong. Take out as little paint as you like.
- Try to use paints that have a matte finish.
3. Beeswax Distress

I find this method easier than others as I don’t have to put a lot of pressure on scrapping the paint out. In this method, we apply the first coat with the base color and wait a minimum of 24 hours for it to dry completely.
Then, we need to apply a resist medium in areas where you don’t want your second paint. I like to use a beeswax distressing bar as my distressing medium. Rub the wax bar thoroughly in a few sections of your wood piece where you want your second coat of paint to come off and make it look naturally distressed.
And here is the best part: you don’t need to wait here; you can immediately start to apply the second layer of paint. Cover the surface well and let it dry. Once its dry to the touch, rub the surface to distress with a wet rag or fine grid sandpaper.
You can notice that the areas where you applied the wax coat below the second paint color do not take much time to take off, revealing a naturally distressed, shabby, chic wood look.
Things to Consider While Working with the Beeswax Technique
There are a few things that you need to take care of while working with the Beeswax technique:
- Clear wax, petroleum jelly, or candle wax can also work as a resistance medium.
- The edges and corners are the areas more prone to distress during normal wear and tear, so apply a good amount of wax strokes there.
- You can also use a combination of wet cloth and sandpaper to give a natural distressed texture.
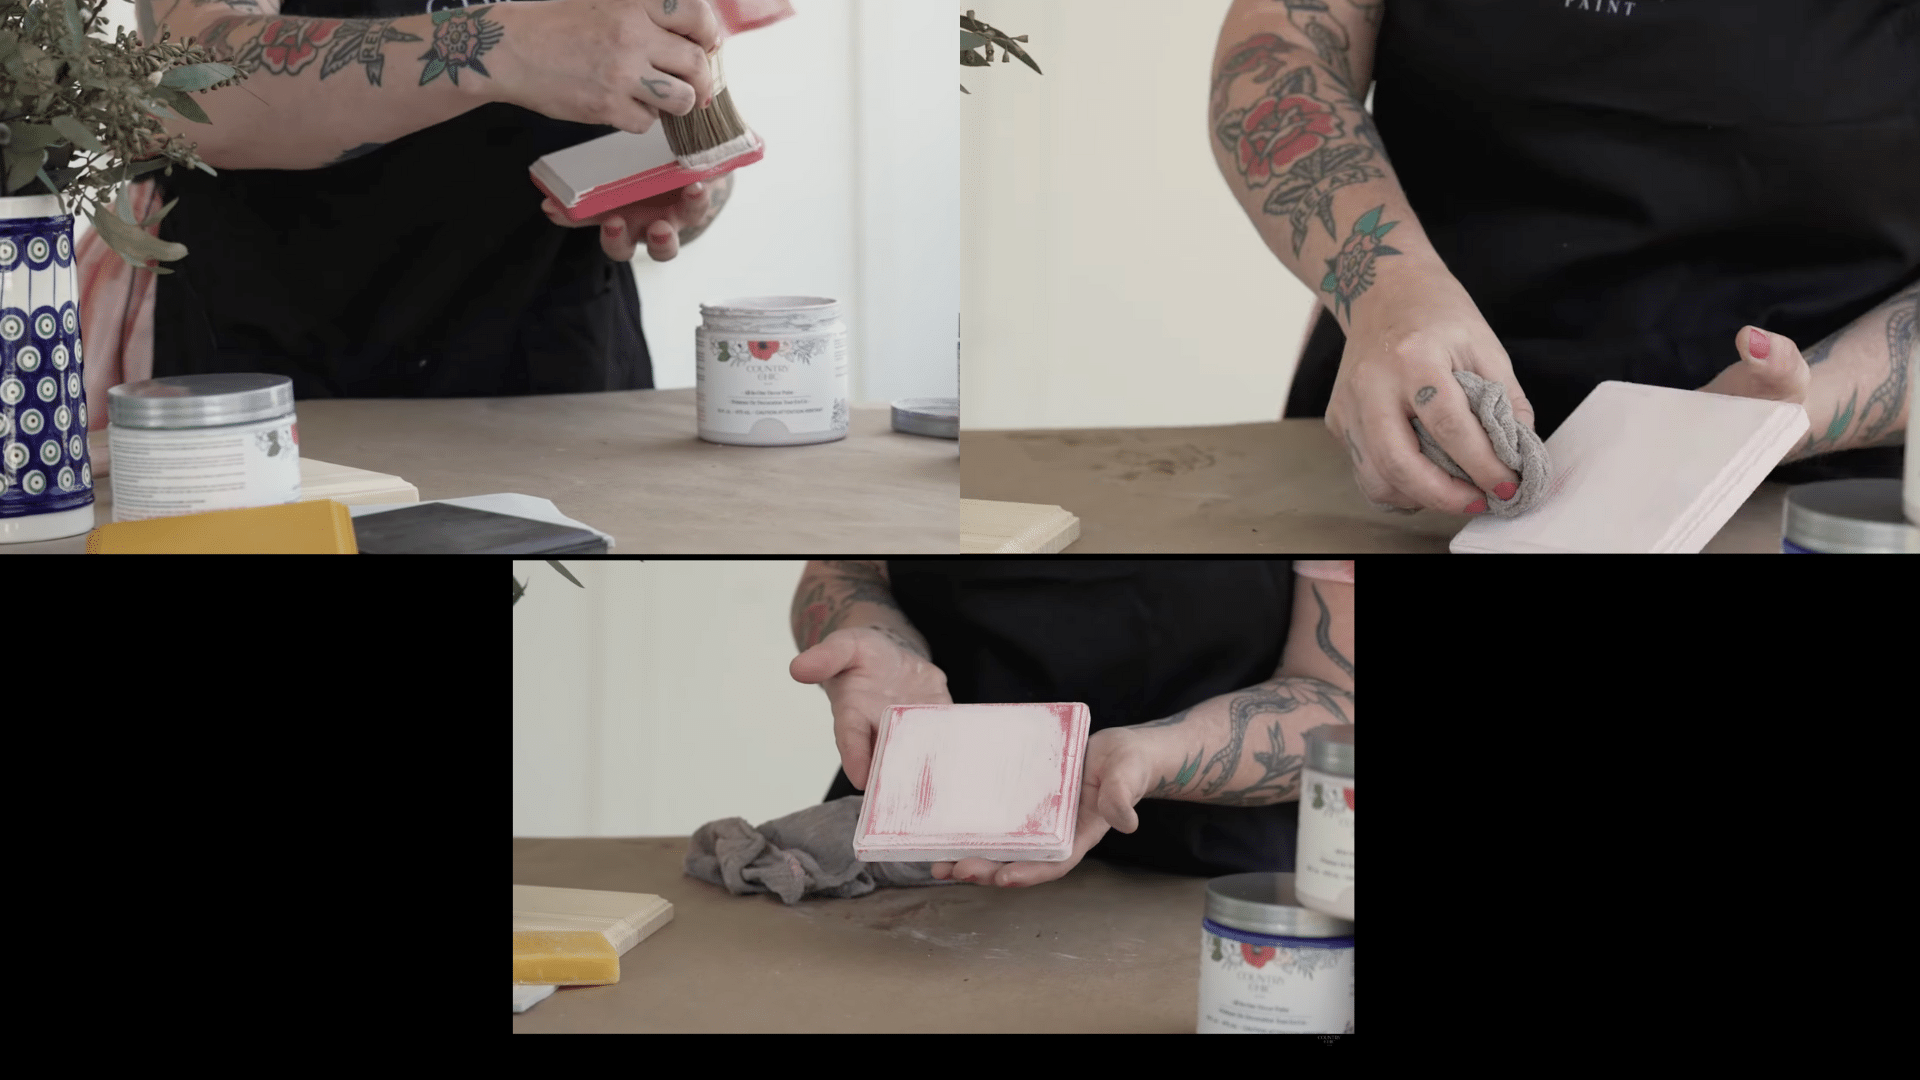
Video Tutorial
For a visual guide on how to distress wood with paint color, you can refer to this video by Country Chic Paint:
5 Must Try Distressed Wood Paint Color Combinations
The color combination in the distressing process plays a vital role; you can always experiment. Here is the list of 5 versatile color combinations to paint your wood and the links to buy from:
1. Walnut + Maple

This pairing creates a warm contrast. The deep, rich brown of walnut peeking through the lighter, honey tones of maple gives a worn farmhouse feel. It works well for kitchen tables and chairs. Here’s the buy link for both shades:
2. Walnut+ White oak

This combo offers a more subtle look. The soft white oak top layer lets the darker walnut show through in worn spots. Perfect for bookcases and shelves where you want a clean but lived-in look. Here’s the buy link for both shades:
3. Cherry + Maple

The reddish tones of cherry with the warm maple create a cozy, inviting finish. This works well on smaller items like picture frames or decorative boxes. The contrast isn’t stark but adds depth. Here’s the buy link for both shades:
4. Red oak + White ash

This pairing gives a fresh take on distressing. The warm red base with a cool white top coat creates nice tension between colors. Great for statement pieces like coffee tables or entry benches. You can refer to these links to buy these shades:
5. Mahogany + Cherry

These rich, deep tones together make for a more formal, distressed look. The subtle color shift works well in dining rooms or studies. It gives the feel of a well-loved antique without being too rustic. Try out this combination by using these paints:
Conclusion
Creating aged wood with paint brings new life to old pieces. The techniques we explored—wet distressing, dry distressing, and beeswax methods—each offer unique results with minimal tools.
What next? Start small. Start with good colors, build up the texture, and give your home a new look; try these techniques in furniture, kitchen doors, and window trims. Remember that practice builds confidence—each project will look better than the last.
So now that you know how to distress wood, pick one technique, try it out this weekend and tell me your experience. Also, comment on your favorite paint color combination for your distressed wood.