Is your living room looking dull? Your old pillows might be the reason.
A fresh pillow cover can change the entire look of your space without breaking the bank. Making your cover lets you pick exactly the fabric, color, and style you want—something stores rarely offer.
This guide teaches you how to make a simple pillow cover that fits perfectly. The best part? You don’t need fancy equipment or years of sewing experience.
Ready to transform your pillows and your room? This simple project will take just one afternoon to complete.
Tools and Materials for Sewing a Pillow Cover
| Item | Description |
|---|---|
| Fabric | Home decor weight fabric (100% cotton is acceptable, but heavier fabric is better) |
| Pillow Form | 14″×14″ pillow form (or your preferred size) |
| Thread | Coordinating thread to match fabric |
| Sewing Machine | Basic sewing machine with straight stitch capability |
| Iron | Hot steam iron for pressing seams |
| Ironing Board | For pressing fabric and seams |
| Fabric Scissors | For cutting fabric and clipping corners |
| Straight Pins | For securing fabric layers before sewing |
| Measuring Tape/Ruler | For measuring and cutting fabric pieces |
| Fabric Pieces | – One 15″×15″ square (front piece for 14″ pillow) – Two smaller pieces for back (add 1″ to pillow dimensions for seam allowance) |
Note: If using a different-size pillow form, add 1″ to the pillow dimensions all around for the seam allowance.
Step-By-Step Guide to Sewing a Pillow Cover
Step 1: Prepare Your Fabric
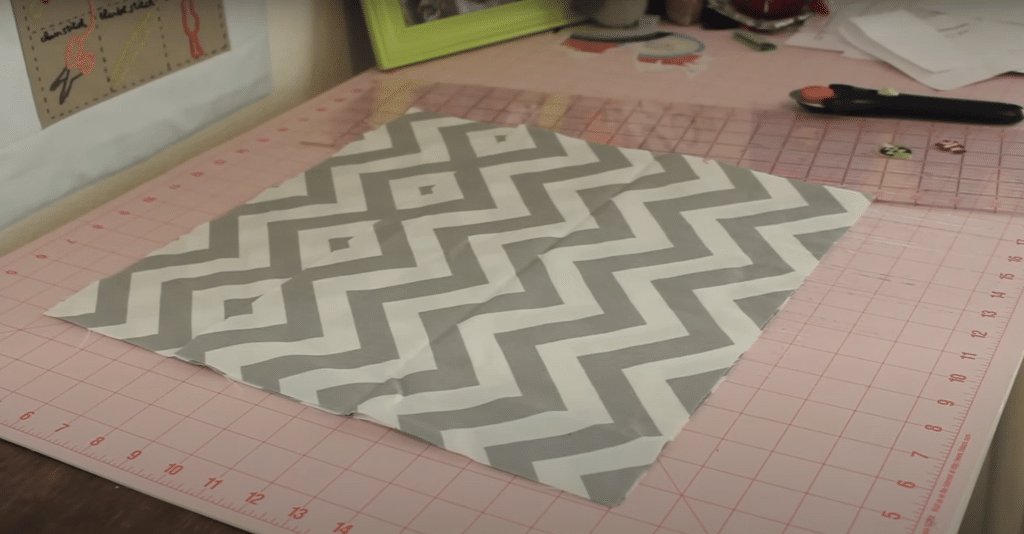
For a 14″×14″ pillow form, cut one 15″×15″ square for the front and two smaller pieces for the back (adding 1″ all around for seam allowance). The two back pieces will create your envelope opening.
Press all cut pieces to your ironing board flat with a hot, steamy iron. This will remove all wrinkles and prepare your fabric for clean, professional-looking seams. Proper preparation ensures that your finished pillow cover will look neat and well-made.
Step 2: Create the Envelope Edges

Take both back pieces, fold one long edge of each piece about ¼”, and press with the iron. Fold it over once more (another ¼”) and press again. This creates a clean hem with no visible raw edges.
Take these pressed pieces to your sewing machine and stitch them close to the inside folded edge. For a more professional finish, add a second row of stitching about ⅛” from the first row. These finished edges will form your envelope opening.
Step 3: Position and Pin the Pieces

Place your large square piece on a flat surface with the right side facing up. Take your two back pieces with the stitched edges and place them on top with the right sides facing down.
The stitched edges should overlap in the middle to form the envelope closure. Make sure all raw edges are aligned at the perimeter.
Pin around the entire edge to secure all layers together, placing pins perpendicular to the edges for easy removal while sewing.
Step 4: Sew the Perimeter

Using a ½” seam allowance, stitch all the way around the pinned edges, removing pins as you go. When you reach each corner, keep the needle down, lift the presser foot, rotate the fabric 90 degrees, lower the foot, and continue.
For extra strength, backstitch slightly at each corner and at the overlap of the envelope closure. If you plan to wash your pillow cover frequently, add a zigzag stitch next to your straight stitch to prevent fraying.
Step 5: Clip the Corners and Turn

Using sharp fabric scissors, carefully clip the excess fabric at each corner, cutting close to but not through the stitching. This reduces bulk and allows the corners to turn out sharply.
Turn your pillow cover right side out through the envelope opening. Use your fingers or a blunt tool to push out each corner to create sharp points gently. Take care not to push too hard or you might damage the stitching.
Step 6: Press and Finish

Press all the seams flat, and take your turned pillow cover to the ironing board. Roll the seam between your fingers to get it perfectly positioned before pressing.
This step gives your pillow cover a crisp, professional look with straight edges. Once pressed, insert your pillow form through the envelope opening, pushing it into the corners. Adjust as needed to make the pillow look full and even.
For a visual tutorial, refer to this video:
Common Mistakes to Avoid when Sewing a Pillow Cover
- Using Fabric That’s Too Light: Home decor projects require sturdier fabric than clothing. Regular cotton can be too thin, leading to seams that split under pressure. Choose medium—to heavy-weight fabrics like twill, canvas, or upholstery fabric that can withstand daily use and washing.
- Forgetting to Pre-Wash Fabric: Skipping this step may result in a cover that shrinks after the first wash, making it too small for your pillow form. Always pre-wash and dry your fabric as you plan to wash the finished cover to prevent later size issues.
- Incorrect Measurements: Adding too little seam allowance creates a tight cover that’s hard to insert the pillow into. Always add at least 1 inch to each dimension of your pillow form when cutting fabric. For a 14-inch pillow, your front piece should be at least 15×15 inches.
- Not Pressing Seams During Construction: Ironing is not just a final step—it’s needed throughout the process. Unpressed seams create bulky, uneven edges. Press each fold and seam as you go for clean lines and professional-looking results.
- Weak Envelope Closure: Not overlapping the back pieces enough leaves a gap where the pillow shows through. Ensure your back pieces overlap by at least 3-4 inches in the center to keep the pillow form securely inside even after washing and regular use.
- Neglecting to Clip Corners: Failing to trim excess fabric at corners results in bulky, rounded corners instead of crisp points. Carefully clip close to the stitching (without cutting through it) to reduce bulk and allow corners to turn out sharp and neat.
- Poor Stitch Quality: Using the wrong stitch length or tension can cause seams to pucker or break. Set your machine to a medium stitch length (2.5-3.0) and test on scrap fabric before sewing your project. Double-check tension settings if stitches appear loose or too tight.
Conclusion
Making your own pillow covers gives you control over your home’s look without spending much money.
With just a few straight seams and simple measurements, you’ve learned how to create a cover that fits perfectly and can be removed for washing.
This basic envelope design works for pillows of any size—adjust your measurements using our formula. Once you master this method, you can try different fabrics to match seasons or holidays.
Remember that pressing seams, properly overlapping back pieces, and clipping corners make the biggest difference in how professional your finished cover looks.
Now, you have the skills to update any space in your home with fresh pillow covers whenever you want a change.